
 Pin it
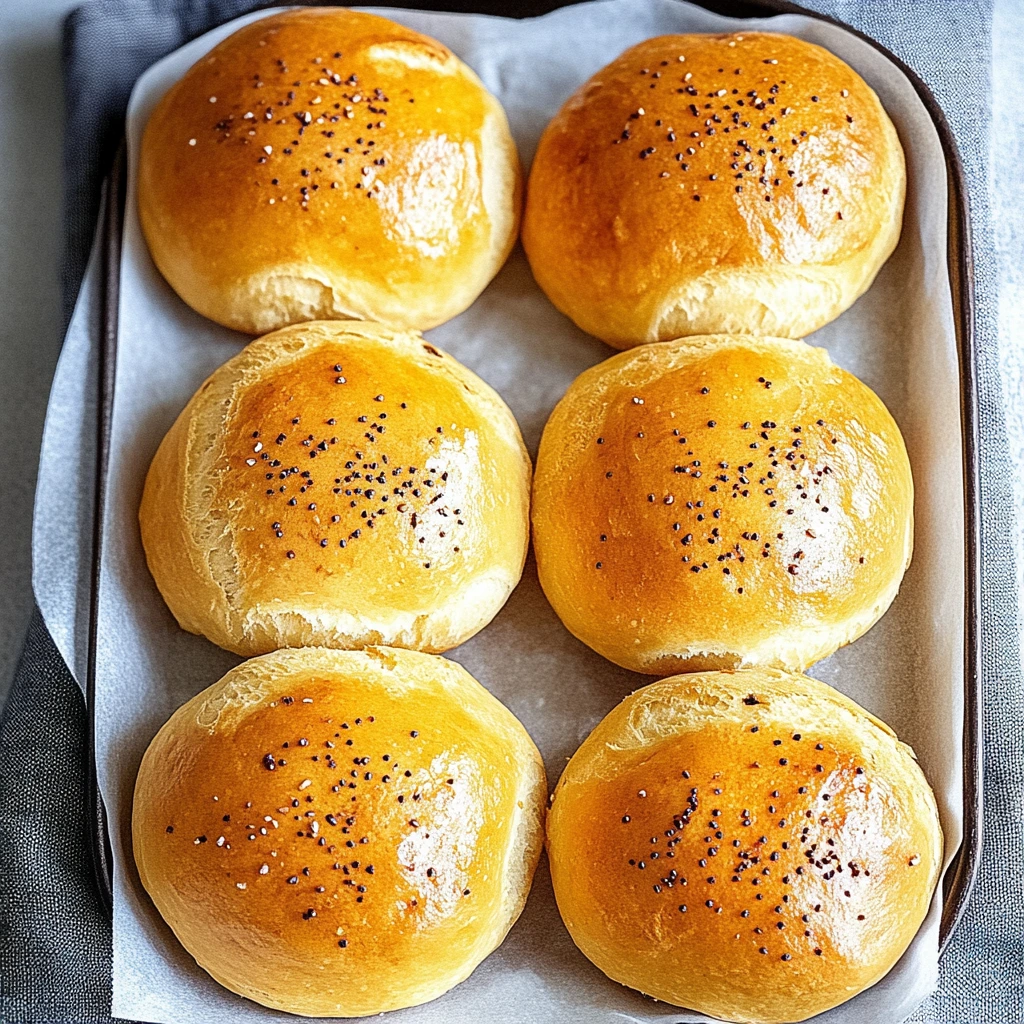
These homemade buns are wonderfully fluffy, slightly sweet and have a lovely vanilla flavor. They're perfect with your morning coffee or as an afternoon treat, whether you make them as small individual rolls or one big loaf to share.
I first came across this recipe while visiting my grandma in Normandy. Since then, it's become our Sunday morning tradition, and my kids can't wait to smell the warm, fresh buns filling our home.
Ingredients
- 500 g of T45 or T55 flour: T45 flour creates a lighter crumb that's great for these buns
- 20 g fresh baker's yeast or 7 g dry yeast: key for proper rising
- 80 g sugar: adds just enough sweetness without being too much
- 10 g salt: balances flavors and helps with structure
- 3 eggs: give richness and golden color to the crumb
- 100 ml warm milk: gets the yeast going and moistens the dough
- 100 g soft butter: the secret to super soft, melt-in-your-mouth buns
- 1 teaspoon vanilla extract: adds a gentle flavor throughout
- 1 egg yolk + 1 tablespoon milk: for a shiny, golden crust
Step-by-Step Guide
 Pin it
- Waking up the yeast:
- Mix your yeast with warm milk around 37°C and let it sit for 10 minutes until it gets foamy if you're using dry yeast. This step really matters for good fermentation.
- Getting the dry stuff ready:
- In a big bowl or stand mixer, mix the flour, sugar, and salt thoroughly. Getting these mixed well means your texture will be even throughout.
- Adding the wet ingredients:
- Put in the eggs, milk-yeast mixture, and vanilla extract. Knead first on low speed then medium for about 5 minutes until the dough starts forming and looks uniform.
- Working in the butter:
- Add small chunks of butter bit by bit, waiting for each piece to blend in before adding more. Then knead hard for 10-15 minutes until the dough turns smooth, stretchy, and pulls away from the sides. It should pass the window test when you stretch a piece of dough, it should form a see-through layer without tearing.
- First rise:
- Cover the bowl with a slightly damp clean towel and let the dough rise somewhere warm between 24-27°C for 1.5-2 hours. The dough should double in size and feel airy.
- Shaping:
- Gently press the dough down with your palms to remove air, then cut it into equal parts based on what shape you want. For single buns, make balls by folding edges toward the center then rolling under your palm to close the bottom.
- Arranging:
- Place your buns in a greased pan or on a baking sheet with parchment paper, leaving enough room between each for them to grow.
- Second rise:
- Let your buns rise again for 45-60 minutes somewhere warm with no drafts. They should puff up noticeably and seem light and airy.
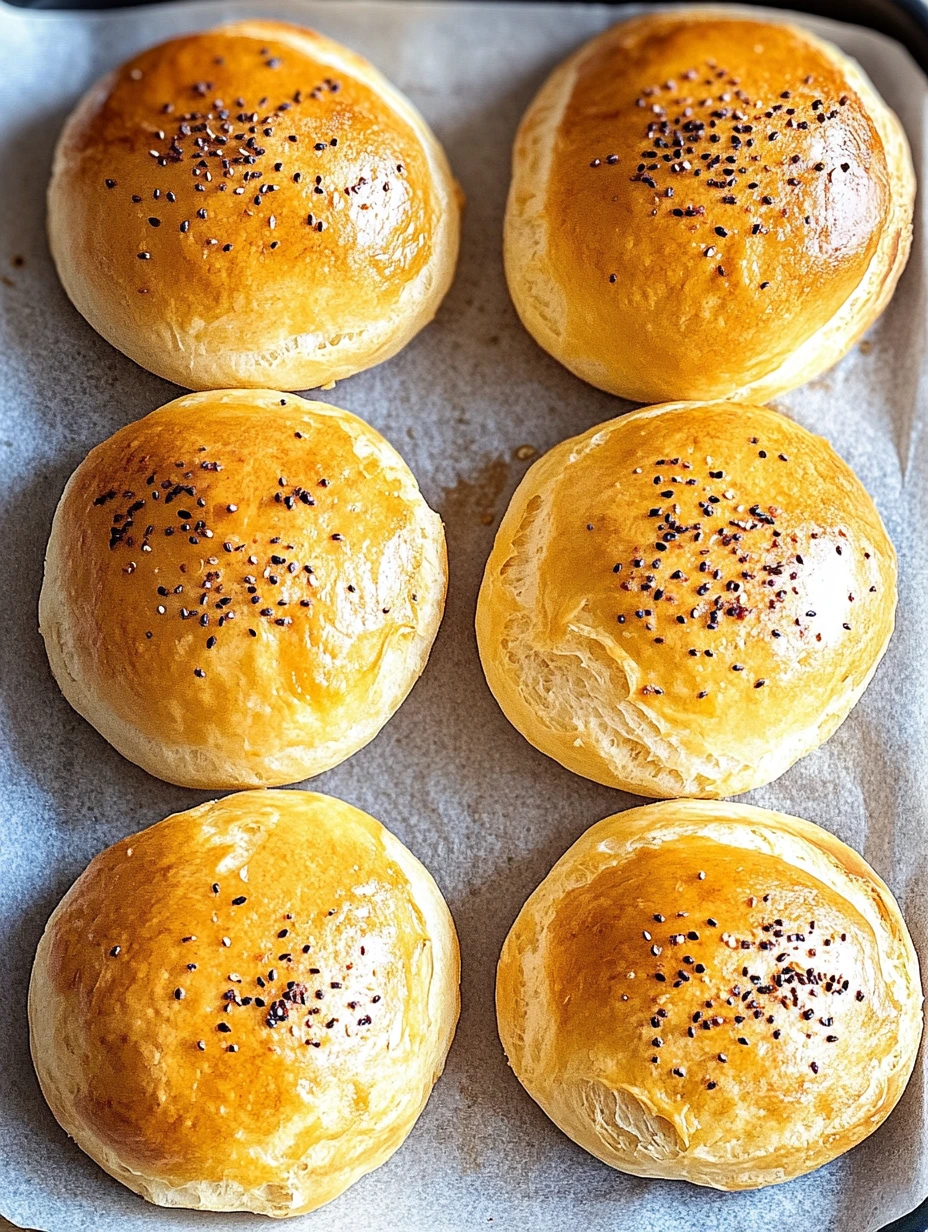
- Baking:
- Heat your oven to 180°C then gently brush the buns with the egg yolk and milk mix for a beautiful golden color. Bake for 20-25 minutes, watching the color carefully.
- Cooling down:
- Let your buns cool on a rack so the bottom doesn't get soggy. This also helps the inside set before you eat them.
The real magic of these buns is in the kneading. The first time I got that perfect texture, I finally understood why my grandma always stressed this step so much. You've got to add the butter very slowly to create that airy structure that makes all the difference.
Storing Tips
Keep your buns at room temp in a paper bag or sealed container for 2-3 days. Don't put them in the fridge as they'll dry out faster. If you want to keep them longer, freezing works great. Wrap each bun separately in plastic wrap and put them in a freezer bag. They'll stay good for up to 3 months this way. When you want to eat them, let them thaw at room temperature and warm them in the oven at 150°C for a few minutes to bring back their softness.
Tasty Twists
You can change up this basic recipe however you like. For something special, mix in 100g of chocolate chips or raisins soaked in rum. If you want fancier flavors, try adding citrus zest or swapping the vanilla for orange blossom or rose water. You can also make stuffed buns by flattening each piece before shaping, adding a chocolate square or spoonful of jam in the middle, then closing it up and forming your ball.
French Heritage
Brioche has deep roots in French cooking going back to the Middle Ages. It used to be only for the wealthy because of all the butter and eggs. Now it's a famous symbol of French baking. Different parts of France have their own styles like the Vendée brioche, Saint-Genis brioche, or the famous Parisian brioche with its topknot. This family recipe sticks to the basics while giving you an extra soft texture that reminds you of what you'd get from artisan bakers.
Frequently Asked Questions
- → Can I swap vanilla for another flavor?
Absolutely, you can use orange blossom water instead of vanilla, or try other flavors like almond extract or lemon essence.
- → What's the best way to store homemade buns?
These buns will stay fresh for 2-3 days when kept in an airtight container, or you can freeze them for later enjoyment.
- → Can I make the dough ahead of time?
You bet. The dough can rest in the fridge overnight, then you can shape your buns in the morning for a fresh-baked treat.
- → What kind of yeast works for this?
You can go with either fresh baker's yeast (20 g) or dry yeast (7 g). Just remember to wake up the dry yeast in warm milk before adding it to your mix.
- → How can I make these buns even more indulgent?
Mix in some chocolate chips or raisins, or tuck a bit of chocolate spread in the center before shaping your buns for an extra special treat.