
 Pin it
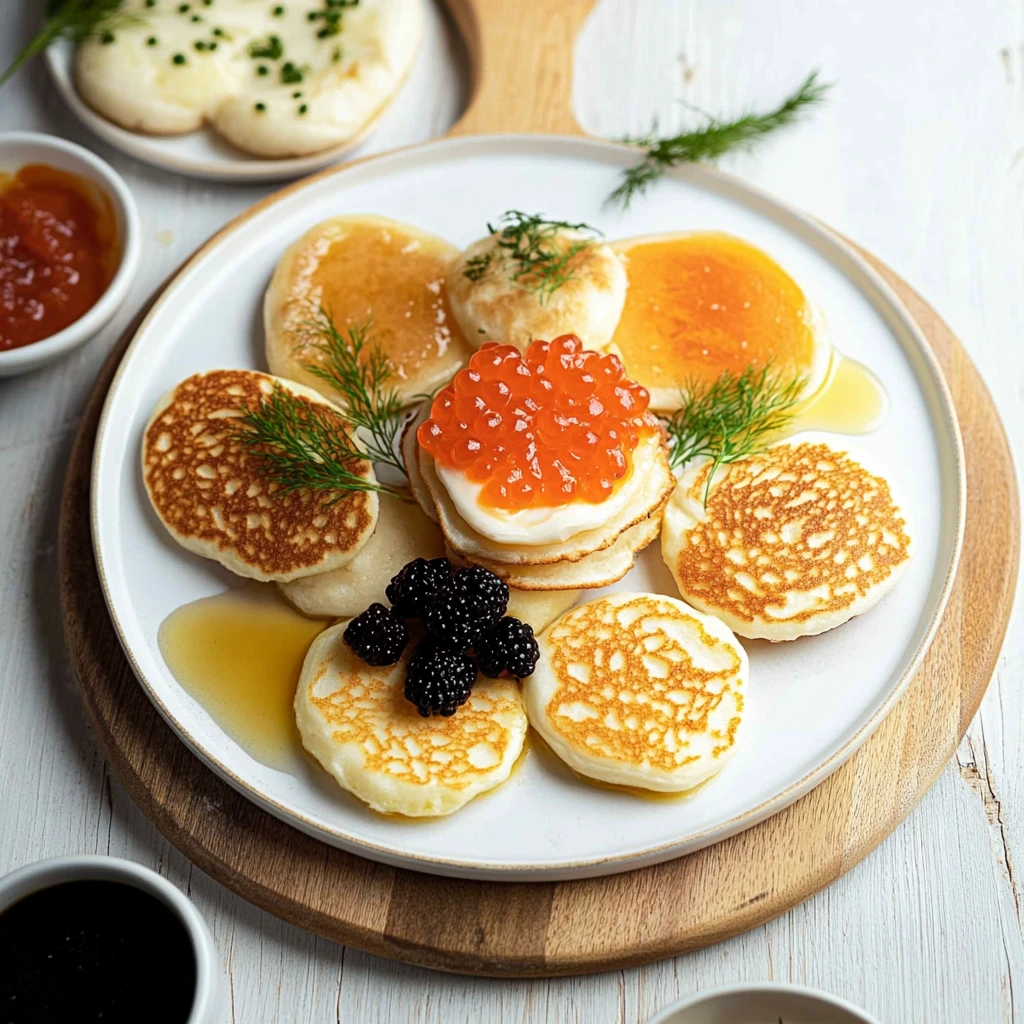
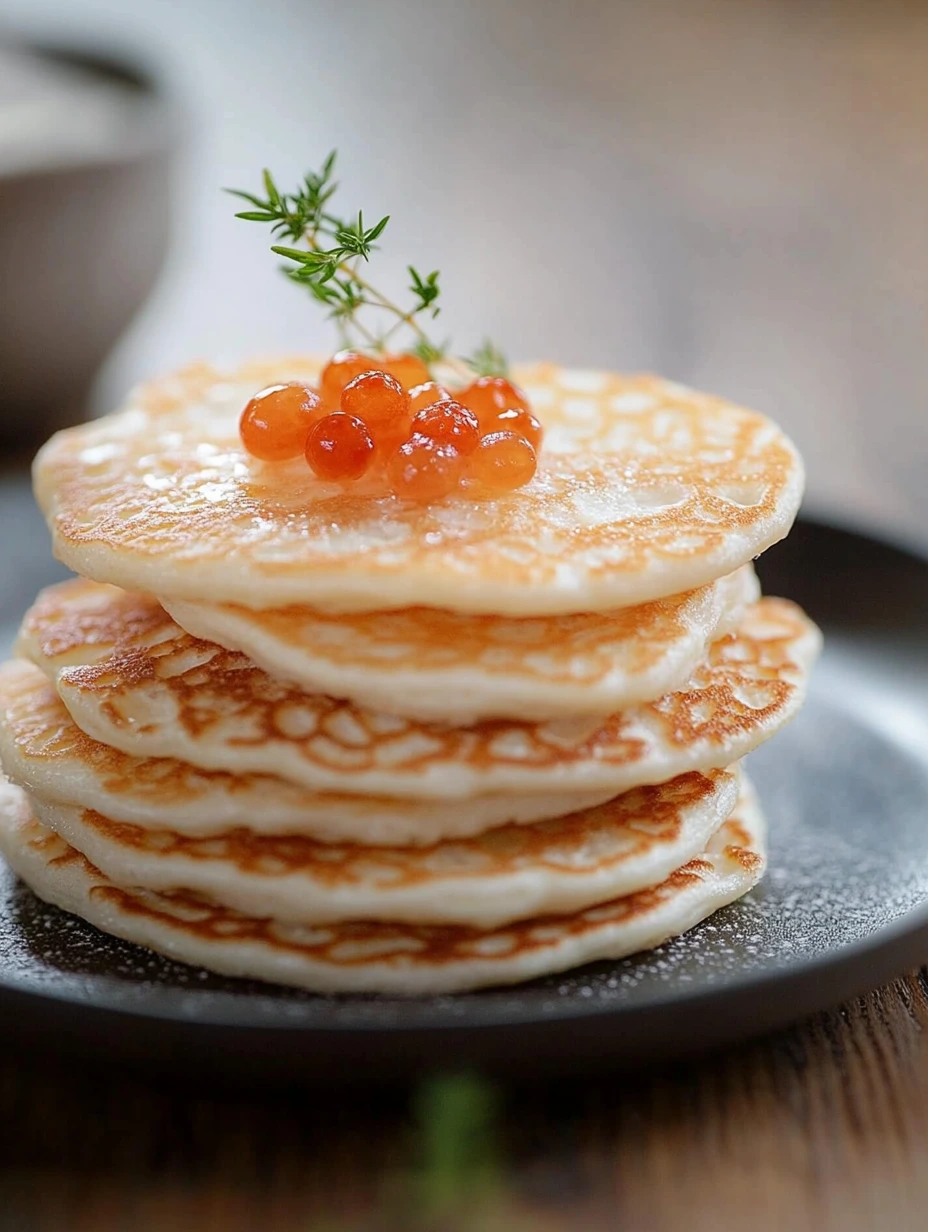
Homemade blinis bring Russian traditional cooking elegance to your table in the most approachable way. These fluffy, light mini pancakes turn a basic appetizer into something truly mouthwatering. Their airy feel and versatility make them a must-have for any celebration spread.
When I first whipped up these blinis, I couldn't believe how easy they were and how their genuine taste took me back to the authentic ones I'd tried in the best Russian households.
 Pin it
Key Ingredients
- T45 Flour: gives that light and soft texture
- Full-fat sour cream: adds softness and richness
- Whole milk: makes for a tasty, full-bodied batter
- Fresh egg: builds structure while keeping things light
- Baking powder: creates that perfect rise
In my kitchen, I always let ingredients sit out until they reach room temp. This little trick I got from my grandma really changes how the blinis turn out in the end.
Wonderful Steps
- Making your batter:
- Sift your flour with baking powder for extra fluffiness
- Gently mix in your wet ingredients
- Let it sit to build flavor
- Cooking them right:
- Put a tiny bit of oil in a hot pan
- Pour small, even spoonfuls
- Flip when you see bubbles forming
- Getting that golden finish:
- Watch the color closely
- Lay them out flat
- Keep warm without stacking
At home, we really love eating them topped with smoked salmon and dill cream. This combo brings back those authentic Northern flavors we can't get enough of.
 Pin it
Amazing Pairings
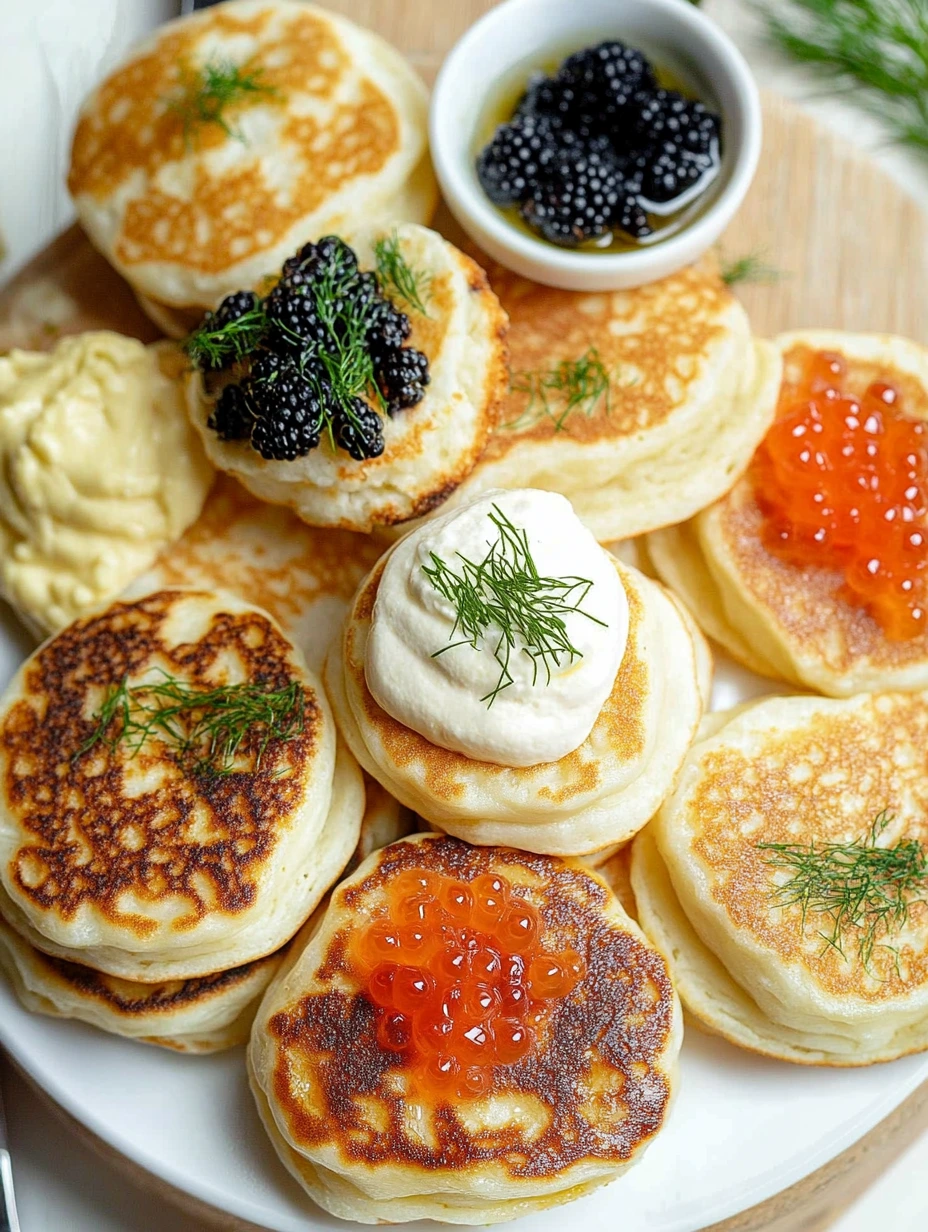
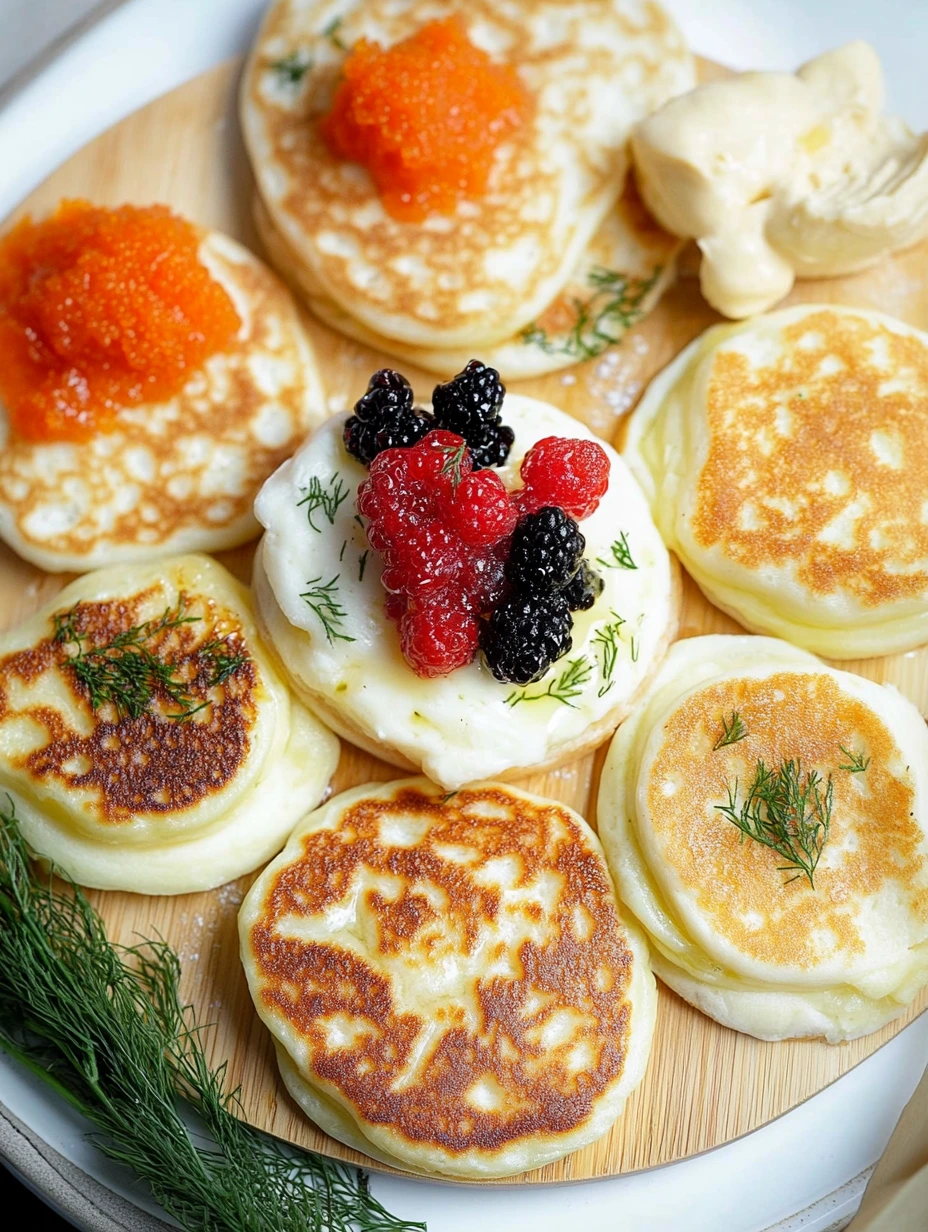
Set up different toppings for a party spread with herb cream, fish roe, smoked salmon, and homemade hummus. For something sweet, try them with honey and fresh fruit instead.
Creative Twists
Mix chopped fresh herbs into your batter, add mild spices, or try making them with poppy seeds. For something more modern, make tiny ones as bite-sized party snacks.
 Pin it
Storage Tips
Keep them in an airtight container for up to 4 days in your fridge. To freeze them, put parchment paper between each one so they don't stick together.
Blinis are my favorite mix of simple and fancy. Every time I make them, I feel that special joy of creating something that brings people together for good times and great conversation.
Frequently Asked Questions
- → Can I prep the batter ahead of time?
- Sure, mix it a few hours before and keep it chilled in the fridge.
- → How do I know the pan's ready?
- You'll see a drop of water 'dance' on it without evaporating right away.
- → Are they freezer-friendly?
- Definitely—layer them in a bag with baking paper between each one.
- → What's the best way to warm them up?
- Heat them briefly in the microwave or on low heat in a pan.
- → What toppings go well with them?
- Smoked salmon, fish eggs, herbed cream cheese, avocado spread, or even caviar.