
 Pin it
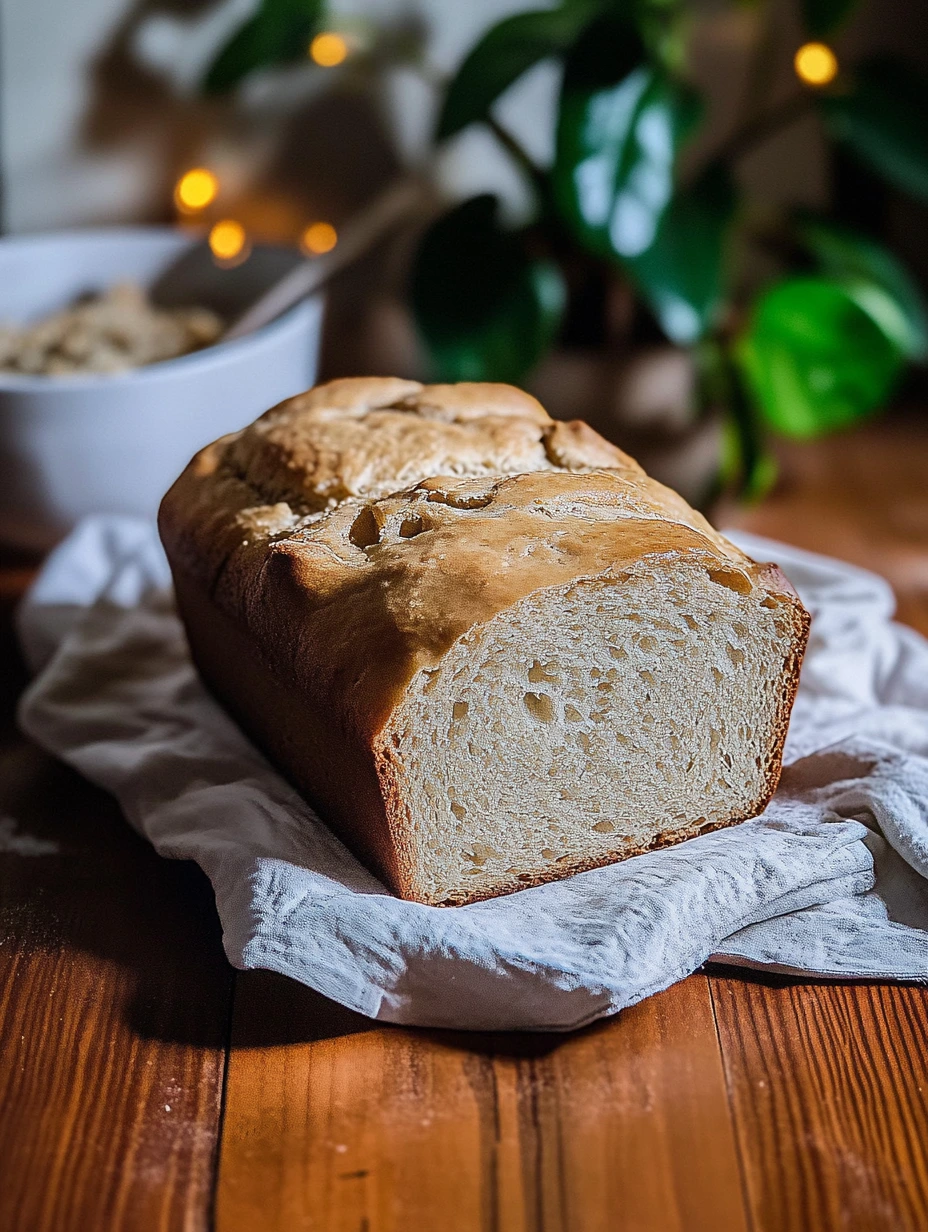
Homemade Sandwich Bread offers a tasty switch from store-bought loaves. This easy method turns basic ingredients into soft bread that's perfect for sandwiches and toast. Without white flour or refined sugar, this loaf delivers amazing texture and genuine flavor that'll make you forget about commercial versions.
The first time I made this bread, my family couldn't believe I'd done it myself. The texture was so good they thought I'd bought it from a fancy bakery. Now it's our weekend tradition, and my kids love to help with the kneading part.
Amazing Nutritional Benefits
- T80 wheat flour: Better for you than white flour, it keeps some of the wheat bran and germ, giving you fiber and minerals while maintaining a nice texture balance.
- Oat milk: Adds softness and lightness to the bread while being a great plant-based option instead of regular animal milk.
- Olive oil: Makes the bread soft inside and brings heart-healthy goodness.
 Pin it
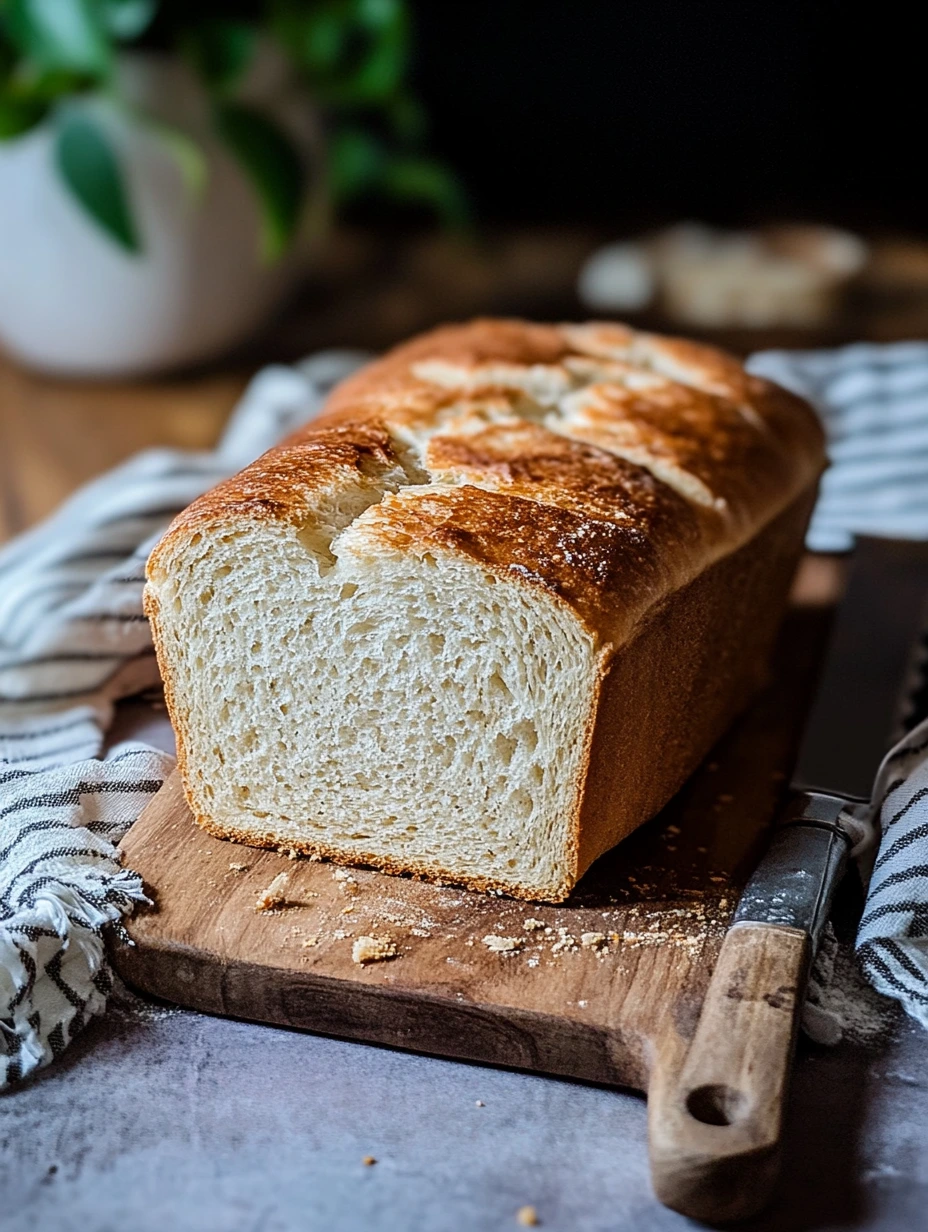
I've really taken to using T80 flour in my daily baking. Its fiber content and slight nutty taste completely change how the bread tastes. My guests always ask about that unique flavor they can't quite place.
Creating Your Dough
This step builds the foundation of your bread. In a big bowl, mix the T80 flour with baker's yeast that's been woken up in warm oat milk. Slowly add the rest of the milk until everything looks smooth. The mix should feel soft but not sticky on your hands.
First Kneading Session
Work the dough hard for at least 10 minutes. This kneading builds up the gluten network that gives your bread structure. The dough should become smooth and stretchy under your fingers. Try using the stretch and fold method to make this network even stronger.
 Pin it
First Rising Period
Put the dough in a lightly oiled bowl, cover with a damp cloth, and let it sit somewhere warm for about 1.5 hours. This resting time lets the yeast do its job, creating air bubbles that will make your bread fluffy.
Shaping Your Loaf
After this first rise, gently press the dough down, then form a rectangle that you'll roll up to create the classic sandwich bread shape. Place it in a greased loaf pan.
Second Rising Period
Let the dough rest in its pan for about 45 minutes until it doubles in size. This second rise is key for getting light, airy bread.
Salt is the often forgotten secret ingredient in my book. One day I was in a rush and forgot to add it. The difference was huge. Not only was the bread bland, but the texture was totally different, less structured. Since then, I always carefully measure my 8g of salt for every 500g of flour.
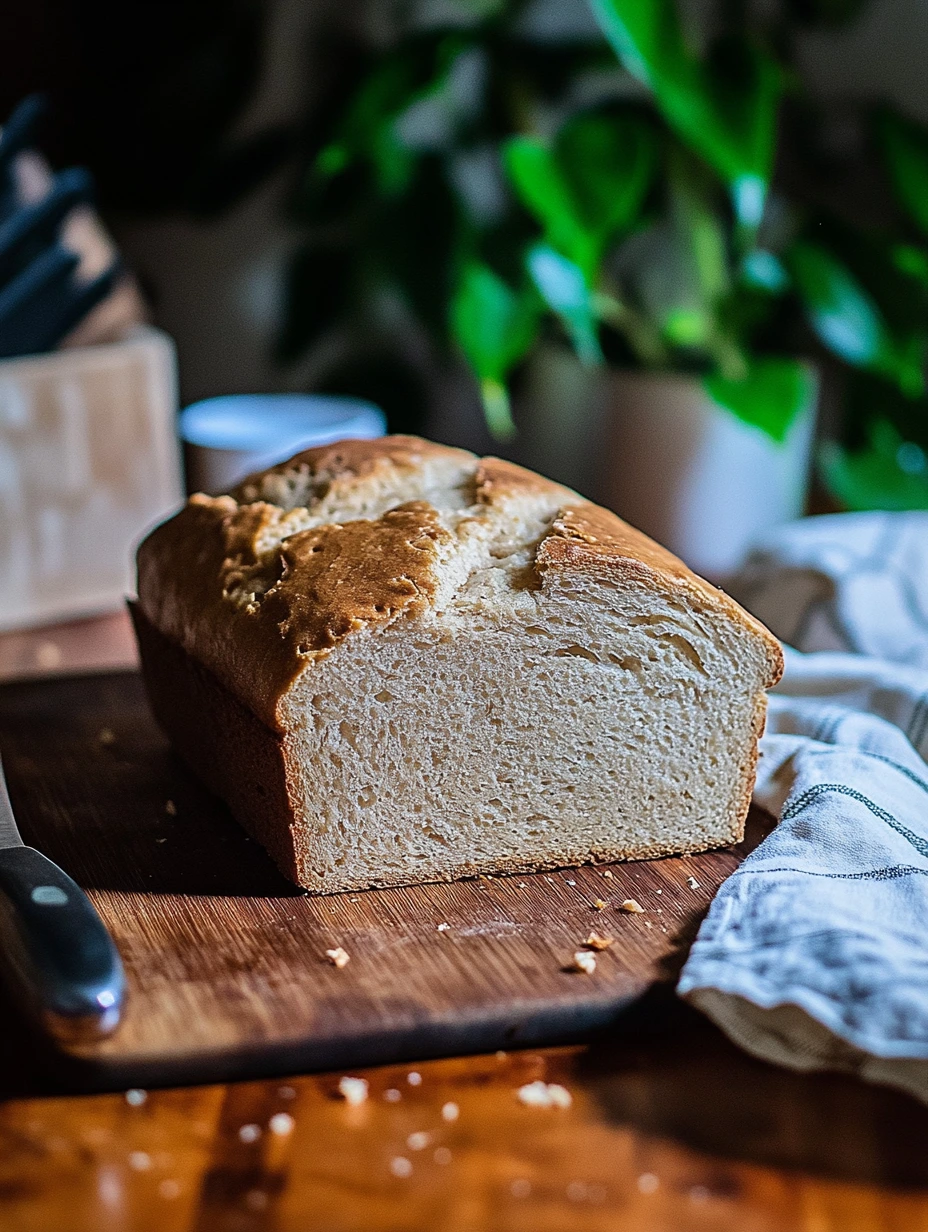
Wonderful Serving Ideas
Enjoy your bread still warm with a drizzle of olive oil and fresh herbs for a simple but fancy appetizer. For breakfast, lightly toast some slices and top with almond butter and fresh fruit for a complete, filling meal. For lunch, it's perfect with grilled veggies, avocado and hummus for a satisfying veggie sandwich.
Tasty Variations
Mix black olives and herbs into the dough for a Mediterranean version that goes great with soups and salads. For a richer bread, swap some milk for Greek yogurt which adds a slight tanginess. If you want a more rustic loaf, throw in some sunflower and pumpkin seeds for a crunchy contrast against the soft bread.
 Pin it
Best Storage Methods
Wrap your bread in a clean cloth then in aluminum foil to keep it soft for up to three days. For longer storage, slice it once it's completely cool and freeze the slices with parchment paper between them. This way you can thaw just what you need. To refresh slightly stale bread, lightly spray it with water before warming it for a few minutes in a 300°F oven.
I admit I ignored the importance of autolyse in breadmaking for too long. Now I always mix flour and liquids, then let them sit for 30 minutes before adding yeast and salt. This simple step completely changes how easy the dough is to work with and improves the final texture. Try this method and rediscover what real sandwich bread tastes like, with no shortcuts on quality or flavor.
Frequently Asked Questions
- → Can I swap T80 flour for another type?
- Yes, T65 or T110 can work, but you might need to adjust the liquid quantities slightly.
- → How do I know if it’s fully baked?
- Tap the bottom of the loaf; if it sounds hollow, it’s done. Or check the inside temperature—it should hit 90°C.
- → Can I make the dough the night before?
- Sure! Let it rise slowly in the fridge for up to 12 hours to boost the flavor.
- → What’s the best way to store this loaf?
- Keep it in a bag or airtight container for up to 4 days at room temp. You can also slice and freeze it for up to 3 months.
- → Can this recipe be made gluten-free?
- To make it gluten-free, swap the flour for a gluten-free mix and add 10g of xanthan gum.