
 Pin it
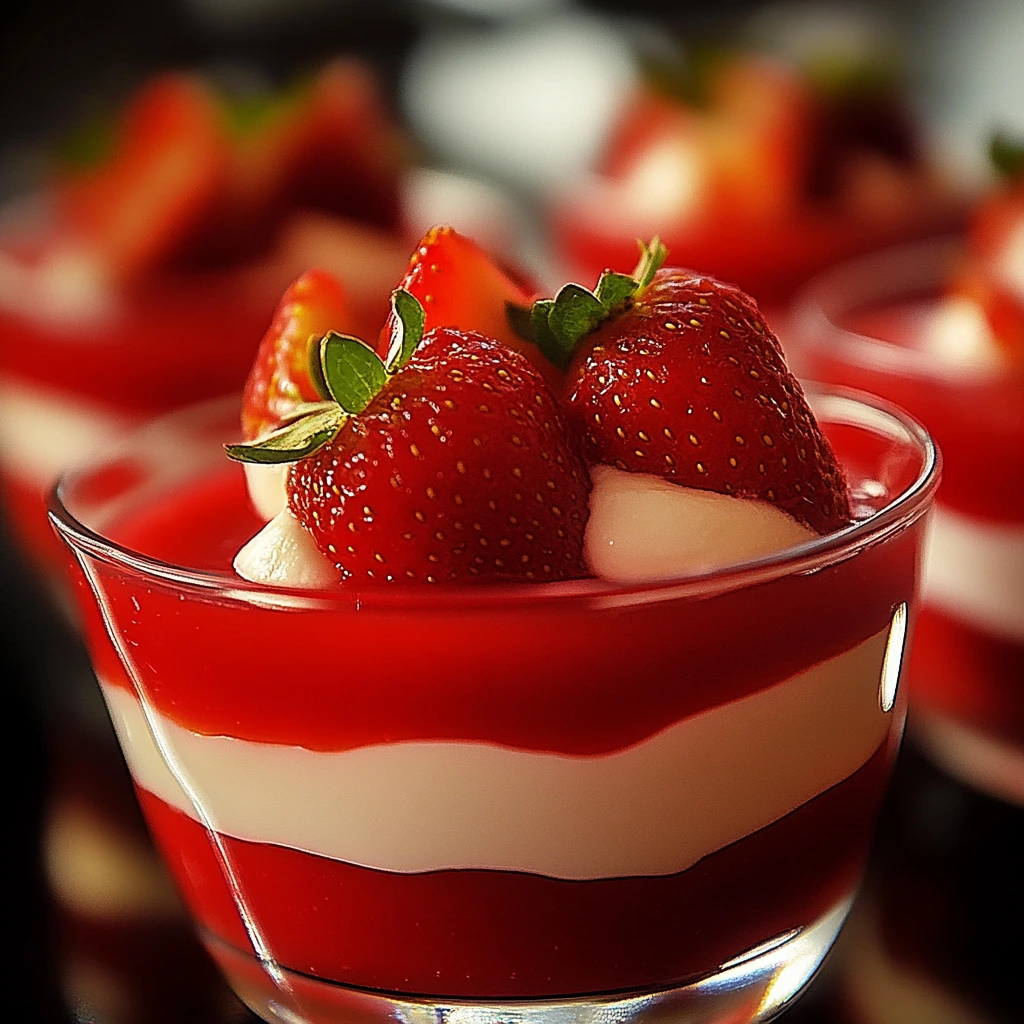
Layered strawberry jelly cups showcase summer's freshness in an attractive, colorful presentation. These see-through glasses display delicate fruit jelly layers alternating with fluffy cream, making them as beautiful to look at as they are tasty. These light, refreshing treats make the perfect summer meal finale without leaving you stuffed.
I shared these cups during a patio get-together last month and my friends couldn't get enough. The cool jelly paired with the smooth cream created a truly delicious moment we all enjoyed while soaking up the sunshine.
 Pin it
Essential Ingredients
- Strawberry gelatin: go for a good brand for real flavor and pretty pink color, it's the main foundation of your dessert
- Clean water: filtered water works best for crystal clear results, getting the temperature right matters for proper setting
- Heavy cream: pick cream with at least 30% fat so it whips up perfectly, its silky feel will create a wonderful contrast
Layer by Layer Magic
- Perfect mixing:
- Put the gelatin packet in a bowl with a cup of boiling water. Stir hard for two full minutes to make sure everything dissolves without lumps that would ruin your clear jelly.
- First cooling:
- Add cold water to your hot gelatin mix, stirring gently to keep air bubbles away. Carefully pour this mixture into your clear cups halfway up, trying not to splash the sides.
- Worth the wait:
- Put your cups in the fridge for at least an hour, keeping them totally flat for an even surface. The jelly must be completely set before adding the next layer, or they'll mix together.
- Creamy touch:
- Whip the cold liquid cream with powdered sugar and a few drops of vanilla. Start slow then speed up until it forms soft peaks that stand up without falling over.
- Careful layering:
- Gently add the whipped cream on top of the firm jelly using a piping bag for a clean, professional look. Smooth the top with the back of a spoon to create a flat base for the next layer.
- Tasty finish:
- Make another batch of strawberry jelly and let it cool at room temperature without starting to set. Pour it very slowly over the cream layer using the back of a spoon to break the fall and avoid breaking through the cream.
Gelatin is my favorite part of this treat. My grandma used it to make magical desserts that seemed to float in crystal cups. I remember her careful hand when she poured each layer, teaching me that patience makes perfect desserts.
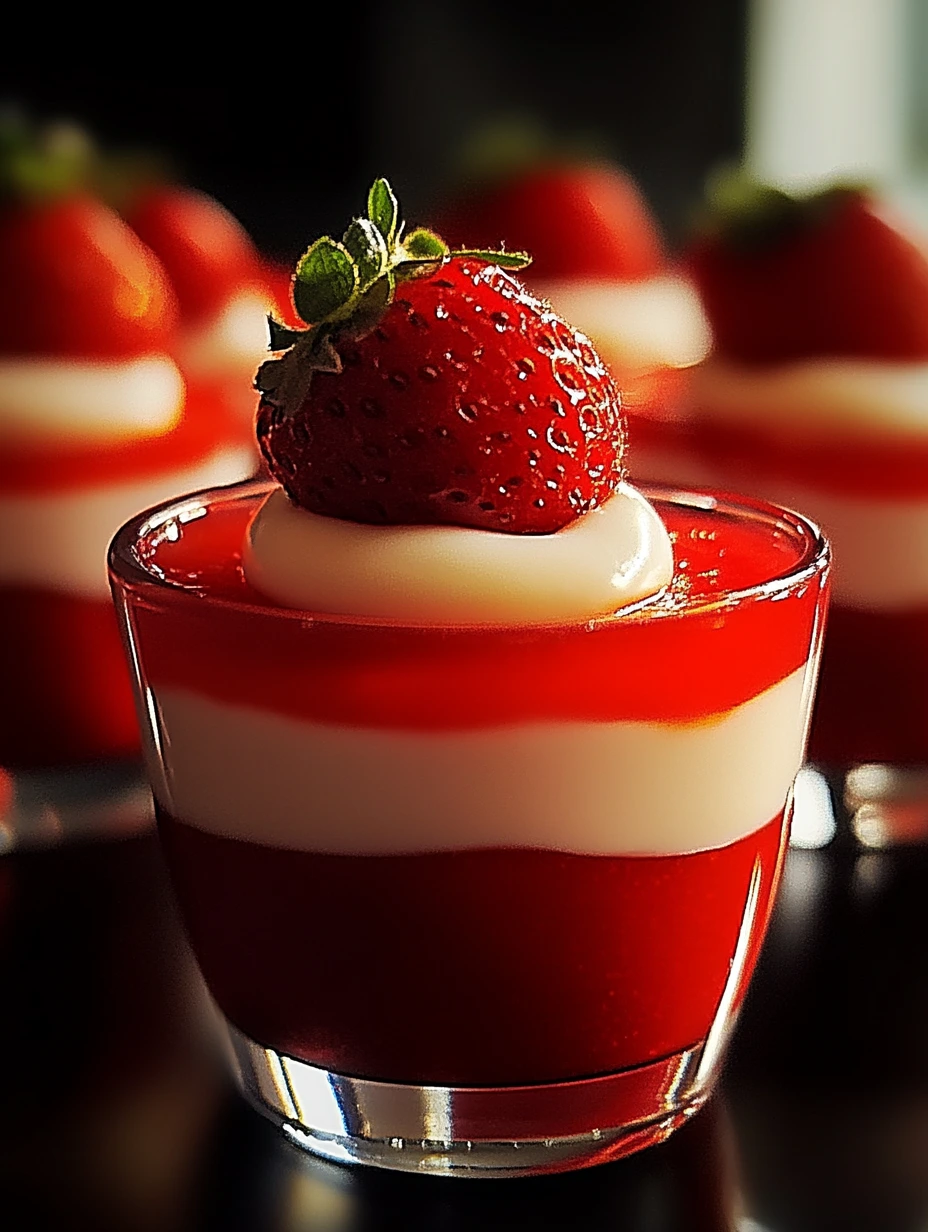
Stunning Presentation
These colorful cups can be served many ways to delight your guests. Use stemmed clear glasses for fancy dinners, or small tumblers for buffets. Serve them with thin crispy cookies like cat's tongues or Russian cigarettes that add a nice crunch against the soft jelly texture.
 Pin it
Tempting Variations
Switch up this classic by trying unexpected combinations. Swap strawberry for raspberry or peach depending on what's in season. For a fancier version, add a splash of champagne or kirsch to the jelly. You can also mix in fresh fruit pieces between layers for extra texture and stronger fruit flavor.
Keeping It Fresh
Keep your creations perfect by covering them gently with plastic wrap without touching the surface. They'll stay good in the fridge for up to three days, but the cream will get firmer over time. Take them out about 10 minutes before serving to reach the best temperature. Don't try freezing them - it'll definitely ruin the jelly's delicate texture.
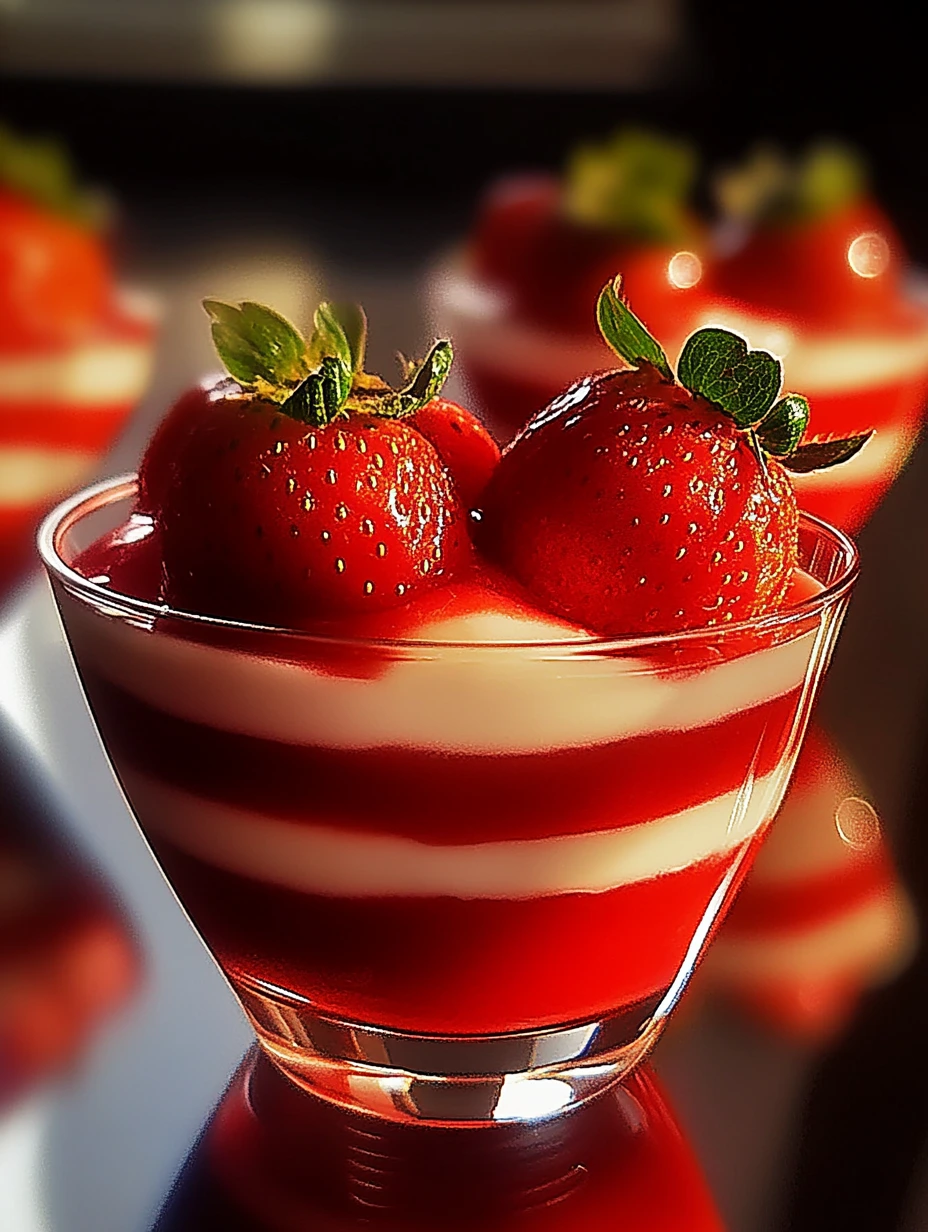
Final Fresh Touch
For a summery look, top your cups with fresh strawberries cut like fans. In winter, try candied lemon zest or crystallized mint leaves instead. A small crushed meringue on top adds a nice crunch that works great with the soft jelly texture.
 Pin it
I never get tired of making this dessert, even after dozens of times. The magic still happens when I serve these cups and watch my guests' amazed faces as they see those perfectly stacked layers. It shows that simple ingredients and a bit of patience can create an unforgettable taste experience.
Frequently Asked Questions
- → How far in advance can I make these?
- You can prep them up to two days ahead. Just keep them covered in the fridge to stop them from picking up odors.
- → Can I use other gelée flavors?
- Of course! This idea works with any gelée variety. Try raspberry or peach for a fun twist.
- → How do I keep the layers separate?
- Make sure each layer is fully set before adding the next one. Pour the liquid gently over the back of a spoon so it spreads slowly.
- → What if I don't have cream?
- You can swap out the creamy layer for sweetened Greek yogurt or even some finely chopped fresh fruit.
- → What if my gelée doesn't set?
- Double-check that you followed the hot and cold water mix correctly. If not, add a bit more gelée dissolved in warm water.