
 Pin it
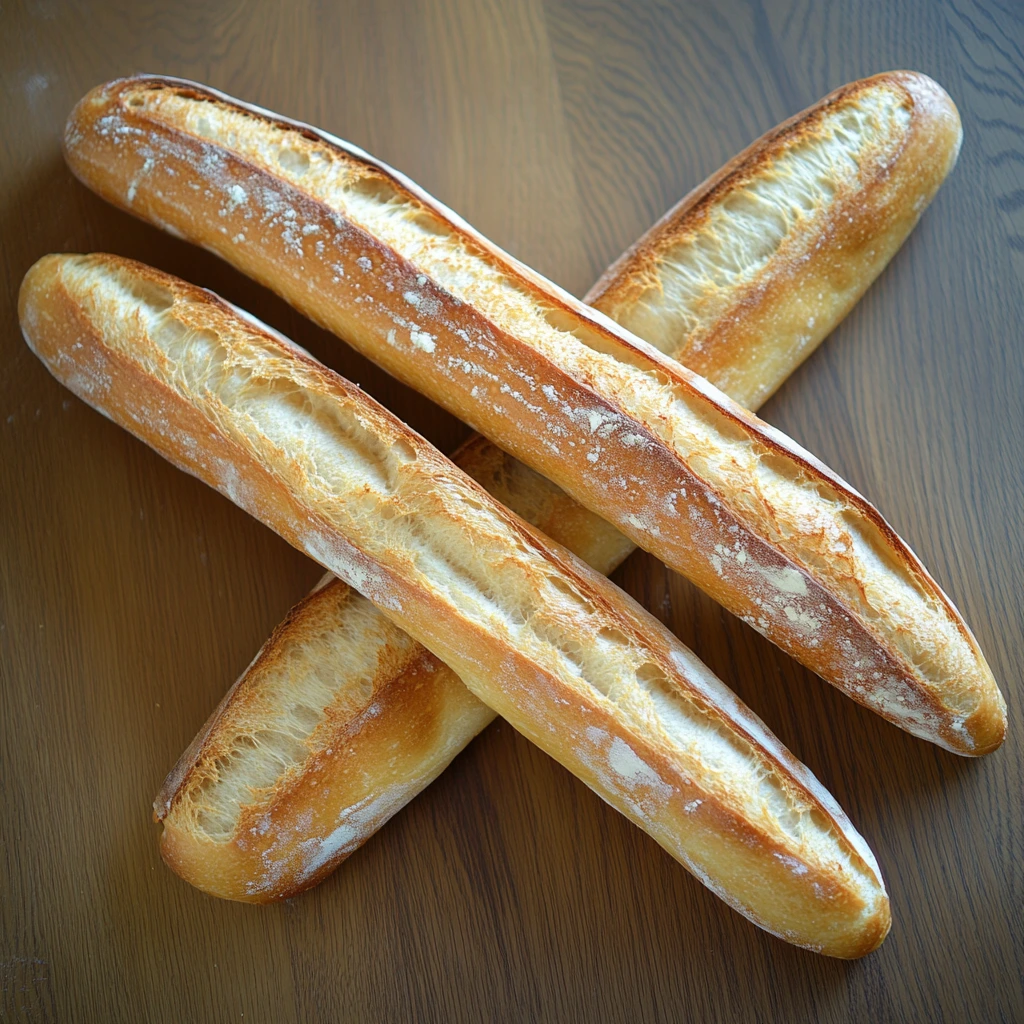
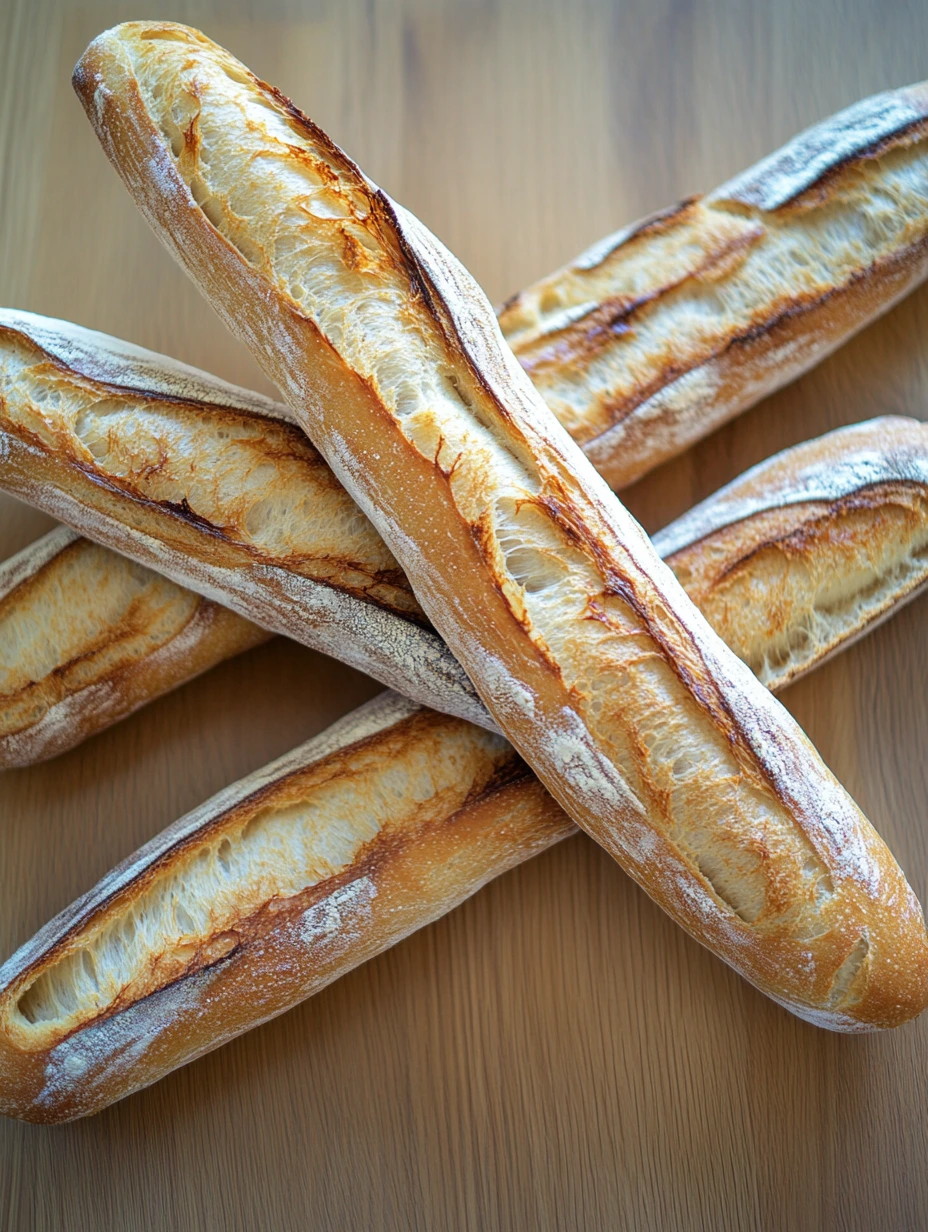
The tempting smell of a freshly baked baguette instantly turns your home into a craft bakery. This guide walks you through making those golden crusty tubes with airy holes inside that make France so proud. It's a project even beginners can tackle that brings you back to simple, real pleasures.
The first time I pulled my homemade baguettes from the oven, I felt amazing pride hearing that crust crack as it cooled on the rack. That special sound, followed by the warm smell filling the kitchen, creates a complete sensory experience you just can't get from even the best bakery products at home.
 Pin it
Key Ingredients
- T65 Flour: made just for bread, it has the right amount of protein to build the gluten network needed for that airy structure
- Sourdough starter: adds complex flavors, makes it last longer, and gives a rustic character thanks to its slow, natural fermentation
- Baker's yeast: even a tiny bit ensures steady, reliable rising, making success more certain
- Sea salt: vital for taste but also controls fermentation for gradual, managed rising
- Room temperature water: lets the yeast and fermentation work their best without temperature stress
Bread Symphony
- Getting started
- Mix the sifted flour with water in a large bowl, adding it bit by bit to avoid lumps. Let this mix rest about 30 minutes, a step called autolyse that lets the flour fully soak up water and helps gluten develop. Then add your fresh starter, yeast, and lastly the salt, making sure it doesn't touch the yeast directly.
- Thorough kneading
- To get the best gluten network, knead the dough hard for about 10 minutes with a stand mixer and dough hook, or 15-20 minutes by hand. The dough should eventually pull away from the bowl sides and become smooth, stretchy, and even. Try the window pane test to know if it's ready – gently stretch a piece of dough between your fingers until it forms a see-through membrane that doesn't tear right away.
- First rise
- Put the dough in a lightly oiled bowl and cover with a damp cloth. Let it rise at room temp (best between 71-75°F) for 3 to 4 hours, folding it three times about an hour apart. For each fold, partly deflate the dough by folding the edges toward the middle, then flip it over and shape into a ball. This spreads nutrients around, adds oxygen, and builds strength.
- Gentle shaping
- Carefully cut the dough into three equal pieces without working it too much so you keep the air bubbles. Flatten each piece into a rectangle, then fold it in thirds like a letter, pressing the seams closed with your palm. Then roll gently under your hands to make a long cylinder about 16 inches long, gradually making the ends thinner to get that classic baguette shape.
- Final proof
- Place your shaped baguettes on a well-floured cloth or directly on a baking sheet covered with parchment paper. Cover with a cloth and let rise one last time for about 45 minutes to 1 hour. To check if they're ready, press lightly with your finger – the dent should slowly fill back in. Just before baking, score the top with shallow diagonal cuts using a very sharp blade to guide the oven spring.
- Expert baking
- Heat your oven to 465°F with a baking stone or sheet inside. When you're ready to bake, create steam by pouring a cup of water into a pan at the bottom of the oven or spraying water on the walls. Get the baguettes in quickly to keep the heat in and bake for 20-25 minutes until deeply golden. The baguettes should sound hollow when you tap their bottoms, showing they're perfectly done.
 Pin it
My first try at homemade baguettes looked more like a weird stick than the elegant shape from Paris bakeries. But with each batch, my skills got better. I learned to follow the dough's rhythm instead of forcing the process. Shaping remains the most peaceful moment for me, when my hands seem to develop their own smarts while working with this living material.
Perfect Pairings
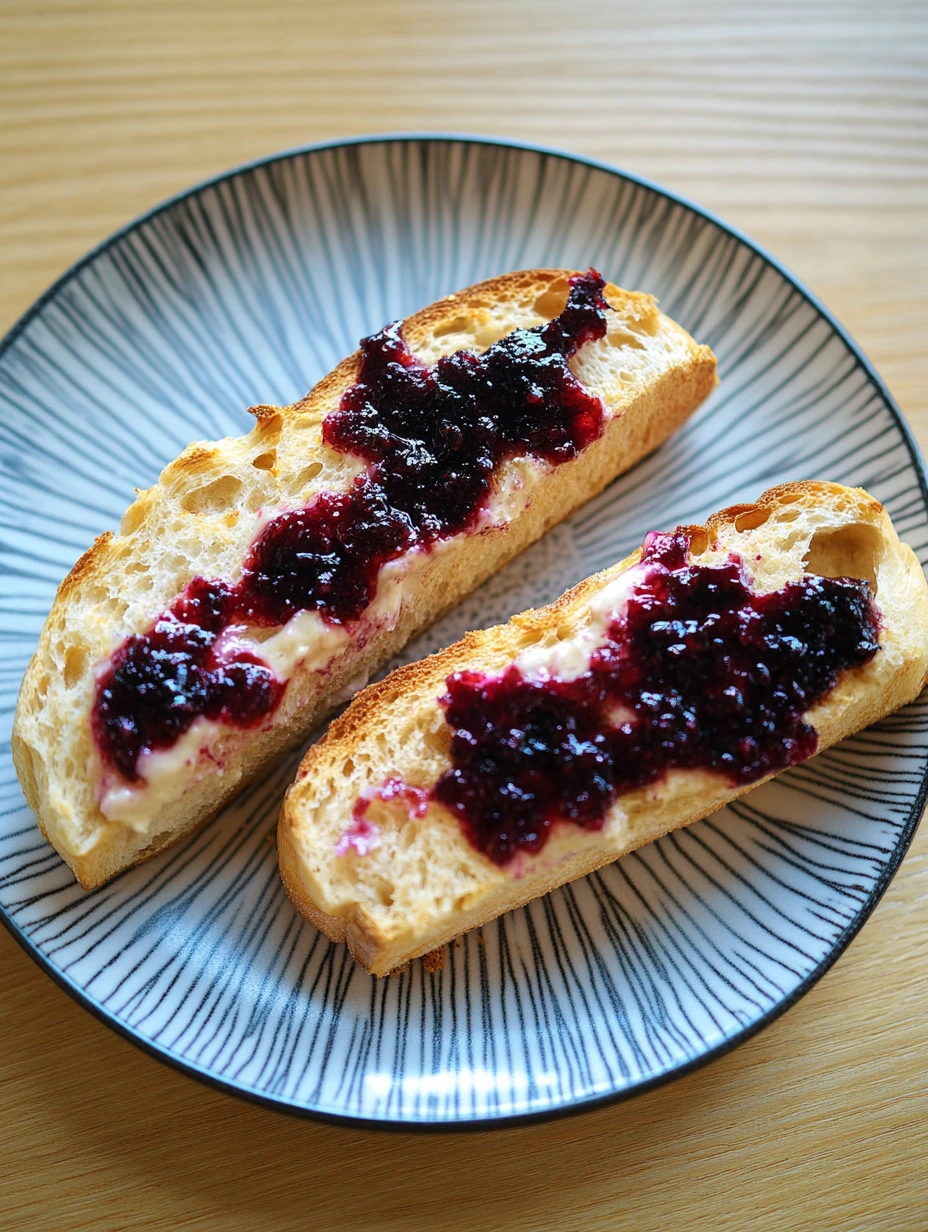
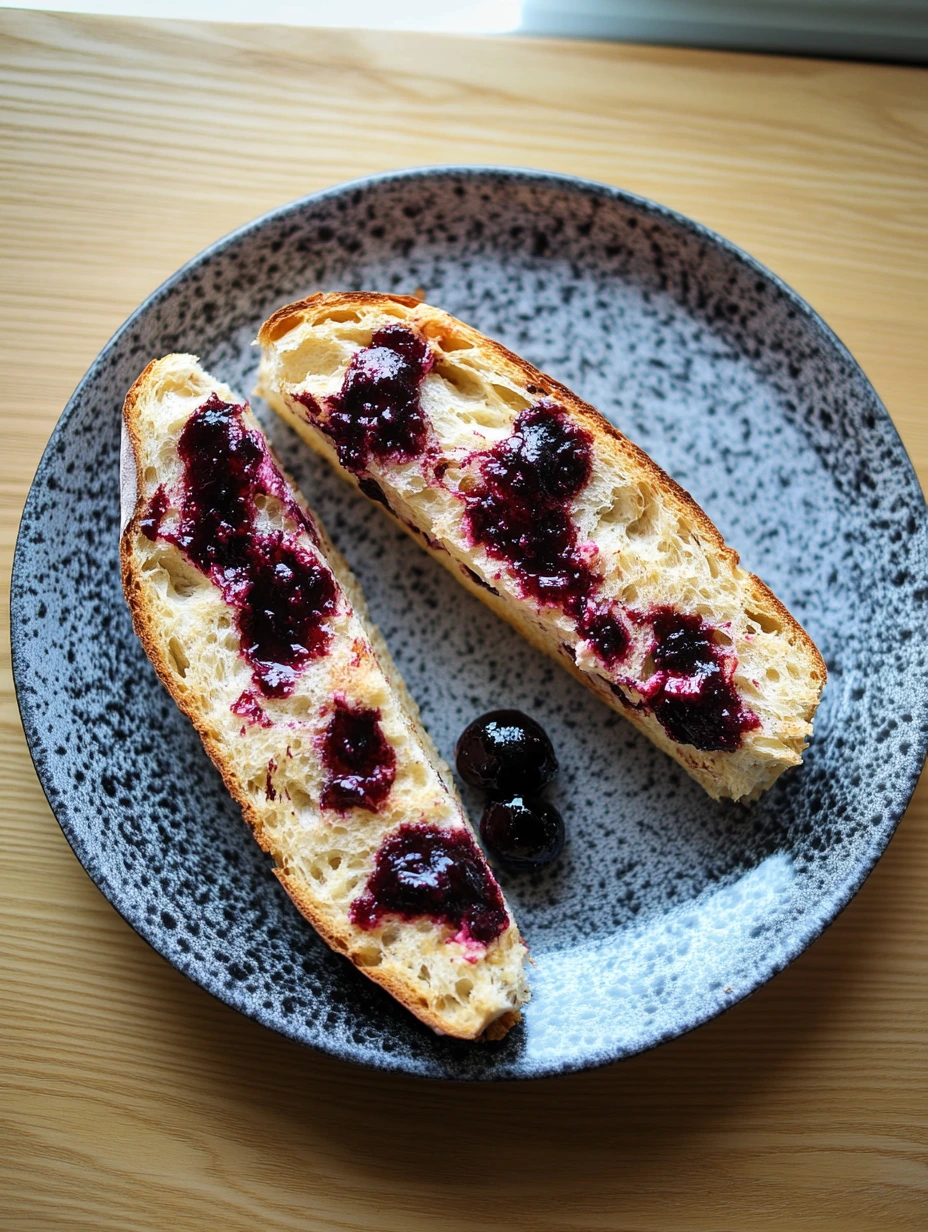
A still-warm baguette shows its real magic when simply paired with good slightly salted farm butter that melts on contact. For a traditional French breakfast, spread it with handmade jam and serve with strong black coffee. At lunch, it becomes the perfect base for a classic ham and butter sandwich or a deconstructed Niçoise salad. For appetizers, slice it thinly on an angle, brush with olive oil, toast lightly and serve with homemade spreads like hummus or olive tapenade.
Creative Twists
Once you've got the basic technique down, let your imagination run wild. Sprinkle the top with sesame, poppy or flax seeds before baking for extra visual appeal and flavor. Mix fresh herbs like rosemary or thyme into the dough for a fragrant version that goes great with Mediterranean dishes. For a sweet breakfast treat, add a handful of chocolate chips or raisins soaked in rum to the dough.
 Pin it
Best Storage
To keep your baguette's ideal texture, wrap it in a clean cotton or linen kitchen towel, never in plastic which softens the crust. You can also store it in a paper bag. To bring back its freshness the next day, pop it in a preheated oven at 300°F for a few minutes. If you've made several baguettes, freeze them once they're completely cool by wrapping them carefully in aluminum foil and then in a freezer bag.
Frequently Asked Questions
- → Can I knead the dough by hand instead of a mixer?
- Definitely! Knead by hand for around 10-15 minutes. The dough will start off sticky but will become smoother as you work it. Folding it every 10 minutes makes gluten develop easily without wearing yourself out.
- → What if I don't have a liquid starter?
- No problem! Swap the 80g of liquid starter with 5g more of baker’s yeast, making it a total of 10g. It won’t have the same depth of flavor, but it’ll still taste amazing.
- → How do I get my crust extra crunchy?
- The secret is steam. Preheat your oven to 240°C and add a metal dish with hot water at the bottom or spray water generously inside the oven before placing the dough in.
- → Can I use a different kind of flour?
- Sure! Type T65 works great, but T55 or even a T55/T80 mix is fine. For a heartier flavor, swap 20% of the flour for whole wheat. You might need to slightly adjust how much water you use since flours absorb differently.
- → What if I don’t own a baguette pan?
- Shape the dough as baguettes and lay them on a baking sheet. Use parchment paper or a floured cloth with folds to separate each one. You can even flip over a baking dish to use as a makeshift baguette pan!