
 Pin it
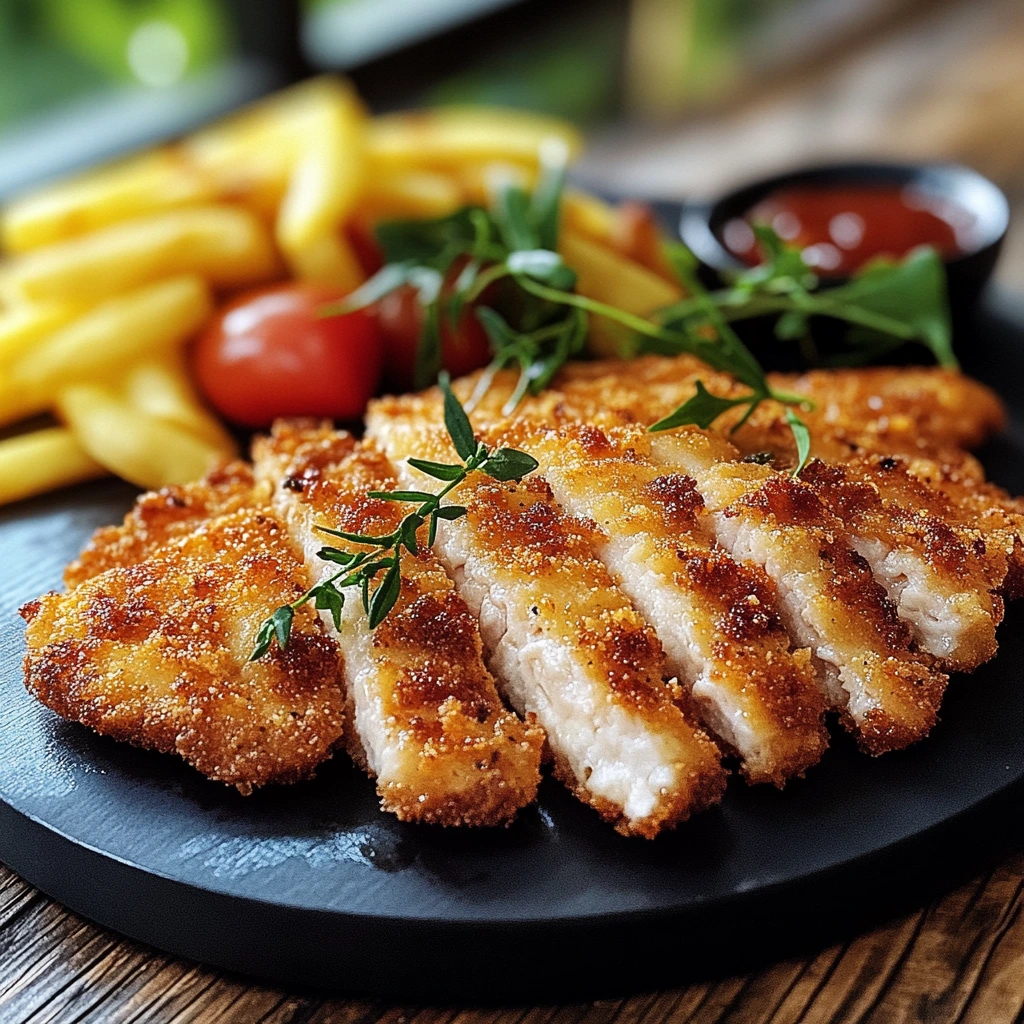
Breaded turkey cutlets give you that perfect mix of easy cooking and great taste. These thin slices of meat wrapped in golden, crunchy coating make a crowd-pleasing dish anyone can enjoy. Even kitchen newbies can whip these up, making them perfect for busy weeknights while still being versatile enough for any occasion. The combination of the crispy outside and tender meat inside creates a comforting taste experience that both kids and adults can't resist.
 Pin it
Essential ingredients
- Turkey cutlets: Go for thin, evenly sized pieces to make sure they cook the same throughout. If needed, flatten them a bit with a meat tenderizer until they're about 1 cm thick. Turkey naturally stays juicy after cooking and soaks up flavors really well.
- Breadcrumbs: Fresh breadcrumbs will give you the crunchiest results. Homemade ones from slightly stale bread work amazingly well. For something different, try Japanese panko breadcrumbs for an extra light and airy coating.
- Eggs: Eggs work as the "glue" between the meat and coating. Pick room temperature fresh eggs for better coverage. Mix them just enough to combine the white and yolk without making them foamy.
- Flour: A thin layer of flour helps the egg stick to the meat properly. Regular all-purpose flour works fine, but you can try whole wheat flour for more flavor and better nutrition.
- Seasonings: Don't skimp on flavoring your breadcrumbs. Salt and pepper are must-haves, but adding dried herbs like thyme or oregano can really boost the taste of your cutlets.
The winning method
 Pin it
- Setting up your stations:
- First, get your workspace organized with three separate areas. Put seasoned flour on a flat plate, beaten eggs in a wide, deep bowl, and breadcrumbs mixed with spices on another plate. This setup lets you work cleanly and effectively without accidentally mixing everything together.
- Drying the meat:
- Before you start coating, pat your cutlets dry with paper towels. This key step gets rid of extra moisture that might keep the coating from sticking right. Properly dried meat ensures your coating stays put during cooking and gives you that perfect crunch.
- Coating technique:
- Dip each cutlet first in flour and tap off any extra, then into beaten egg making sure to cover the whole surface. Finally, place it in the breadcrumbs and gently press to make the crumbs stick all over. For an extra thick coating, you can do the egg-breadcrumb steps twice.
- Smart cooking:
- Heat your oil until it shimmers slightly but doesn't smoke. Carefully put in the breaded cutlets and leave them alone for the first few minutes. This patience lets the coating set and start to brown. Only flip them once to keep the coating intact, and use a wide spatula to handle them carefully.
- Resting period:
- After cooking, let your cutlets sit on paper towels for a few minutes. This rest time not only removes extra oil but also lets the inside temperature of the meat settle, which makes for juicier cutlets when you cut into them.
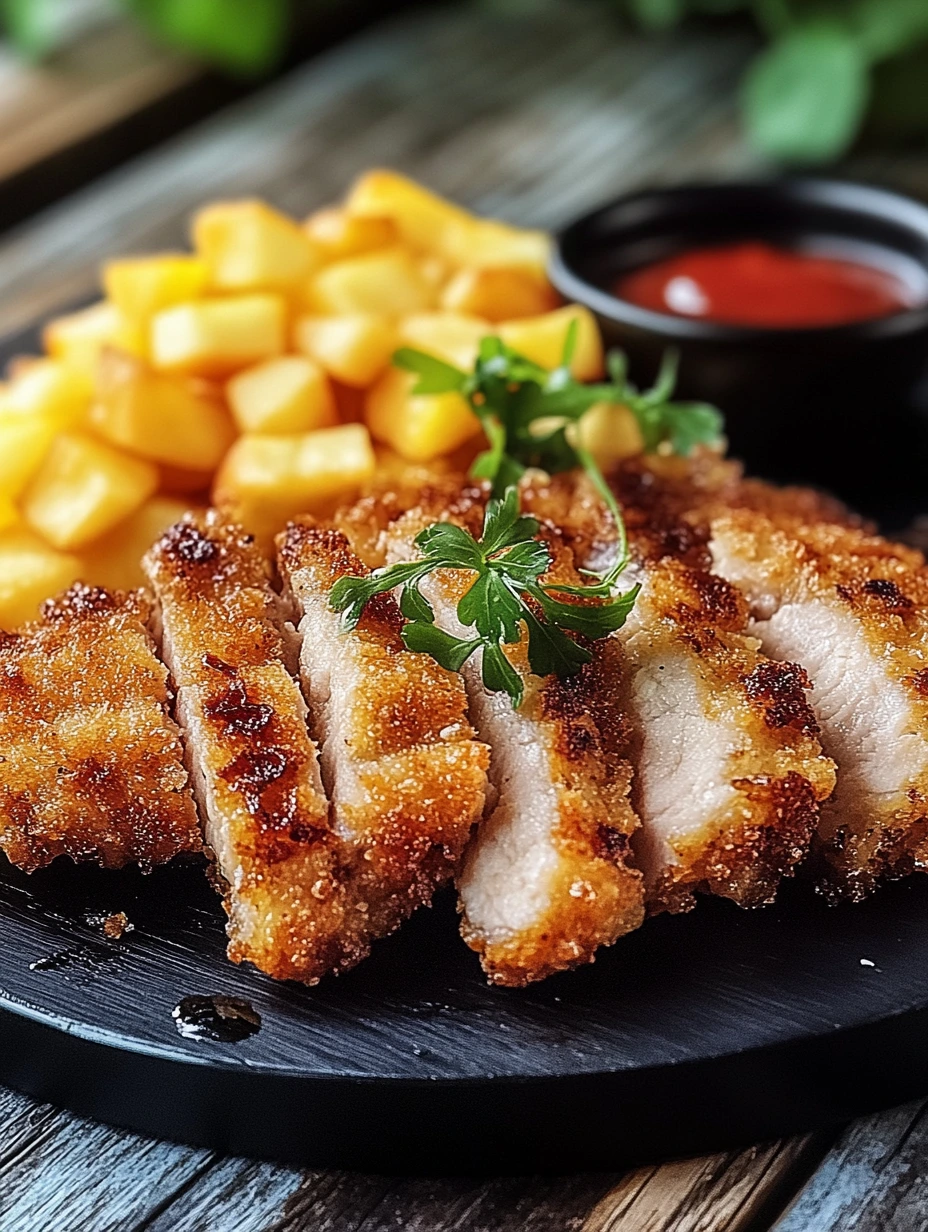
Perfect pairings
These cutlets go wonderfully with creamy mashed potatoes, whose smoothness works so well against the crunchy coating. For some freshness, throw in a cherry tomato and cucumber salad with a simple lemon dressing. When I'm hosting, I serve them with herb-roasted potatoes and green beans with almonds for a complete meal that always gets compliments.
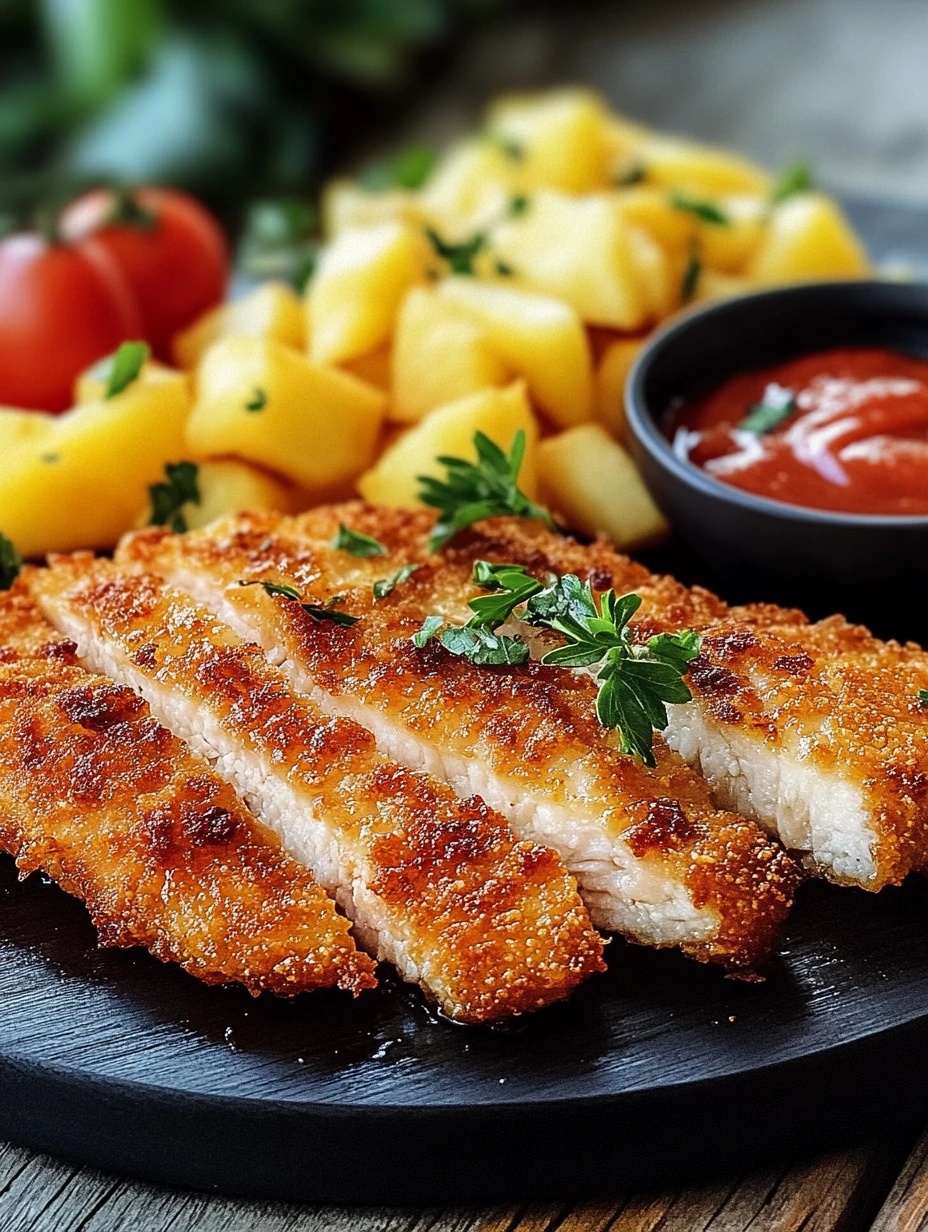
Mix it up
 Pin it
You can easily change this dish based on what you like or what's in your kitchen. For an Italian twist, mix grated parmesan and Italian herbs into your breadcrumbs, then serve with a light marinara sauce. If you enjoy stronger flavors, try adding Dijon mustard to your beaten eggs for a subtle kick. For a lighter meal, bake instead of fry: put your breaded cutlets on a rack, lightly spray with olive oil, and bake at 200°C for about 20 minutes.
Storing leftovers
To enjoy your cutlets even the next day, let them cool completely before putting them in an airtight container in the fridge. Put parchment paper between layers so they don't stick together. When reheating, don't use the microwave as it'll make them soggy. Instead, place them on a rack in a preheated oven at 180°C for about 10 minutes. If you want to freeze them, do it right after breading but before cooking, laying them on a tray without touching each other.
Frequently Asked Questions
- → How can I keep the coating from falling off?
- Pat the turkey dry before breading, and let it sit for 5 minutes after coating. Only flip once while cooking and use a large spatula.
- → Can these be baked instead of fried?
- Absolutely! Preheat your oven to 200°C, lay the coated turkey on a baking sheet with parchment paper, spray with oil, and cook for 15-20 minutes, flipping halfway.
- → What’s the right temperature for fully cooked turkey?
- The internal temperature should hit 74°C to be perfectly done. Use a kitchen thermometer to be sure.
- → Can I make these ahead of time?
- Yes, you can coat the turkey up to 3 hours early and keep it chilled in the fridge. Let them sit at room temp for 15 minutes before cooking for best results.
- → How do I make gluten-free escalopes?
- Simple swap—use gluten-free flour and breadcrumbs. These are easy to find at specialty or regular grocery stores.