
 Pin it
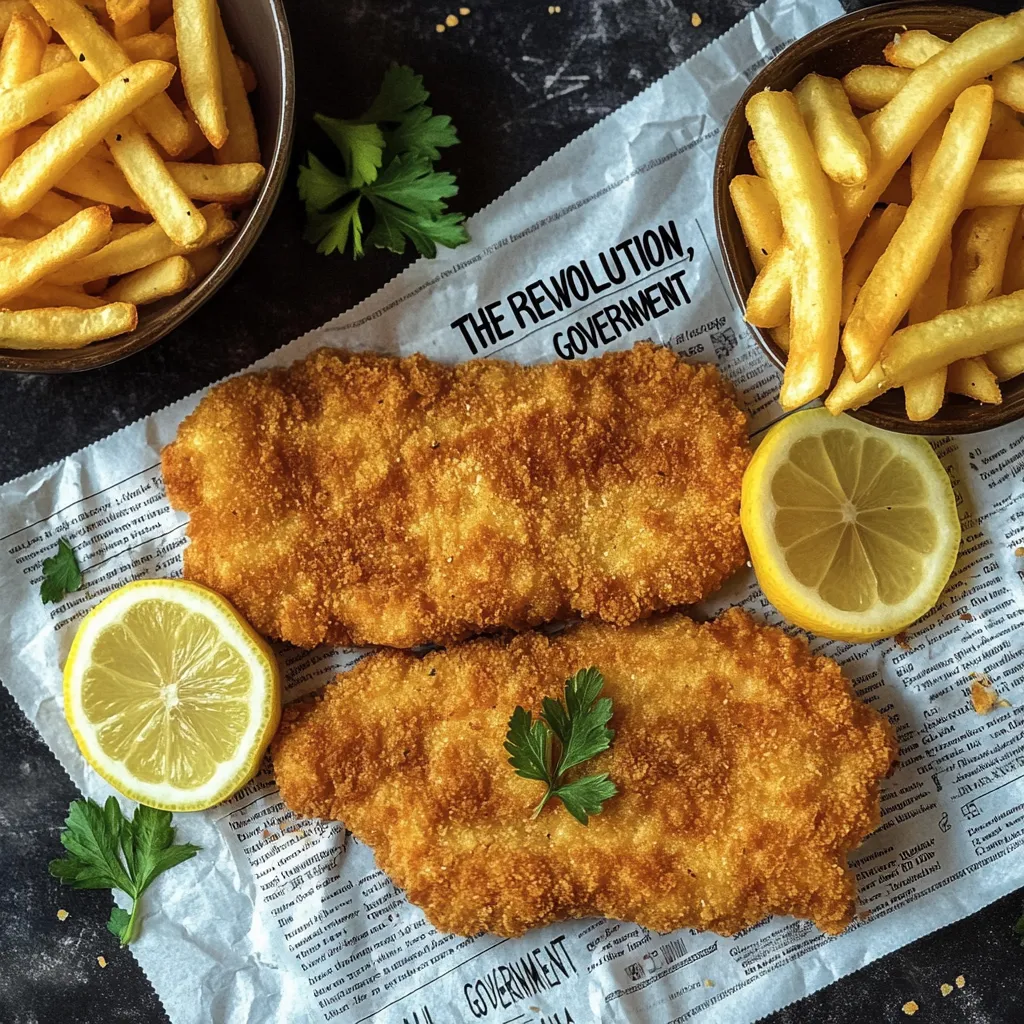
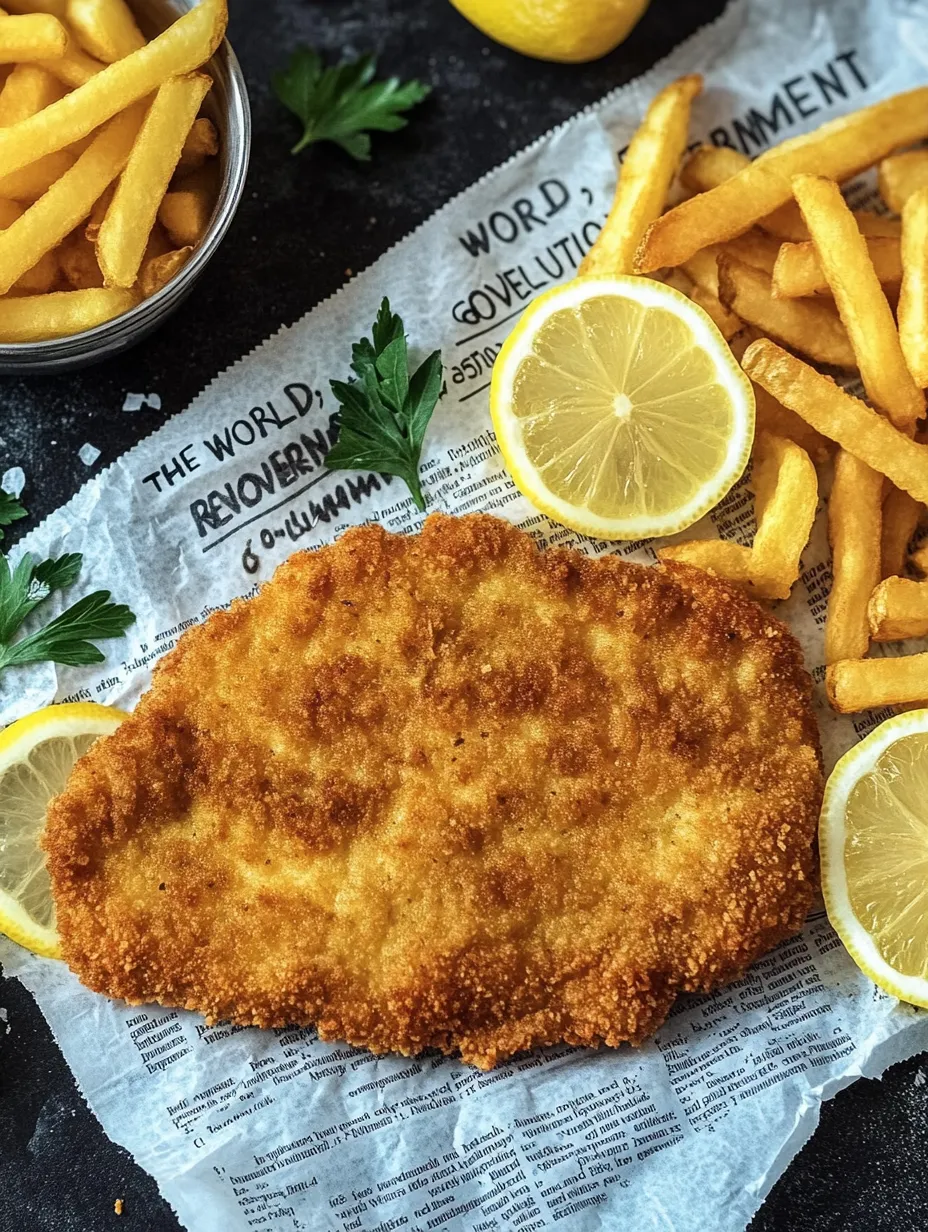
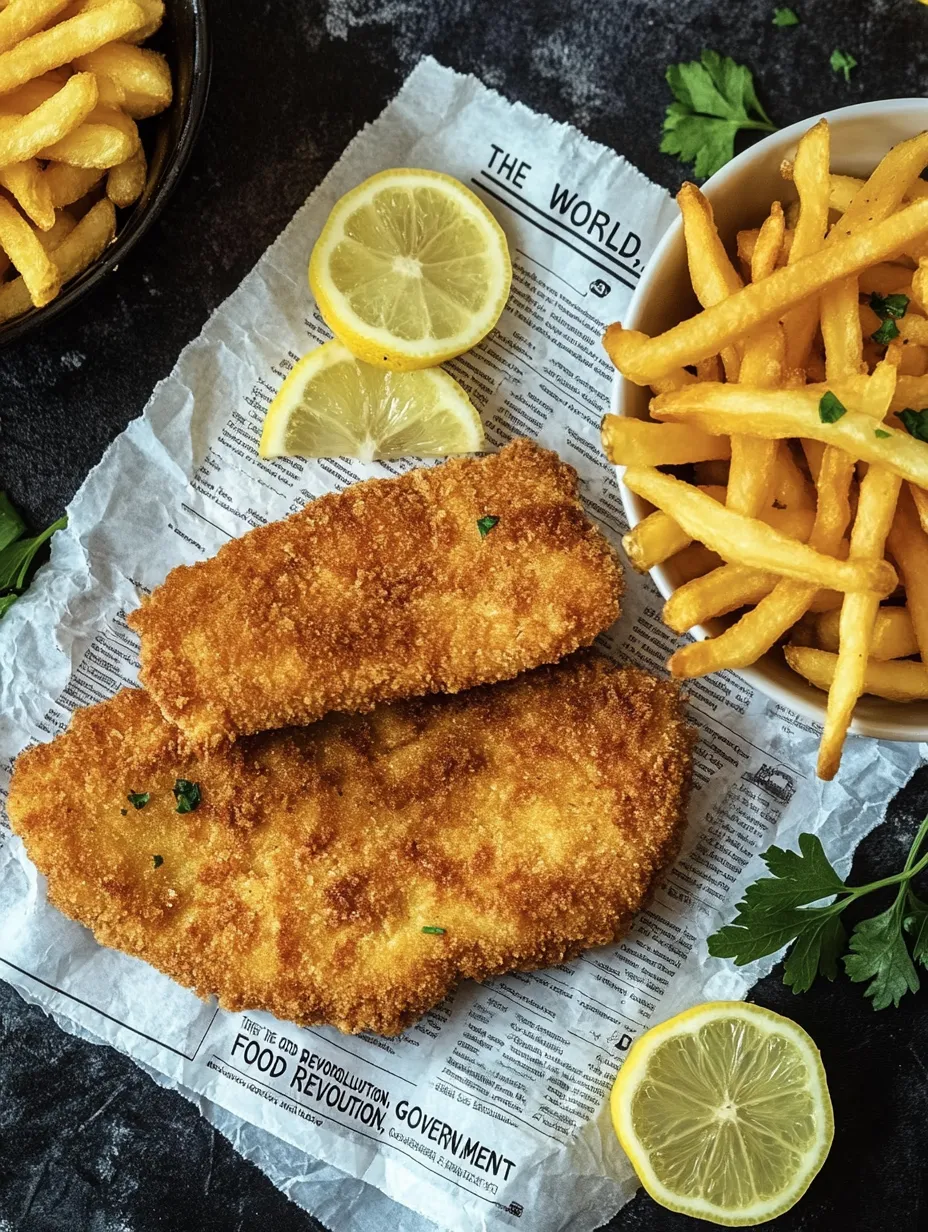
A crispy coating wraps around tender meat, while the oven does all the work to create a golden crust, without oil splatters or frying smells in your kitchen. This clever cooking method brings together the classic joy of breaded cutlets with lighter, modern cooking, amazing everyone with its authentic taste despite having much less fat. It's just right for busy weekdays but still delivers real culinary pleasure.
When I first tried this recipe, I had my doubts: would the breading actually get crispy? The result totally won me over! My family couldn't tell the difference from the traditional version, and I loved how simple it was to make. It's especially great on busy weeknights since I don't have to stand by the stove—while they're cooking, I can take care of other things.
Ingredient breakdown
- Turkey cutlets: Provide a lean base and stay particularly juicy when baked
- Eggs: Create the perfect bond between the meat and breading
- Flour: Forms the first layer that helps lock moisture inside the meat
- Breadcrumbs: Create the outer crispy layer that turns golden in the oven
- Sunflower oil: Helps browning and ensures crispiness
- Paprika powder: Gives the coating a beautiful color and subtle flavor
- Salt and pepper: Basic but essential seasoning for the meat
- Lemon: Balances the flavors perfectly when served
When picking breadcrumbs, it's worth going for quality. I prefer using homemade ones from small rolls or stale bread. Their uneven texture creates an extra-crispy coating. Otherwise, panko breadcrumbs work great too, since they're naturally fluffier and crunchier than regular breadcrumbs.
 Pin it
Cooking walkthrough
- Getting the oven ready:
- Heat your oven to 200°C conventional heat so it reaches the ideal temperature when the cutlets go in. Line a baking sheet with parchment paper, which will make cleanup much easier later. The high temperature is key for getting a crispy coating.
- Prepping the meat:
- Put the cutlets between two sheets of plastic wrap and flatten them with a meat mallet or the flat side of a heavy knife. This allows even cooking and makes the meat more tender. Then season the cutlets with salt and pepper on both sides.
- Setting up the breading:
- Arrange three deep plates side by side for your breading station: put flour in the first one, beat eggs in the second, and pour breadcrumbs in the third. This order matters for a coating that sticks perfectly. Working from left to right keeps the process clean and efficient.
- Breading process:
- First cover each cutlet completely with flour and tap off any extra. Then dip it fully in the beaten eggs and let excess drip off. Finally, coat it with breadcrumbs, gently pressing to help them stick. Place the cutlets on your prepared baking sheet.
- Oil mixture application:
- Mix sunflower oil with paprika powder and brush it evenly on the breaded cutlets using a kitchen brush. This trick gives the coating an appetizing color and helps form a crust. The oil is used sparingly so the cutlets don't sit in grease.
- Baking:
- Cook the cutlets for about 20 minutes in the preheated oven, turning them halfway through for even browning. They're ready when the coating is golden and crispy. Be gentle when flipping to avoid damaging the breading.
Good to know
- Oven-baked cutlets: Contain up to 70% less fat than traditional fried versions
- Oven heat: The even heat from the oven ensures particularly uniform browning
- Taste: Thanks to reduced fat, the spices and natural meat flavor come through better
In my family, classic cutlets were always a special Sunday meal my mom made in her big cast iron pan. When I started paying attention to healthier eating, I looked for alternatives and found this oven version. What really amazed me was how close it tastes to the original, despite using way less fat. My kids love these cutlets just as much as the classic version and ask for them regularly. For me, the biggest difference is the freedom I have during cooking time—no oil splatter on the stove, no need to constantly watch, but time to prep side dishes or take a little break for myself.
Serving ideas
This crispy oven-baked cutlet pairs wonderfully with classic sides like creamy potato salad, whose slight tanginess perfectly complements the juicy meat. For a quick dinner, crispy oven potatoes also work great and can cook at the same time, saving energy and making prep simpler. If you want something fresh and light, serve a crunchy green salad with yogurt dressing, whose freshness creates a nice contrast with the warm breading. Don't forget: fresh lemon wedges are a must, as a squeeze of lemon juice just before eating brings out all the flavors and adds a refreshing touch to the dish.
Flavor twists
This basic method can be tweaked in many ways with different flavors. For an Italian touch, mix dried Italian herbs or grated parmesan into the breadcrumbs, which goes especially well with veal cutlets. A spicy version can be made by adding garlic powder and paprika to the coating, perfect for pork. For an Asian-inspired take, you can mix sesame seeds into the breading and serve the finished cutlet with green onions and a squeeze of lime. When it comes to meat choice, variations are also possible: besides turkey, veal, pork or veggie alternatives like celery root or eggplant work perfectly with this method.
 Pin it
Storage tips
Surprisingly, these oven-baked cutlets stay crispy even after storage, if kept properly. After letting them cool completely on a rack, which prevents condensation that would soften the coating, the cutlets can be stored in an airtight container in the fridge for up to two days. For reheating, the oven works best: at 180°C for about 10 minutes, the coating becomes crispy again and the meat stays juicy. Microwaving isn't recommended as it makes the coating soggy. For longer storage, breaded but uncooked cutlets can be frozen then placed directly from freezer to oven—in this case, add about 10 minutes to the cooking time.
Finding this oven-baked cutlet recipe changed how I cook. It perfectly shows that traditional dishes can keep their charm even in lighter, modern versions. What started as an experiment to cut down on fat and keep the kitchen cleaner has now become our family's go-to recipe. I love when good food and everyday practicality come together so nicely. Try this recipe—it might become a new staple in your kitchen too!
Frequently Asked Questions
- → Will oven-baked schnitzels really turn out crispy?
- Absolutely! Brushing with oil and cooking at the right heat gives them a great crunch. Flip them halfway and oil both sides for that golden coating.
- → Can I swap turkey for chicken?
- Of course! Chicken works great. Just slice pieces evenly and flatten them well to ensure even cooking. The bake time stays the same.
- → How do I keep the coating from falling off?
- Stick to this order: flour, egg, breadcrumbs. The flour helps the egg stick, and gently pressing the coating locks it in. Letting them rest 10 minutes before baking helps too.
- → Can I bread the schnitzels ahead of time?
- Yep! Prep up to 2 hours early. Keep them chilled until ready to bake. Take them out 15 minutes before cooking to lose the chill.
- → What sides go best with them?
- Sautéed potatoes, a green salad, rice, or steamed veggies are great. Add some sauce, like ketchup or a tangy cream, and always squeeze fresh lemon on top.
- → Can I make this gluten-free?
- Sure! Just switch to gluten-free flour and breadcrumbs. Follow the same steps and you'll get perfectly crispy schnitzels.