
 Pin it
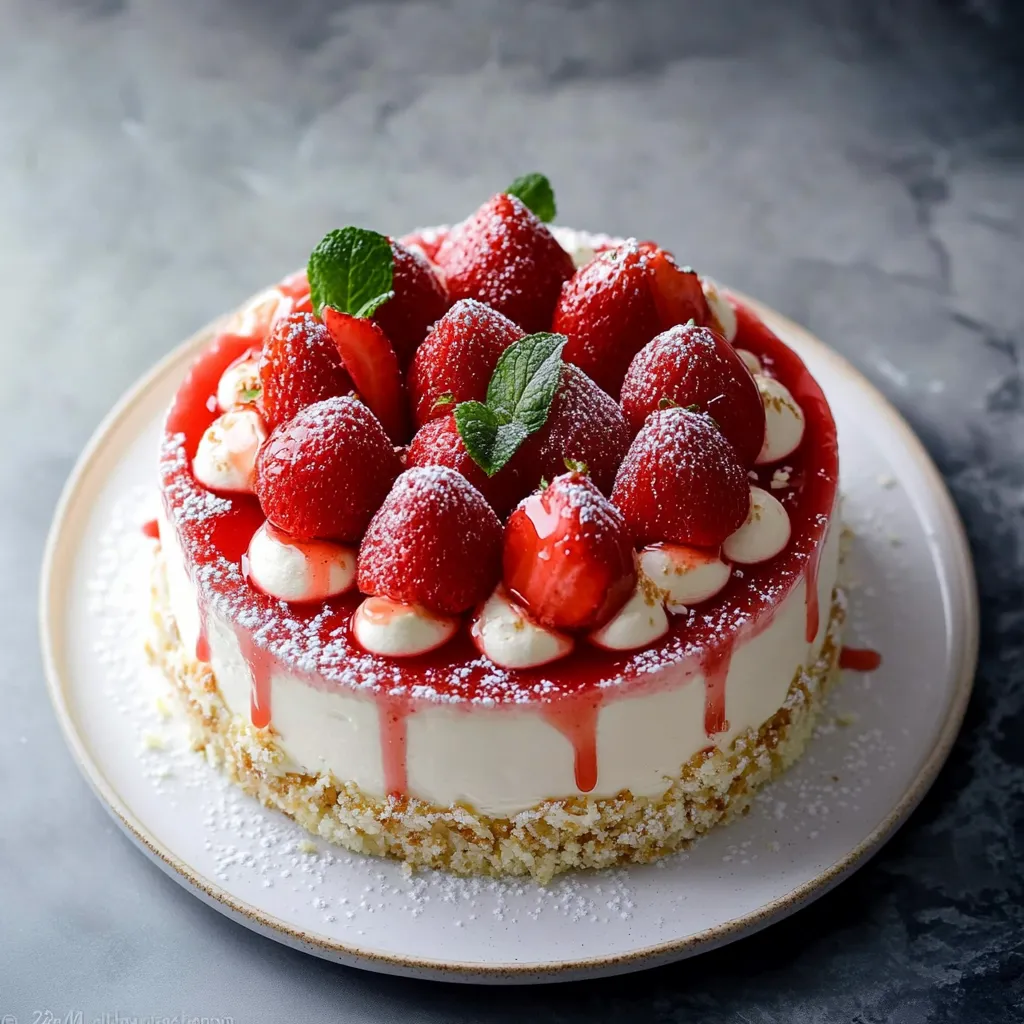
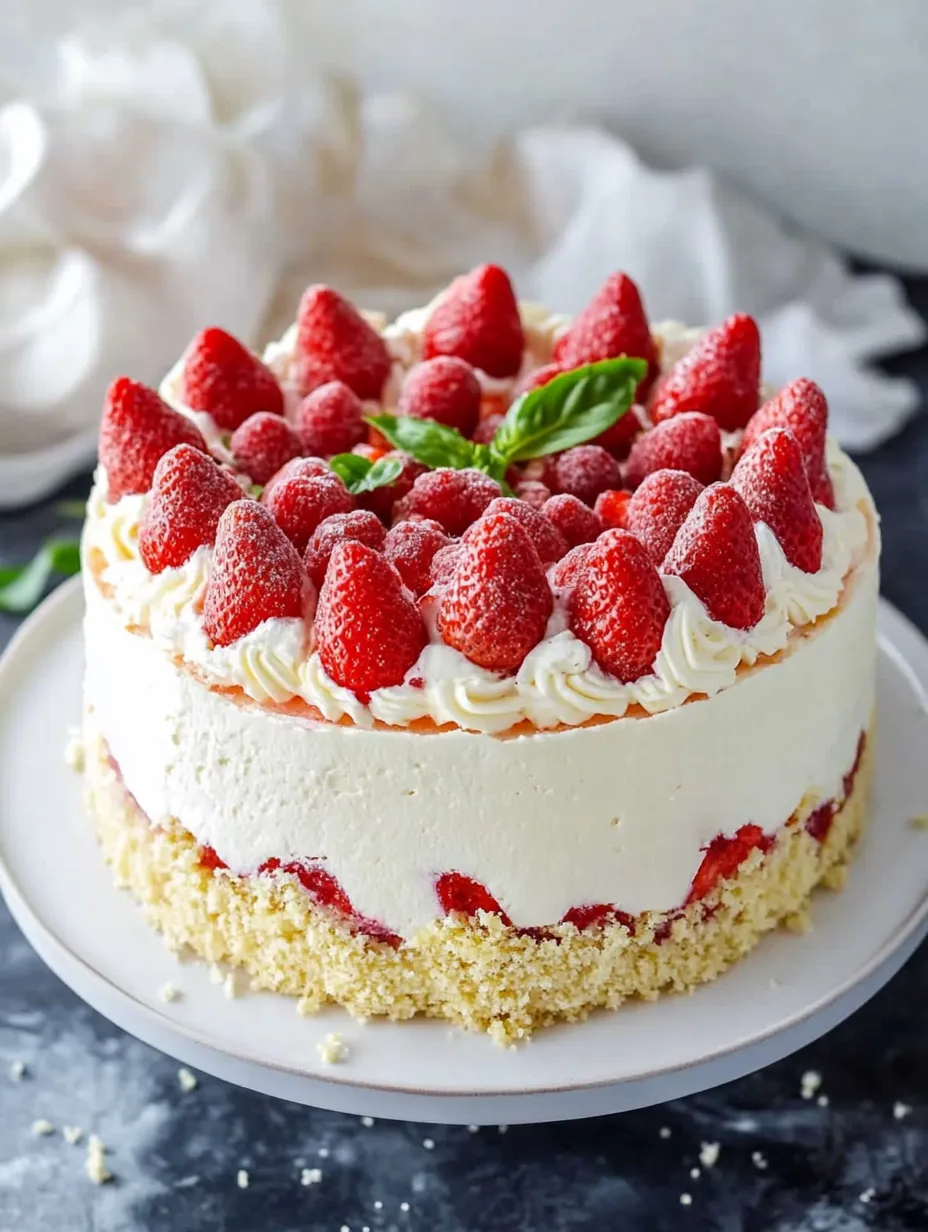
Homemade strawberry cake stands out as the ultimate spring dessert. This simplified yet equally delicious version skips the almond paste to spotlight the perfect marriage between soft sponge cake, smooth vanilla cream, and sun-ripened fresh strawberries. The overall lightness makes it an ideal treat for celebrating special occasions or simply enjoying strawberry season to the fullest.
I found my passion for making strawberry cake again when my daughter asked for a strawberry dessert on her birthday. After years without making one, I wanted to create a lighter, simpler version of this classic. The outcome was better than I expected - not only was my little girl thrilled, but all our guests thought this dessert looked like it came straight from a professional bakery.
Key Ingredients
- Fresh strawberries: Pick ripe, firm, and fragrant ones. Go for seasonal, locally grown strawberries if possible, with uniform sizes for the best visual effect.
- Room temperature eggs: They're crucial for a fluffy, soft sponge cake. Take them out of the fridge at least an hour before use to make sure they whip up properly.
- Granulated sugar: It adds just enough sweetness without making the texture heavy. Fine sugar blends better into the mixtures.
- Sifted flour: Sifting prevents lumps and ensures a light sponge cake. Type 45 flour works best for extra fineness.
- Whole milk: Its fat content adds richness to the pastry cream. Don't swap it for skim milk as you'll lose that creamy texture.
- Vanilla bean: The seeds will dot the cream with tiny black specks and give it an amazing authentic flavor.
- Unsalted butter: For the mousseline cream, pick quality butter that will be whipped until fluffy. Getting the temperature right is vital for success.
- Cornstarch: It helps stabilize the pastry cream and gives it the perfect texture without using gelatin.
 Pin it
Detailed Preparation
Perfect Sponge Cake
Start by vigorously beating whole eggs with sugar for several minutes until the mixture triples in volume and turns pale and fluffy. This key step adds the air needed for a light, fluffy sponge cake.
Gentle Folding
Add the previously sifted flour in batches, folding it in gently with a spatula using upward movements from bottom to top. This method keeps the air bubbles trapped in the batter.
Controlled Baking
Pour the mix into a buttered and floured mold or one lined with parchment paper. Bake at 180°C for 25-30 minutes, making sure not to open the oven door during the first 20 minutes to avoid any collapse.
 Pin it
Refined Pastry Cream
In a pot, heat the milk with the split and scraped vanilla bean. At the same time, whisk egg yolks with sugar until pale, then mix in the cornstarch. Slowly pour the hot milk over this mixture while constantly stirring.
Precise Cooking
Put everything back in the pot and cook on medium heat, stirring non-stop until it thickens. The cream is ready when it coats the spatula and your finger leaves a mark in it.
Silky Mousseline Cream
Once the pastry cream has cooled to room temperature, gradually add the softened whipped butter. The secret is having both mixtures at the same temperature to avoid any separation.
Step-by-Step Assembly
Place a syrup-soaked sponge disk in the center of a pastry ring lined with acetate. Neatly arrange halved strawberries against the wall, cut sides against the acetate.
 Pin it
Generous Filling
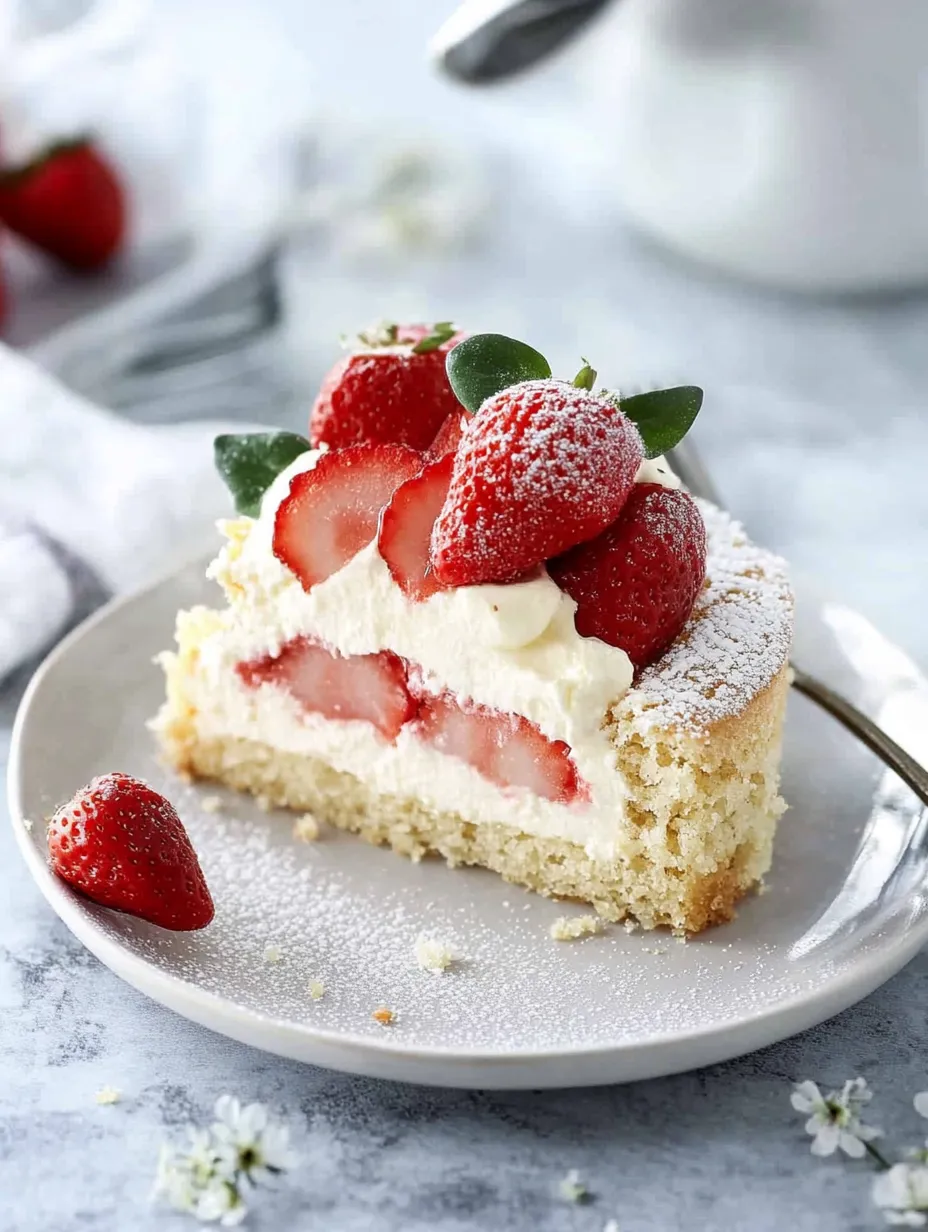
Fill the inside with mousseline cream using a piping bag, making sure to fill the gaps between strawberries. Carefully place whole strawberries in the center then cover them with a thin layer of cream.
Careful Finishing
Put the second soaked sponge disk on top, then spread the remaining mousseline cream, smoothing the surface perfectly with an angled spatula. Refrigerate for at least 4 hours before carefully removing the ring and acetate.
My personal trick is adding a few drops of lemon juice and a hint of strawberry liqueur to the soaking syrup. This subtle detail wonderfully brings out the strawberry flavor without overpowering everything else. My family really enjoys this refreshing touch that balances out the richness of the mousseline cream.
Practical Solutions
Don't worry about the special equipment mentioned in the original recipe. Without a professional pastry ring, a regular springform pan works just fine. Just line it with lightly buttered parchment paper to keep the edges neat. If you don't have acetate, a carefully cut strip of baking paper can give you equally tidy results. For a smooth finish without an angled spatula, the back of a tablespoon dipped in hot water glides perfectly over the cream and creates a flawless surface.
Tasty Variations
For an even more spring-like version, gently mix some chopped basil into the soaking syrup. This unexpected pairing with strawberries creates a perfect harmony and brings a surprising aromatic dimension. Those who enjoy contrasts will like adding a thin layer of slightly tangy red fruit coulis between the two sponge cakes. For a festive touch, replace some strawberries with raspberries or blueberries to add beautiful color and flavor variation to the whole dessert.
Best Storage
Make this strawberry cake ideally the day before serving for a perfect balance between structure and freshness. The cake keeps well in the fridge for up to 48 hours, protected by a cake dome or plastic wrap without directly touching the surface. For serving, take it out of the fridge exactly 30 minutes beforehand so the cream can return to its ideal creamy texture and flavors can fully develop. Never freeze it as this would ruin the texture of the fresh strawberries.
 Pin it
I have an especially touching memory of the first time I made this version of strawberry cake for my daughter's birthday. Her amazement at the cake and joy discovering the strawberries hidden inside made the moment magical. What started as just a simple twist on a classic recipe has become our family's spring tradition. Each year, seeing the first strawberries at the market means it's time to pull out this recipe that instantly brings back moments of shared happiness and celebration for us.
Frequently Asked Questions
- → Can I make this strawberry cake ahead of time?
- Absolutely, it’s actually better to prepare it the day before. This lets the cream firm up and the flavors develop. Keep it chilled for up to 2-3 days.
- → Can I swap the vanilla cream for something else?
- Try a diplomat cream (a mix of custard and whipped cream) for a lighter texture or mascarpone cream for a richer option.
- → How do I keep my sponge cake from sinking?
- Don’t open the oven while baking. Afterward, carefully cool it on a rack, and let it rest at room temperature before handling.
- → What is a cake collar and is it essential?
- A cake collar is a clear plastic strip for neat edges. You can use parchment if you don’t have one, or skip it and rely on a baking ring for shaping.
- → How do I stop strawberries from making the cake soggy?
- Dry your berries well after washing them. Sprinkle them with a bit of sugar and drain for 30 minutes if needed. Choose firm, not overly ripe strawberries for the outer layer.