
 Pin it
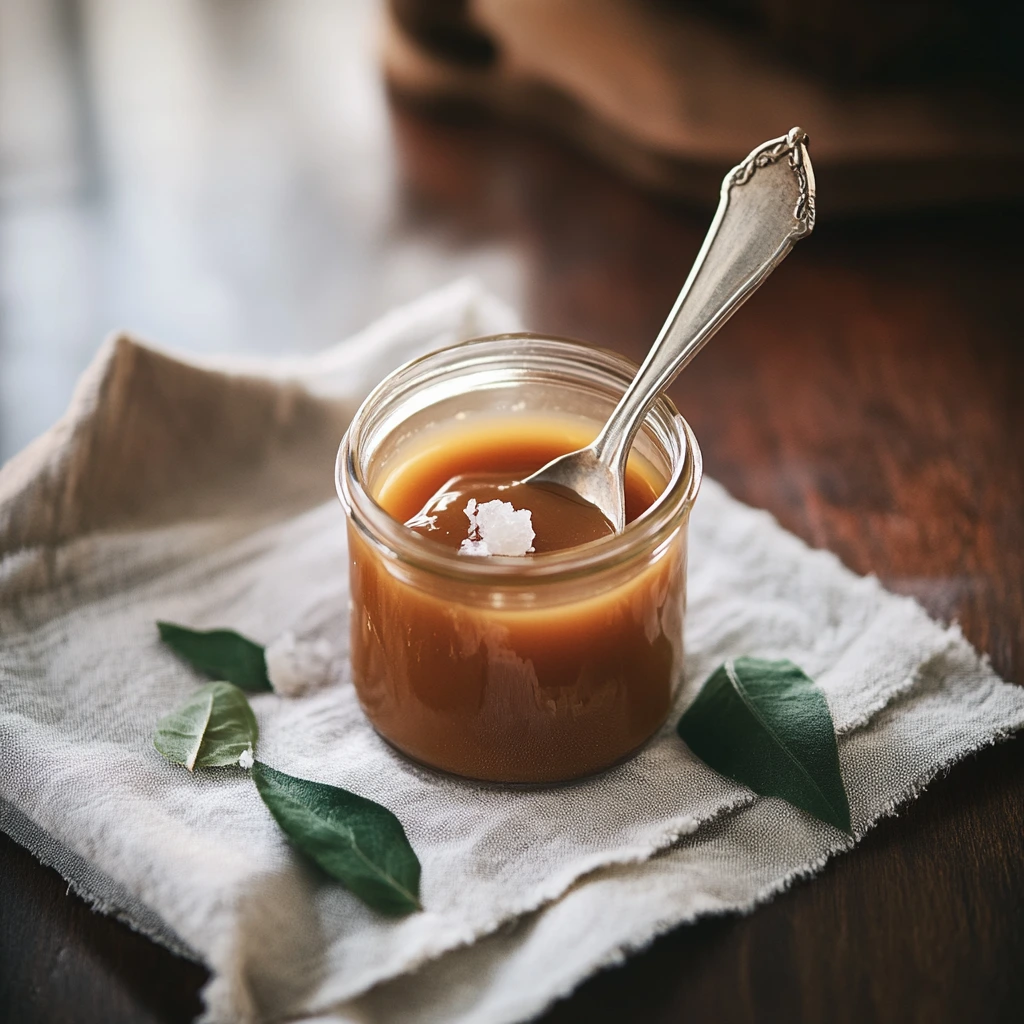
Salted butter caramel is one of those basic treats that gets you hooked right from the first taste. With just three ingredients, this simple mix turns sugar into a golden delight with sweet, buttery, and slightly salty notes that makes any dessert it touches absolutely amazing.
The first time I made this caramel for my family, I couldn't believe it when my husband, who usually avoids sweets, kept sneaking spoonfuls from the jar throughout the evening. My daughter has become completely obsessed with it too, always trying to get me to include it in her afternoon snacks!
For flawless caramel
- White granulated sugar: melts evenly for a smooth and shiny texture
- Good quality semi-salted butter: its natural salt creates that signature taste contrast
- Full-fat liquid cream: brings smoothness and richness to every bite
 Pin it
I found that using farmhouse butter with visible salt crystals adds something extra special to my caramel. Those tiny bursts of saltiness create an even more intense flavor experience that I really love. Some caramel purists prefer adding a pinch of sea salt at the end instead of using salted butter, but I enjoy the simplicity of the original method.
The transformation magic
Careful preparation
Before you start, make sure you've got all your ingredients measured and ready to go because once you begin, you won't be able to step away from your pot. Use a heavy-bottomed pan that will spread heat evenly and stop hot spots from burning your caramel. Take your butter out of the fridge ahead of time so it's room temperature and mixes in more easily.
The gentle melting
Pour the sugar into your cold pot and put it over medium heat. Let the sugar slowly melt without stirring it with a spoon, which can cause it to crystallize. You can gently tilt the pot to help the melting sugar spread around. Be patient—this step will make or break your caramel.
The crucial moment
When the sugar has completely melted and turns a nice amber color (not too light or dark), take the pot off the heat right away. This exact moment is what makes perfect caramel. If it's too light, it'll lack flavor; too dark, and it'll taste bitter. Try to aim for a rich, deep shade like old cognac.
 Pin it
Adding the butter
Drop in the butter pieces while stirring hard with a wooden spatula or heat-resistant spoon. Watch out for hot splashes at this point! The caramel will bubble up fiercely then gradually calm down as the butter mixes in. Keep stirring until you get a smooth, glossy mixture.
The final creamy touch
While still stirring, pour in the liquid cream in a thin stream. The mixture will bubble up intensely again. Keep your spatula moving until the caramel settles down and becomes smooth. Put it back on low heat briefly if needed to make sure everything is well mixed.
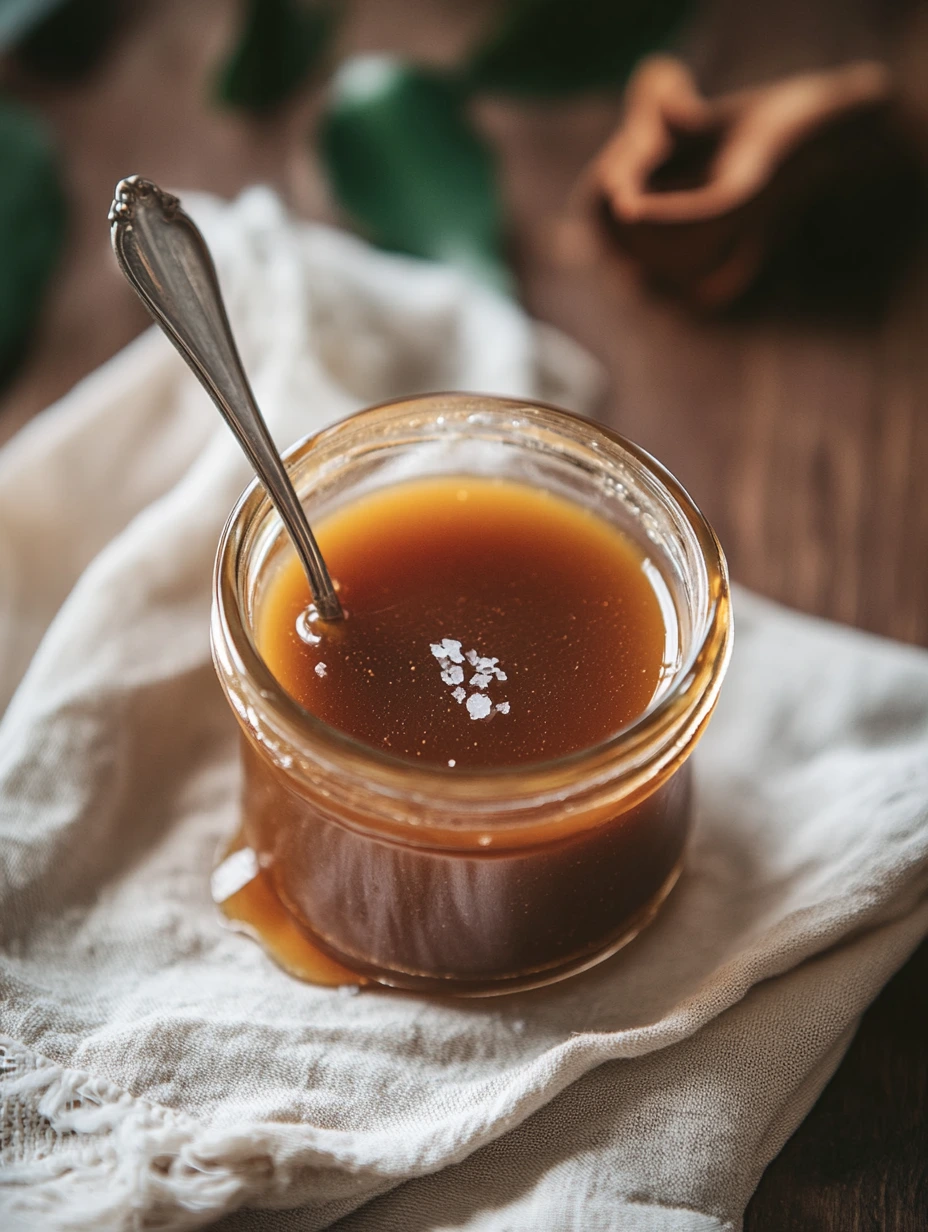
Patient cooling
Let your caramel cool in the pot before pouring it into clean glass jars. The texture will gradually thicken as it cools, changing from a runny liquid to that perfect coating consistency that makes a great salted butter caramel.
My Breton grandpa taught me to love salted butter caramel when I was little. He always added a hint of vanilla to his batch, claiming it was the secret to bringing out the buttery notes. I've kept this personal touch that reminds me of our afternoons making crepes together. Those sweet memories come flooding back every time I make this in my kitchen.
Perfect flavor pairings
This salted butter caramel goes wonderfully with loads of desserts. Pour it generously over your Sunday morning crepes or pancakes for a special breakfast treat. A scoop of Madagascar vanilla ice cream topped with a spoonful of this caramel instantly becomes an exceptional dessert. For those who love contrasting flavors, try it on a rich dark chocolate cake where the bitterness balances perfectly with the caramel's sweetness.
Tempting creative twists
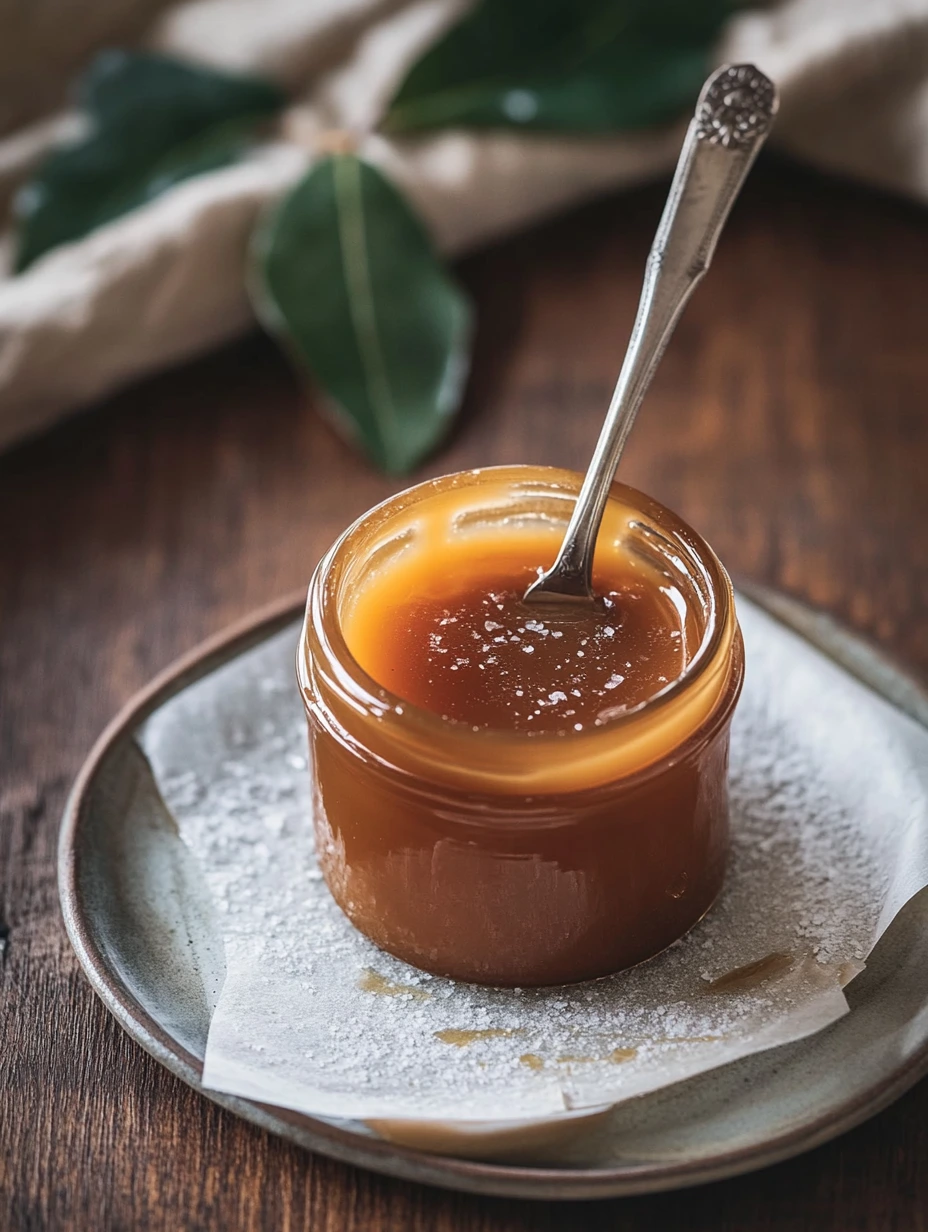
The basic caramel can easily be customized to suit your taste. Add a split and scraped vanilla pod during cooking for a more fragrant version. Those with a sweet tooth will enjoy adding a teaspoon of Guérande sea salt at the end to highlight the sweet-salty contrast. For a festive touch, mix in a tablespoon of amber rum or whisky once the caramel is off the heat.
Ideal storage
Your caramel will easily keep for two to three weeks in the fridge in an airtight container. If it gets too firm when cold, just let it come to room temperature before using it or warm it up for a few seconds in the microwave or in a water bath. For longer storage, you can freeze it in individual portions in an ice cube tray then transfer the cubes to a freezer bag to use as needed.
 Pin it
Making homemade salted butter caramel is more than just following instructions—it's almost like a meditation for me. There's something deeply satisfying about watching sugar transform into this amber-colored, fragrant nectar. Each time I make it, I feel the same wonder at the kitchen magic that lets just three simple ingredients create such a complex and captivating flavor. Maybe that's the real charm of this recipe: its ability to connect us back to what cooking is all about—transforming simple things with care and respect.
Frequently Asked Questions
- → How do I stop my caramel from crystallizing?
- Don't stir the sugar while melting it. Adding a few drops of lemon juice or a pinch of tartar cream early on helps stop crystals from forming.
- → Can I use unsalted butter instead of salted butter?
- Sure! Just sprinkle in about half a teaspoon of fine salt or flakes to get that iconic sweet-salty flavor.
- → How do I know my caramel is ready?
- It's done when it turns a deep amber color and smells nutty, like praline. Watch out—overcooking can make it taste bitter.
- → My caramel hardened in the fridge; what should I do?
- It’s normal for it to firm up when chilled. Heat it gently in the microwave or over a water bath, stirring as needed.
- → How long does homemade salted caramel last?
- Stored in a sealed jar in your fridge, it’ll keep for 3-4 weeks. Always check for spoilage, like mold, if it's stored for longer.