
 Pin it
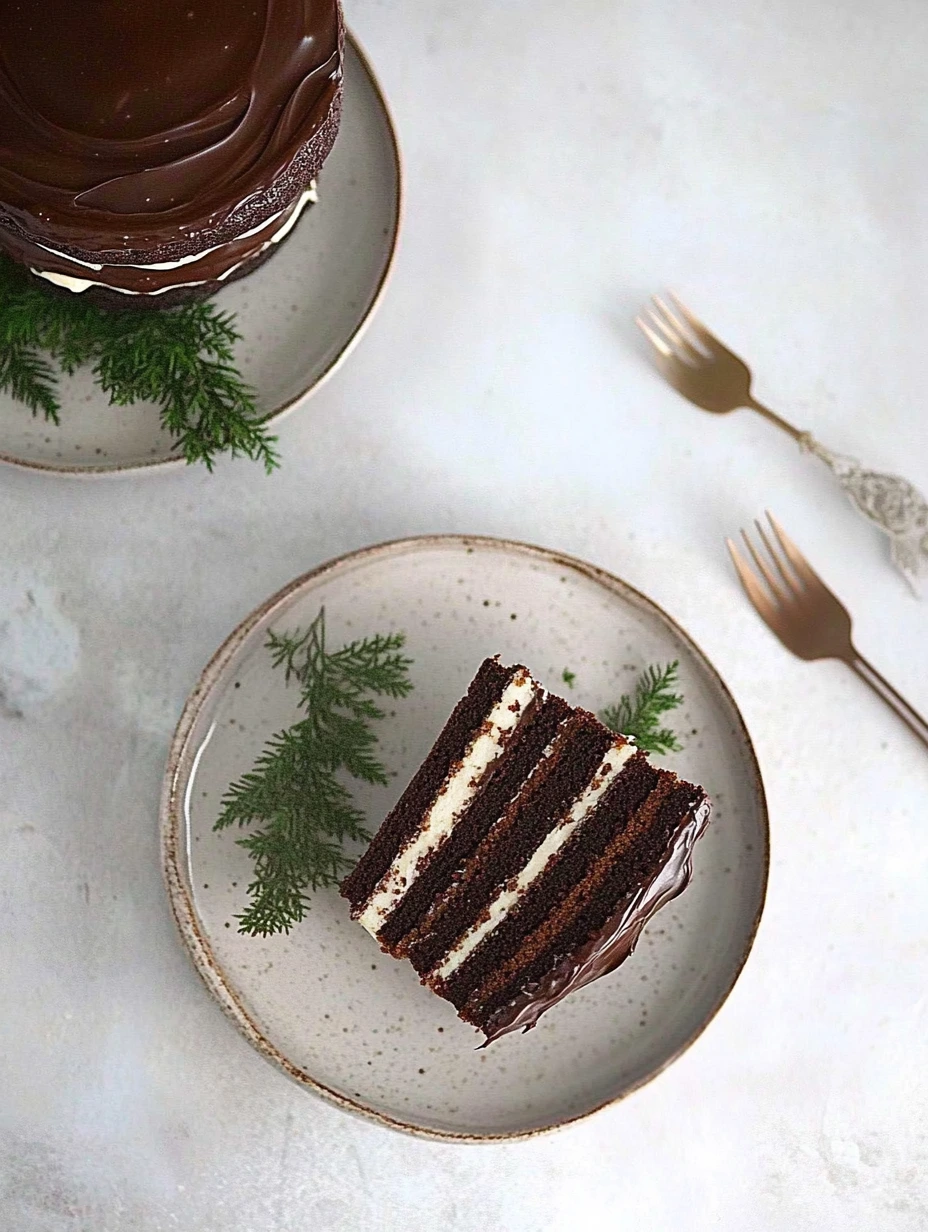
This chocolate layer cake perfectly balances indulgence with nutritional awareness. Designed for a first birthday but perfect for any occasion, this impressive dessert proves celebration cakes can be both delicious and virtuous without giving up that chocolatey goodness everyone loves.
The first time I made this layer cake was for my youngest son's birthday. I wasn't sure how a cake without flour or butter would turn out, but I was blown away. Everyone in the family gobbled it up, even my father-in-law who's a big fan of traditional pastries. The kids ate their slices and asked for more, not knowing they were enjoying something much healthier than regular cakes.
Wonderful Ingredients
- 70% dark chocolate: gives deep, complex flavors. Pick a quality chocolate with few ingredients, ideally without lecithin or added flavors for a pure taste experience.
- Unsweetened cocoa: boosts chocolate flavor without adding sugar. Go for 100% pure cocoa, preferably non-alkalized which keeps more antioxidants and offers a more authentic taste.
- Medjool dates: add natural sweetness and a melting texture. Choose plump, soft fruits with a slight shine, showing they're fresh and top quality.
- Virgin coconut oil: takes the place of butter with subtle notes. Try to get an organic cold-pressed version for its delicate aroma that works perfectly with chocolate.
- Fresh eggs: provide structure and softness. Pick free-range or organic eggs for better nutrition and richer flavor.
 Pin it
Uncovered Preparation
- First things first:
- Heat your oven to 180°C with fan. Line three 18cm cake pans with parchment paper for easy removal. This prep step matters because flour-free cake is more fragile after baking.
- Chocolate base:
- Put 200g broken dark chocolate in your food processor and blend until sandy. Add 40g unsweetened cocoa and a pinch of salt, then mix a few seconds more to combine. This grinding of solid chocolate creates the cake's unique texture.
- Wet ingredients:
- In another bowl, blend 10 pitted Medjool dates with 120ml hot water until smooth. Add 80ml melted coconut oil and 4 eggs, then beat everything until fully mixed. This step creates the emulsion that replaces traditional butter and sugar.
- Mixing the batter:
- Slowly pour the liquid ingredients into the dry mix, gently folding with a spatula. Add 1 teaspoon of baking soda and keep mixing until you get a smooth, silky batter. Split evenly between your three prepared pans.
- Careful baking:
- Bake for 18-20 minutes. A toothpick should come out slightly moist, as overbaking would dry out this flour-free cake. Let cool completely on a rack before assembly.
- Frosting prep:
- Beat 400g room temperature cream cheese with 60ml maple syrup until light and fluffy. Take a third of this mixture and mix in 1 tablespoon of cocoa to make the chocolate frosting for the sides.
I found this recipe when I was trying to cut down on refined sugar for my family without missing out on celebration moments. The idea came from a nutritionist friend who showed me how dates can totally transform a chocolate dessert. What really stuck with me was my husband's reaction - he's usually not excited about "healthy" versions of classic desserts, but he honestly preferred this one for its rich chocolate flavor and melty texture.
 Pin it
Gorgeous Serving
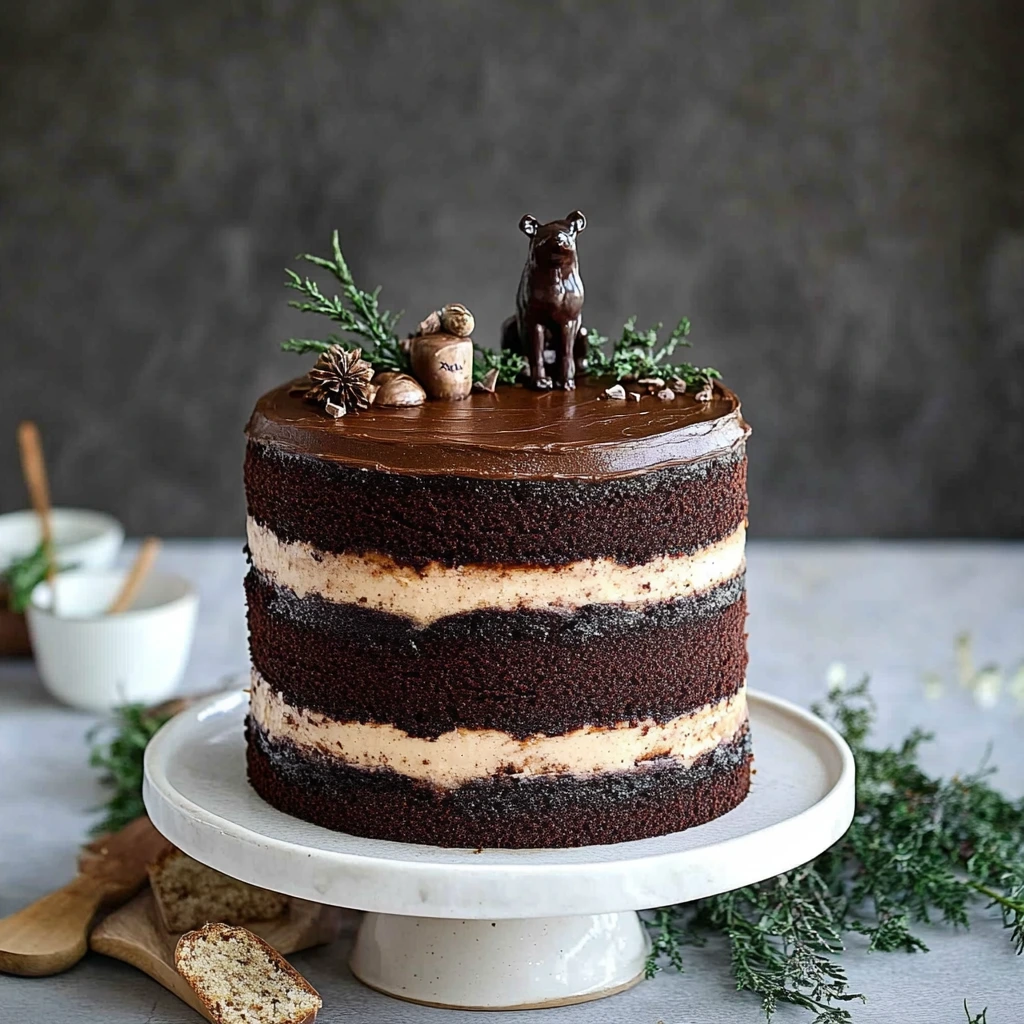
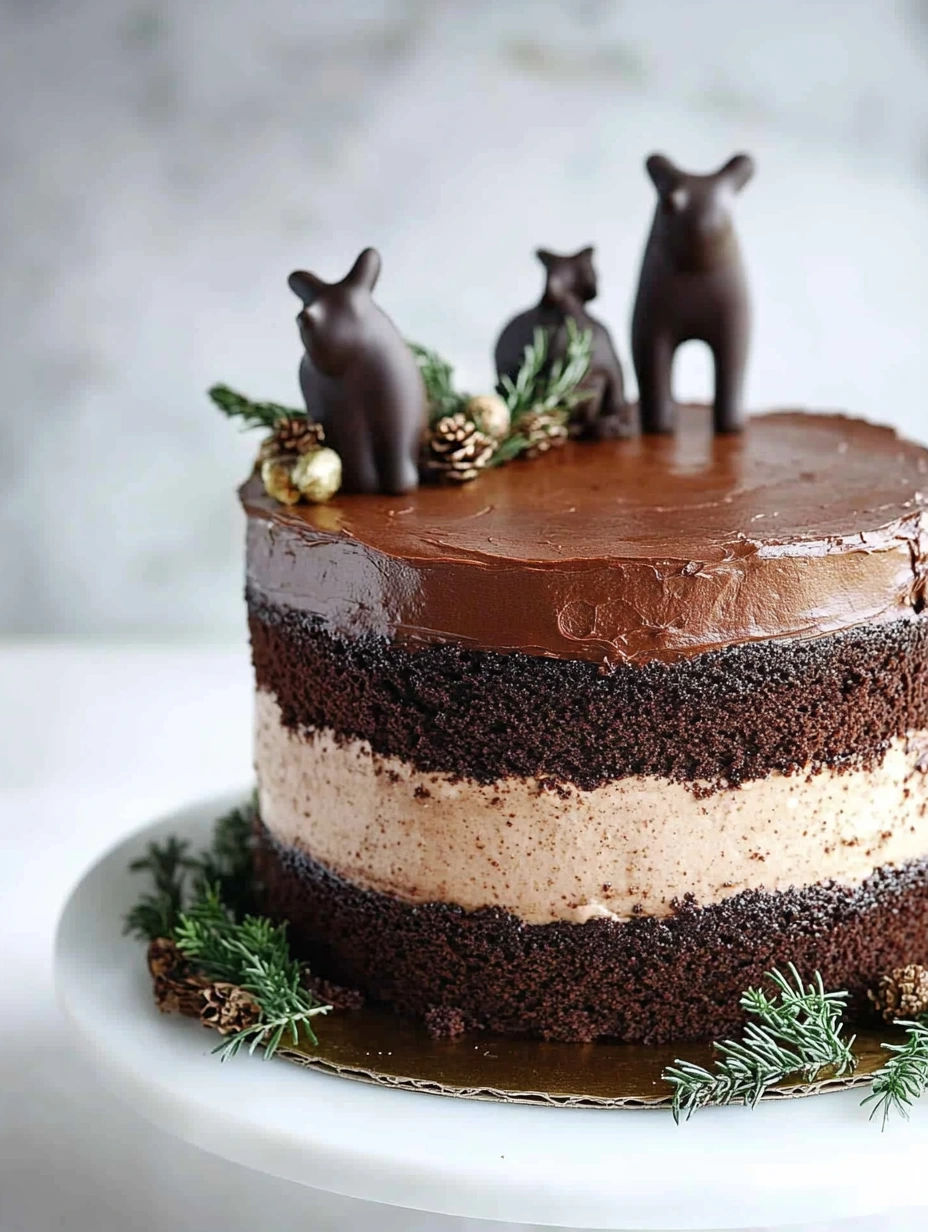
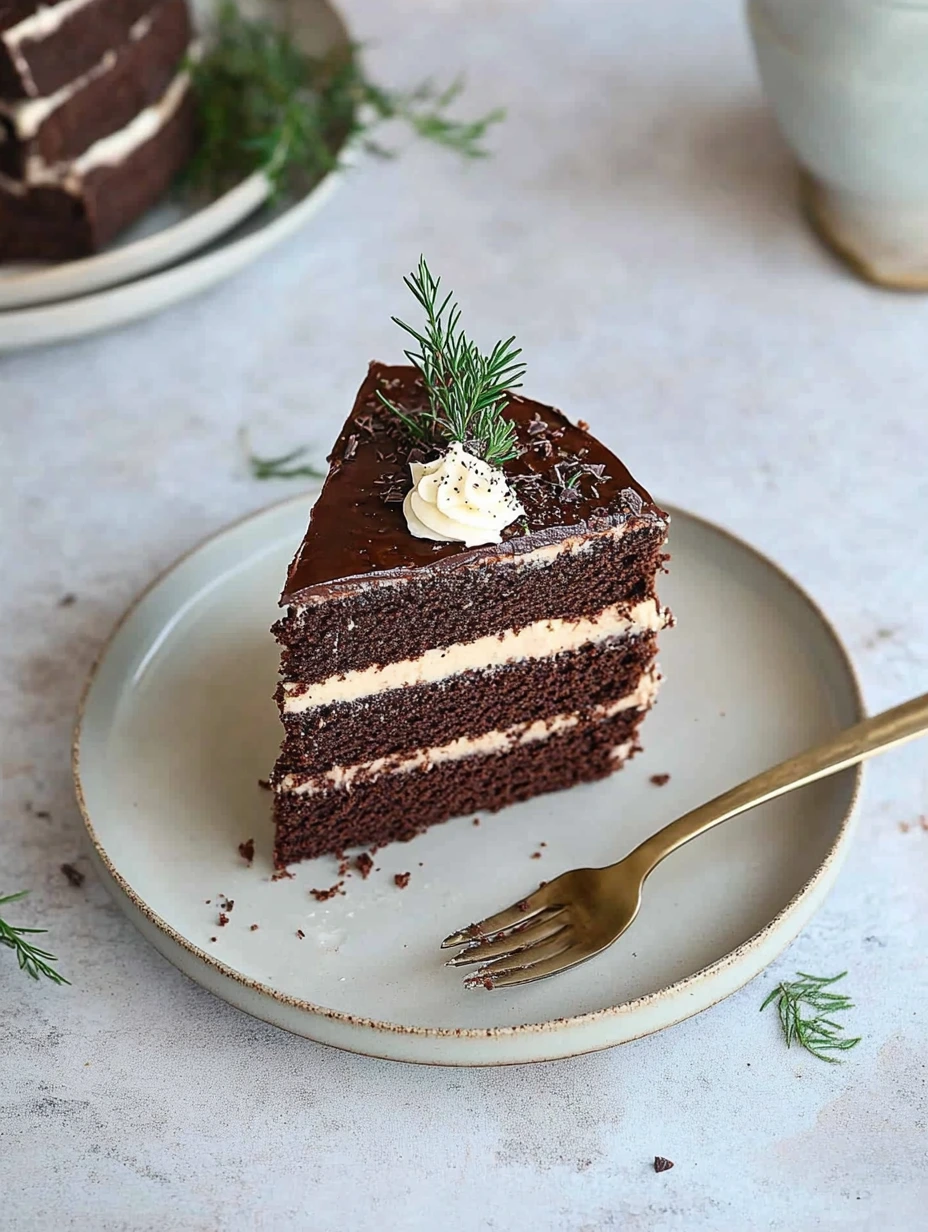
For a presentation worthy of special occasions, place your layer cake on a light wooden or white marble cake stand to highlight the chocolate colors. Top with some fresh berries like raspberries or currants for vibrant color and welcome tanginess. For a kid's party, personalize with themed figures like I did with bears for my son. Serve each slice with a dollop of maple-sweetened whipped cream and a few dark chocolate shavings.
Creative Variations
To pack in more nutrients, mix 50g finely ground almonds into the batter for an interesting texture and extra protein. If you want a fruity touch, slip thin pear slices or whole raspberries between the cake layers. For those who like more complex flavors, add a teaspoon of coffee extract to the batter or a pinch of Espelette pepper to bring out the chocolate flavors without adding noticeable heat.
Enjoying It Longer
To keep your layer cake at its best, store it in an airtight container in the fridge where it'll stay fresh for up to five days. Take it out 30 minutes before eating so the flavors can bloom fully and the texture gets back all its softness. If you want to make this cake ahead for an event, you can freeze each disk separately, well wrapped in plastic wrap and then aluminum foil, for up to a month. Put the cake together the day before your event with fresh frosting for the best results.
This chocolate layer cake has become my go-to for family celebrations. What started as just an adaptation for a first birthday has turned into a tradition everyone looks forward to. I've learned that nutritional limits can actually spark creativity in baking. This cake reminds me that life's sweetest moments deserve treats that nourish both body and soul.
 Pin it
Bringing The Cake To Life
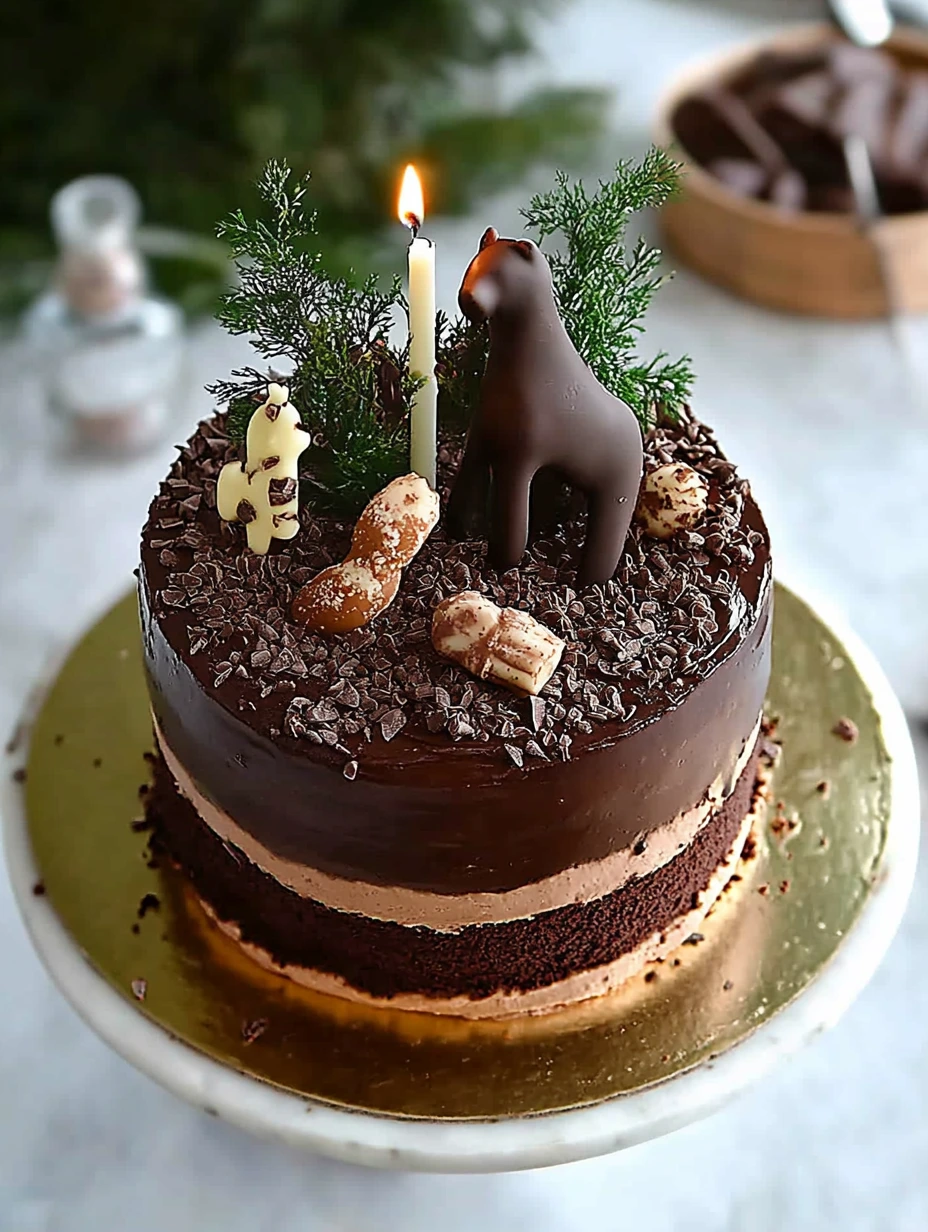
To turn this layer cake into a themed masterpiece like I did for my son's birthday, let your creativity flow. I picked a bear theme as a nod to his name Björn, but you can adapt to your needs or the occasion. Just place a few themed figures on top and add natural elements that boost the mood. For my bear cake, I added tiny pine branches and crumbled chocolate cookies to create a dirt effect, suggesting a forest. These small touches change a simple cake into a magical scene that'll amaze both kids and adults.
Beyond Birthdays
This layer cake isn't just for birthdays. Its fancy look and refined taste make it perfect for many occasions. For a holiday meal, decorate with holly sprigs and edible silver pearls. For Easter, go with a nest of chocolate shavings filled with colorful sugar eggs on top. For a baby shower, small edible booties or rattles made from sugar paste will create wonder. But remember, this cake is special enough to become the reason for gathering and sharing a delicious moment.
Adjusting For Different Diets
This cake is naturally gluten-free, but can be changed for other dietary needs. For a dairy-free version, swap traditional cream cheese with a plant-based alternative made from soaked cashews blended with a bit of lemon juice. For a vegan version, replace each egg with a mix of 1 tablespoon ground flaxseed and 3 tablespoons water, left to thicken for 15 minutes. The result will be slightly denser but just as tasty.
 Pin it
Frequently Asked Questions
- → Can this cake be made ahead of time?
- Sure! You can bake the cake layers the day before and store them in the fridge, wrapped tight in plastic wrap. Assemble and frost it on the same day for the freshest taste.
- → Is it okay to use different pan sizes?
- Absolutely. Bigger pans will make thinner layers that bake faster. If you go with 20 cm pans, reduce the bake time by around 5 minutes and keep an eye on things.
- → What’s the best way to store this cake?
- Keep it in an airtight container or under a cake dome in the fridge for up to 3 days. Let it sit at room temperature for 30 minutes before serving to soften up nicely.
- → Can cream cheese be swapped for a plant-based option?
- Yes! A cashew or almond-based vegan cream cheese works great. The texture might change a bit, but it’ll still taste amazing.
- → Can dates be replaced with another sweetener?
- Dates help with both sweetness and structure. If you need a swap, try soaked prunes blended with 2-3 tablespoons of maple syrup or honey to maintain the cake's moistness.