
 Pin it
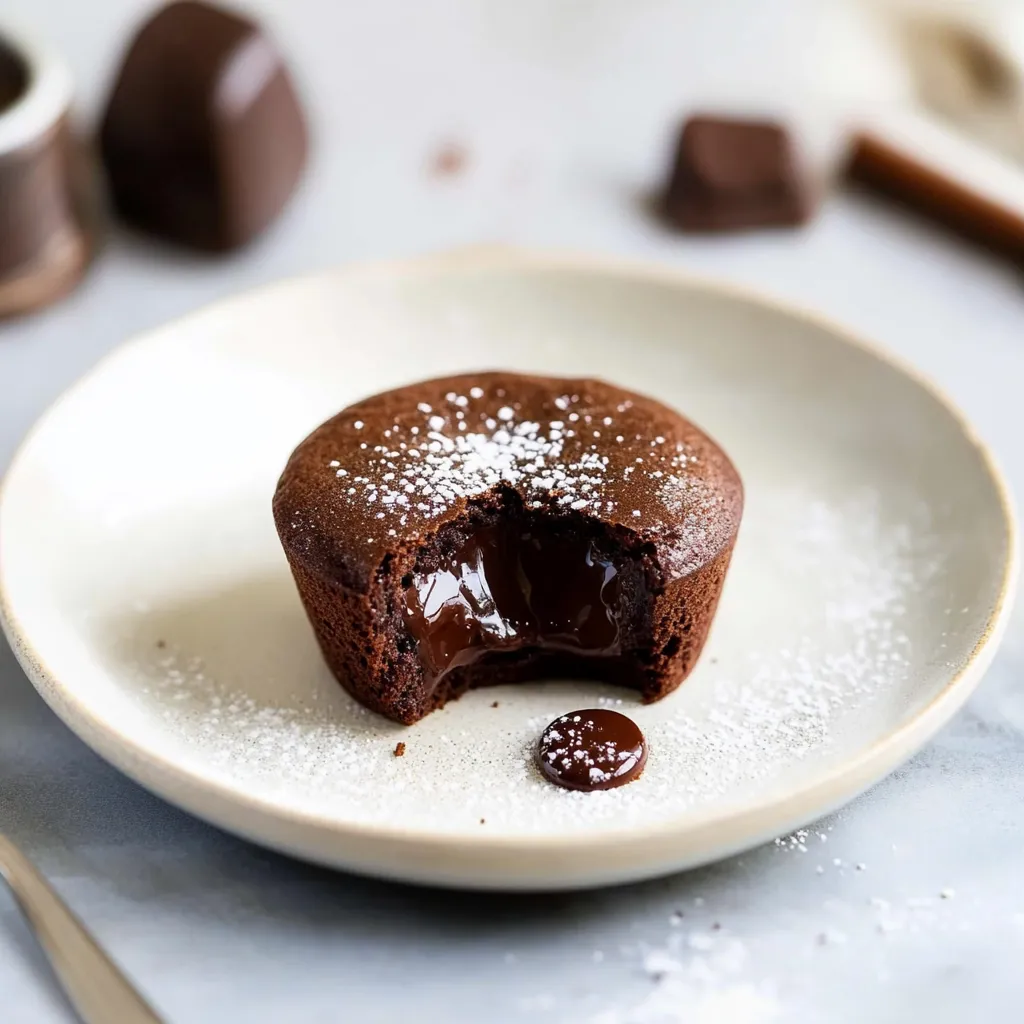
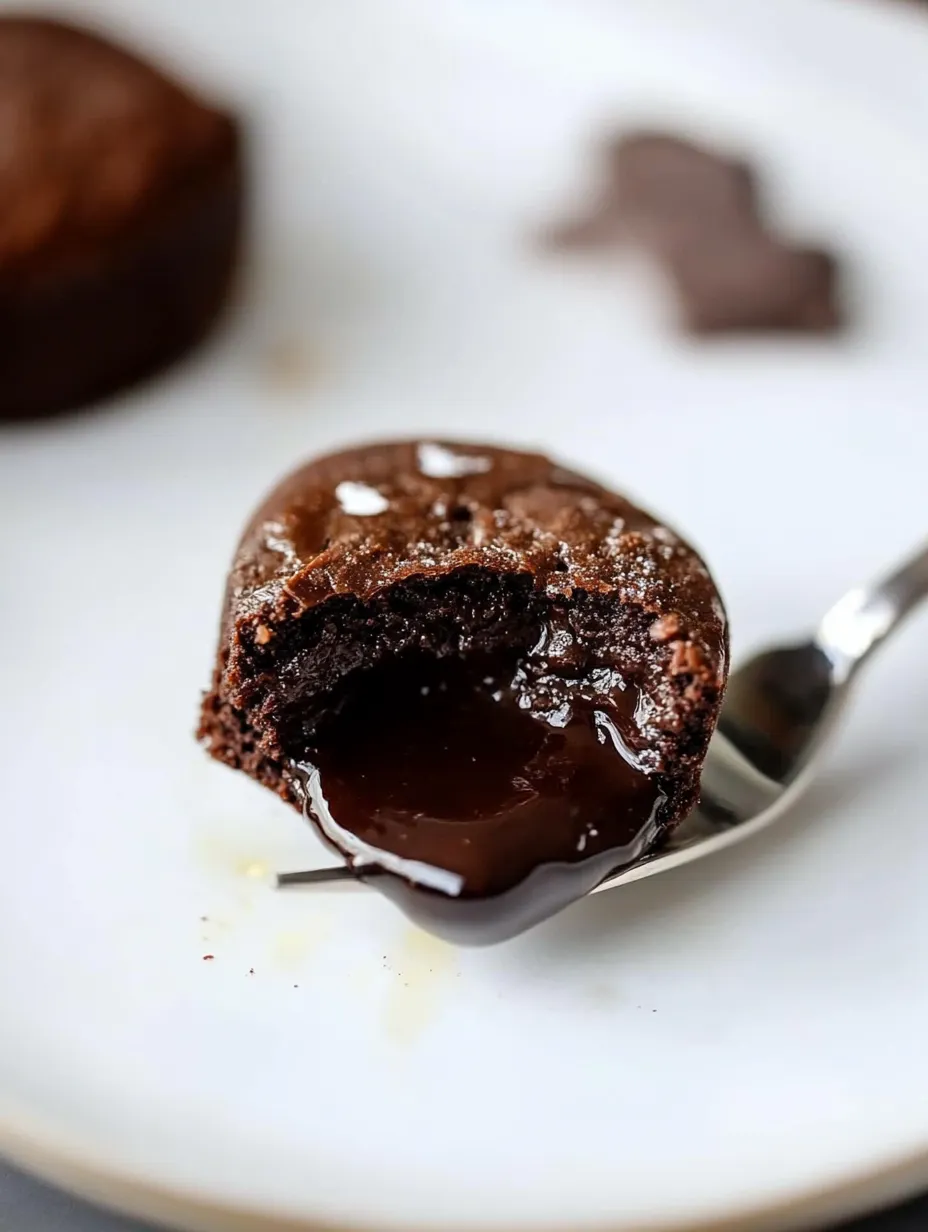
Chocolate lava cake stands as the ultimate indulgent dessert experience. When your spoon breaks through the slightly crisp exterior to reveal that velvety, flowing center, you're witnessing pure dessert magic. This treat strikes the perfect balance - it's incredibly simple to make yet delivers complex flavors that'll make any chocolate lover swoon. I've tweaked this formula over time to create something that transforms basic pantry items into an unforgettable taste sensation.
I first tried this at a friend's dinner party years ago and couldn't get over how deeply chocolatey it tasted. Since then, I've played around with dozens of versions, tweaking baking times and trying different cocoa percentages. This version hits the sweet spot I've been looking for. Every time I serve it, my guests go completely silent during that first bite before they all ask me how to make it themselves.
Key Ingredients
- Baking chocolate: Go for quality chocolate between 55-70% cocoa depending on how intense you want it. The chocolate quality directly affects your final dessert.
- Butter: Slightly salted butter works best to enhance the chocolate flavor. If you've only got unsalted, just add a tiny pinch of sea salt to avoid a flat taste.
- Fresh eggs: These create that magical structure with the cooked exterior and flowing center. Let them come to room temp for best results.
- White sugar: Brings needed sweetness but also affects the final texture. Don't cut back too much or you'll mess with the cake's structure.
- Flour: You need just a small, carefully measured amount that should be sifted. Too much will make everything too dense and hide the chocolate flavor.
 Pin it
Ramekin Prep
Coat four individual ramekins thoroughly with butter, making sure to cover the bottom and sides completely. Lightly dust with flour and tap away any extra. This step is crucial if you want them to slide out perfectly after baking.
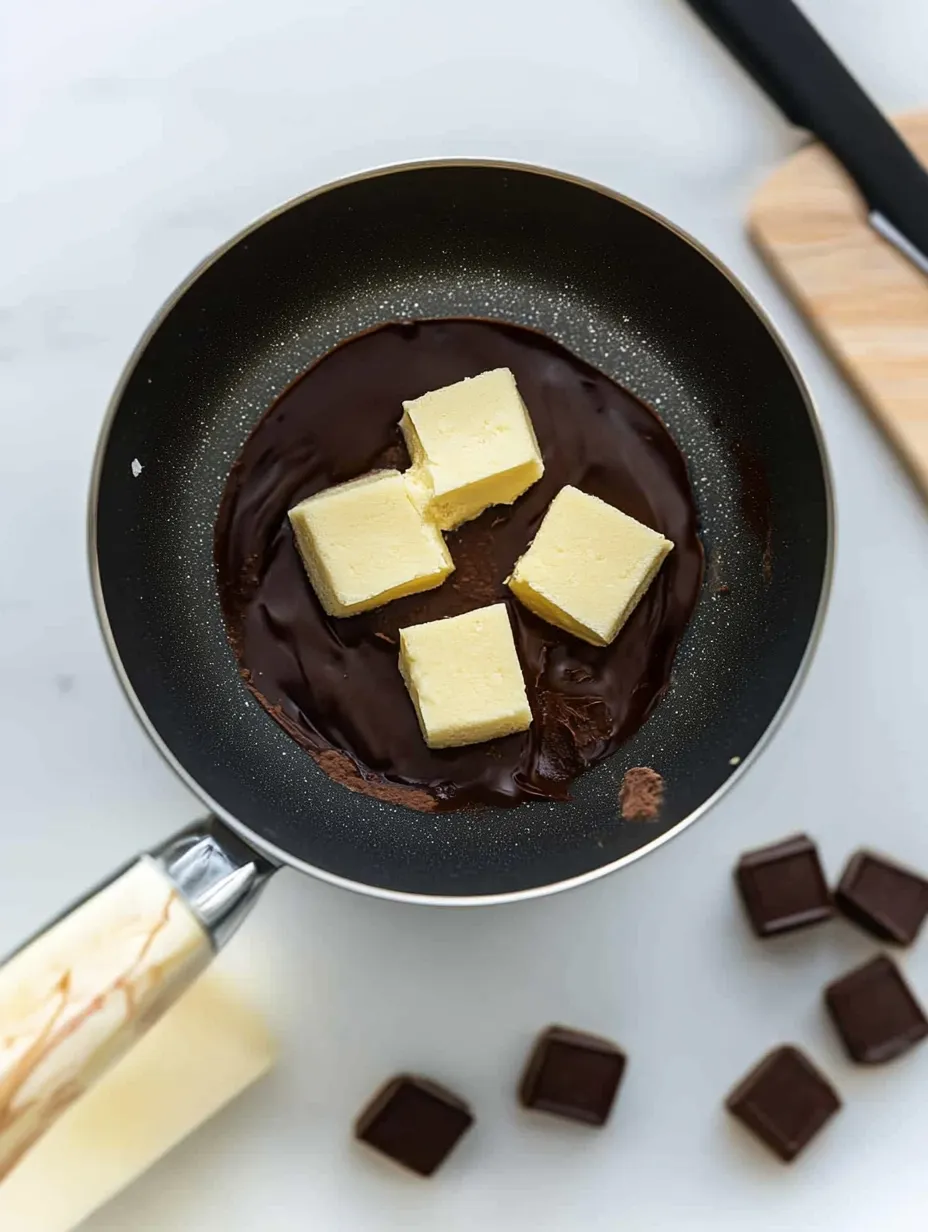
Melting Chocolate
Break your chocolate into small pieces and cut butter into cubes. Put them in a heat-safe bowl over a pot with simmering water, making sure the water doesn't touch the bowl. Let everything melt slowly, stirring now and then until you get a smooth, shiny mixture.
 Pin it
Making The Base
In a mixing bowl, beat the eggs and sugar vigorously until the mixture gets slightly pale and fluffy. Getting air into this mixture is key for the final texture of your dessert.
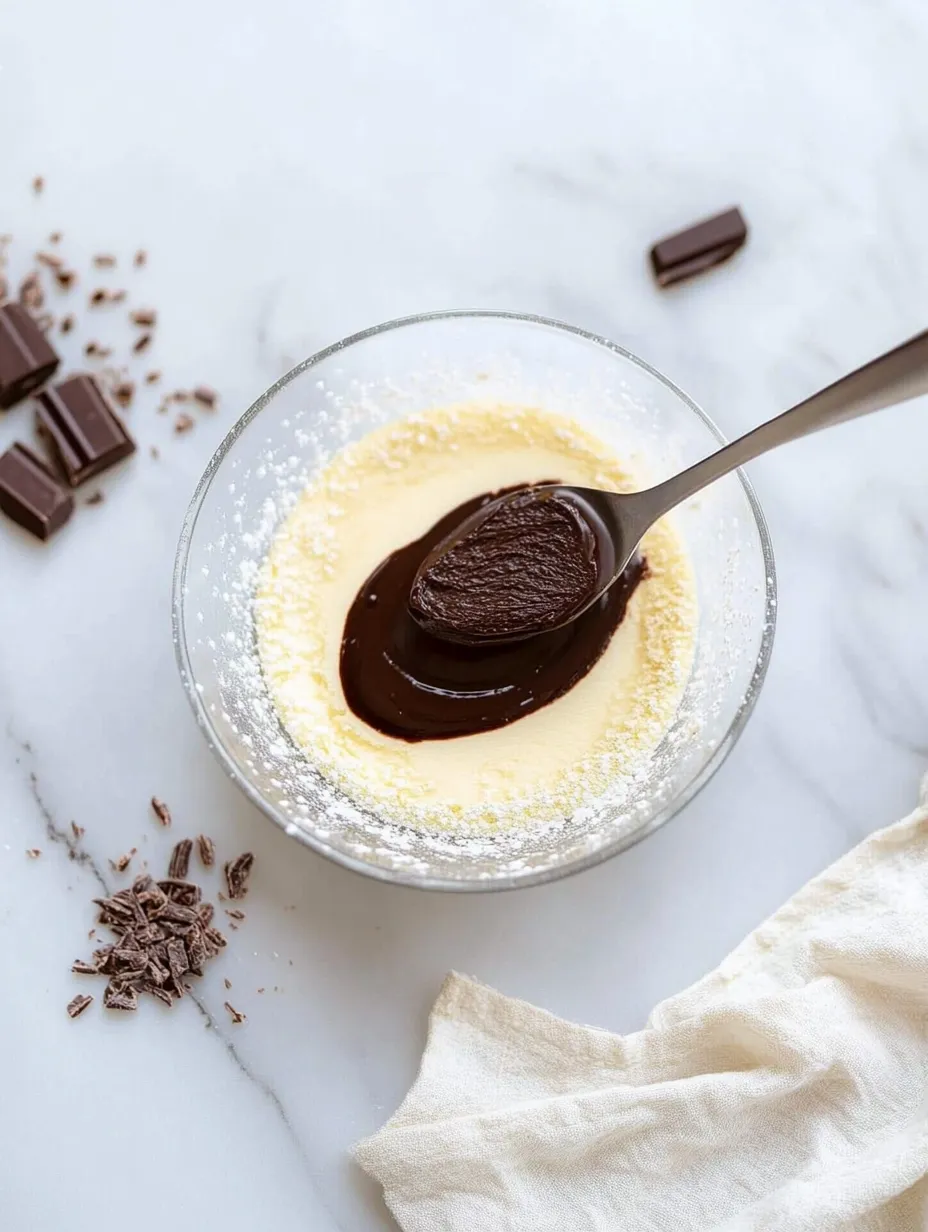
Perfect Combination
Slowly pour the warm chocolate mix into your egg mixture while constantly stirring so the eggs don't cook. Then gently fold in the sifted flour with a soft spatula until you can't see any lumps.
Even Distribution
Pour the batter into your prepared ramekins, filling them about three-quarters full. Lightly tap the ramekins on your counter to get rid of any air bubbles that might mess up the baking.
Timed Baking
Put the ramekins on a baking sheet in the middle of your oven preheated to 390°F. Stick to the right baking time for your taste and your oven: about 12 minutes gives you a very runny center, while 14 minutes makes it more soft but still flowing.
 Pin it
Touch Test
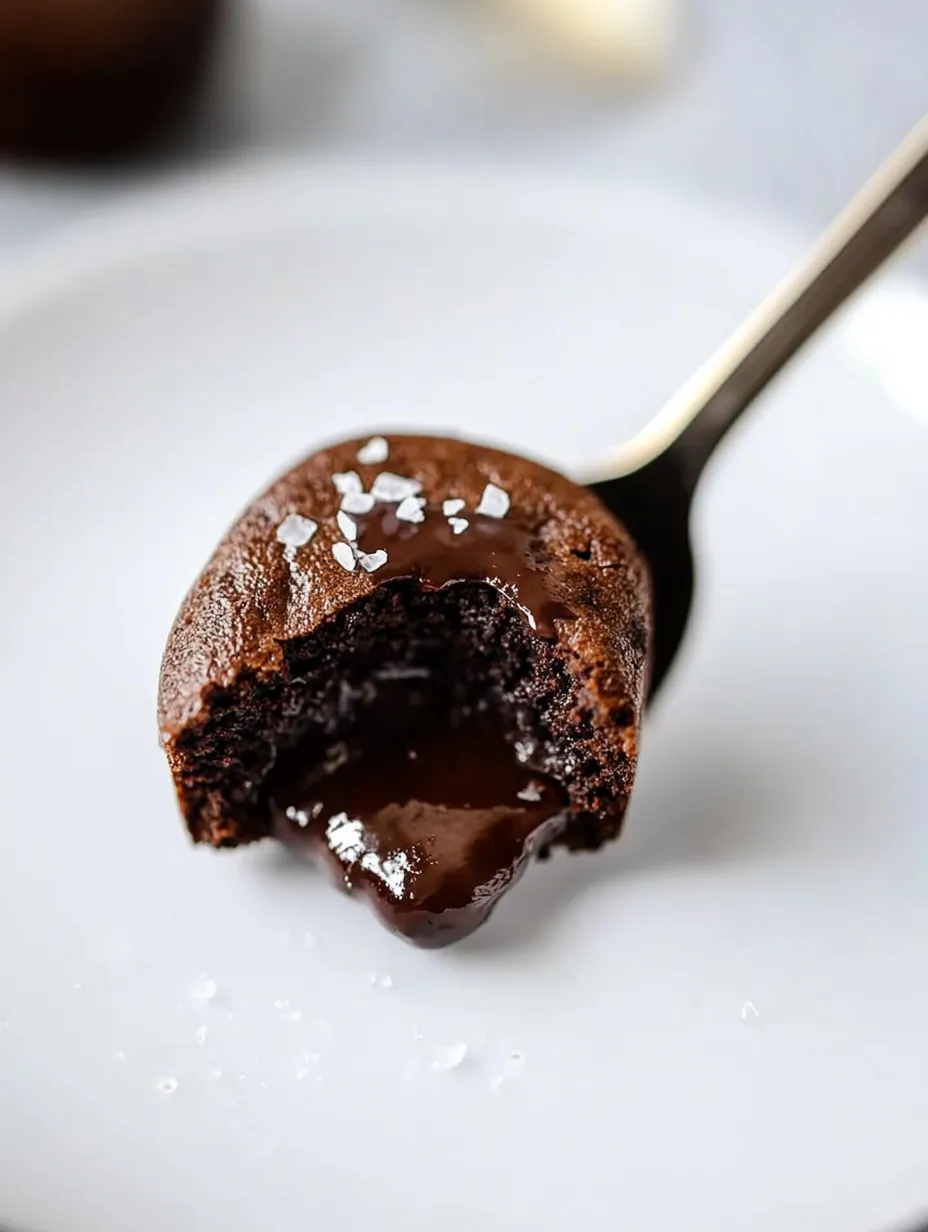
To check if they're done right, the top should feel firm when you touch it but slightly wobbly in the center. If you press gently, you should feel some resistance followed by a bit of give that shows the runny center is still there.
Quick Unmolding
Take the cakes out of the oven and let them sit for exactly 2 minutes. Run a thin knife carefully around each cake to loosen it, then flip it quickly onto your serving plate. Timing really matters here to keep the warmth and flowing texture.
I personally love using 65% cocoa chocolate since it gives that perfect balance of bitterness and sweetness. I've noticed my kids were originally not fans of darker chocolate, but they gradually developed a taste for it and now ask for this more intense version. It's become our Sunday night tradition, a sweet way to end the weekend before heading into a new week.
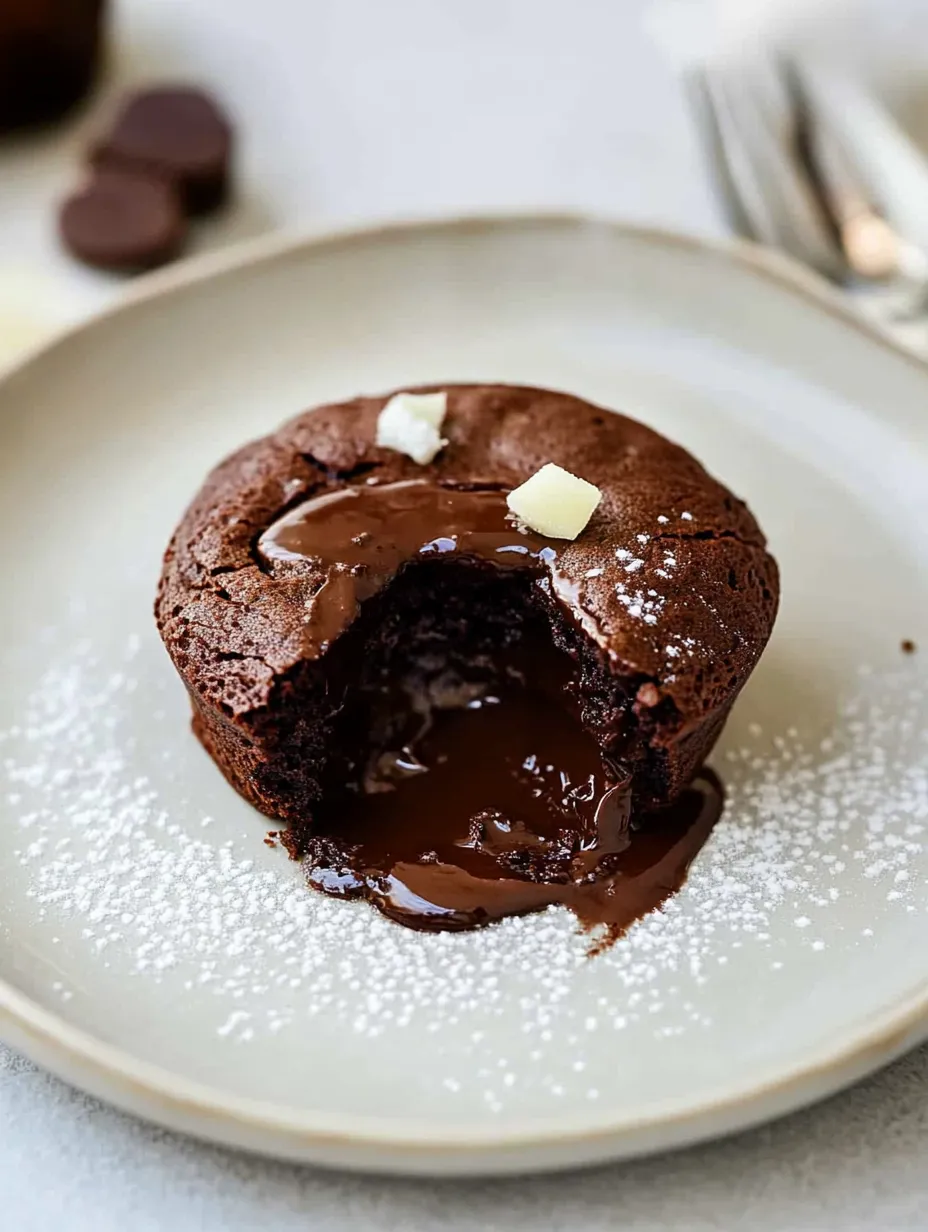
Mix It Up
You can easily change this classic recipe to match what you're in the mood for. For more flavor, add a few drops of vanilla extract or a dash of cinnamon to the mix. If you like surprises, try putting a square of white chocolate in the middle of each ramekin before baking to create a two-toned center when you cut in. For special occasions, mix in a teaspoon of orange liqueur or coffee to give your dessert an extra flavor dimension.
Perfect Pairings
Take your lava cake to the next level with complementary flavors and textures. The classic scoop of vanilla ice cream on top of the warm cake creates that irresistible hot-cold contrast. A bit of freshness from raspberries or slightly tart berry sauce balances out the chocolate richness perfectly. For special times, serve your cake with vanilla or rum-infused custard that'll coat every bite.
Storage Tips
If you want to make these ahead, you've got two options. You can put the raw batter in buttered and floured ramekins, cover them with plastic wrap, and keep them in the fridge for up to 48 hours. Just take them out 30 minutes before baking so they can warm up. Or you can fully bake the cakes, let them cool completely, then reheat them for 20-30 seconds in the microwave right before serving. The center will become runny again, almost like they're freshly baked.
 Pin it
Chocolate Secrets
While chocolate lava cake seems straightforward, there are subtle details that transform an ordinary version into something unforgettable. One lesser-known trick involves the chocolate type: always go for couverture chocolate instead of regular eating chocolate. Its higher cocoa butter content melts more evenly and creates a silkier final texture. Another important detail: cooling the chocolate-butter mixture before adding it to the eggs - it should be cool enough not to cook the eggs but not so cool that the butter separates.
Perfect Timing
Baking this iconic dessert is almost like an exact science. Beyond the recipe timing, learn to spot visual cues for perfect doneness: the surface should form a thin, matte skin that's slightly domed, with a center that gives slightly under gentle finger pressure. This careful observation helps you adjust baking time to your specific oven, which can vary significantly even when set to 390°F. Consider getting a standalone oven thermometer for maximum accuracy.
Perfect Drink Pairing
To enhance your tasting experience even further, pair your lava cake with the right drink. A strong espresso creates a classic duo that intensifies chocolate flavors through contrast. For a more festive experience, a natural sweet wine like Banyuls or Maury wonderfully complements dark chocolate's deep notes. If you prefer spirits, a splash of aged amber rum or peaty whisky can create surprising harmonies with cocoa's complex flavors.
 Pin it
I still remember trying this dessert for the first time at a small Paris restaurant. I was a student having my first fancy meal. When my spoon broke through the cake's surface and the center flowed out, I realized dessert-making could be accessible art. That moment sparked my interest in exploring more in the kitchen and creating my own versions. That's what I love about this dessert: it looks impressive while still being doable for anyone - like a gateway into the wonderful world of making fancy desserts at home.
Frequently Asked Questions
- → Can I make the batter ahead of time?
- Yes, you can prepare the batter up to 24 hours in advance and store it in the fridge. Let it sit out for 30 minutes before baking to get to room temperature.
- → How do I know if it's cooked right?
- The cakes are done when the edges are set, but the middle still jiggles slightly. The top should look baked but feel soft to the touch.
- → Can these be frozen?
- You can freeze the batter in ramekins and bake straight from the freezer, adding 2-3 minutes to the cooking time. Fully baked cakes don’t freeze well as they lose their gooey center.
- → What kind of chocolate works best?
- Use dark baking chocolate with 60-70% cocoa for a bold flavor. For a milder option, use milk chocolate and cut down the sugar a bit.
- → How can I make this dessert more special?
- Pair with vanilla ice cream, fresh berries, whipped cream, or a drizzle of fruit coulis. A light sprinkle of powdered sugar adds a classy touch too.