
 Pin it
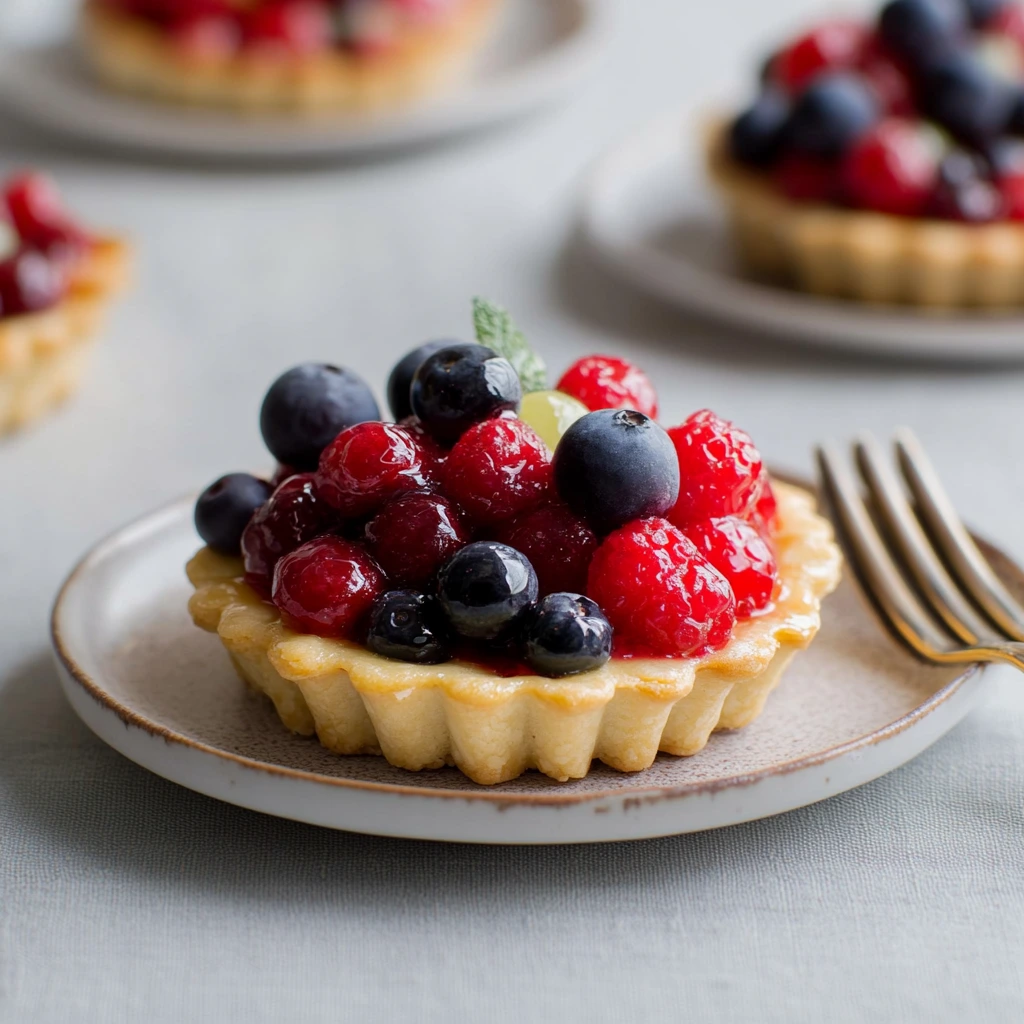
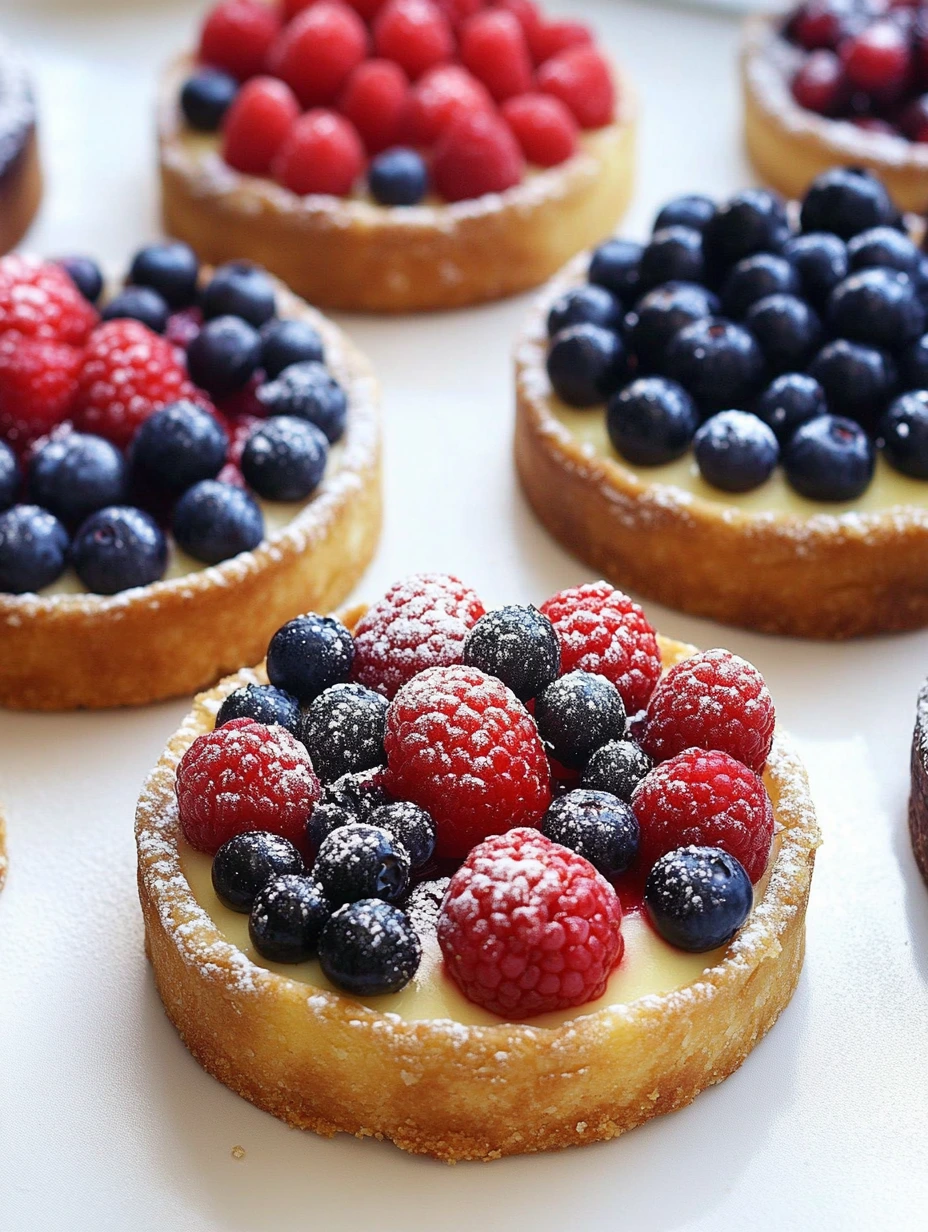
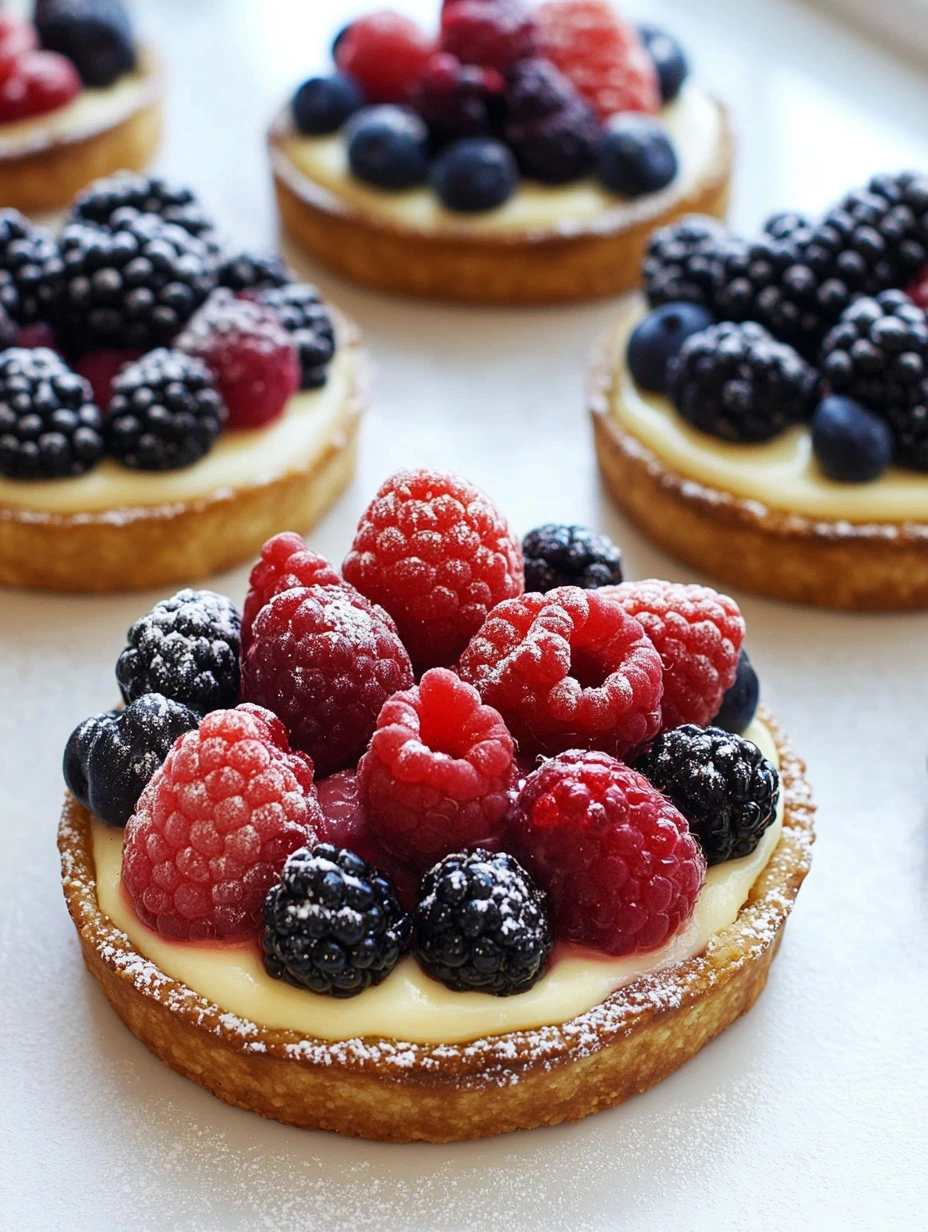
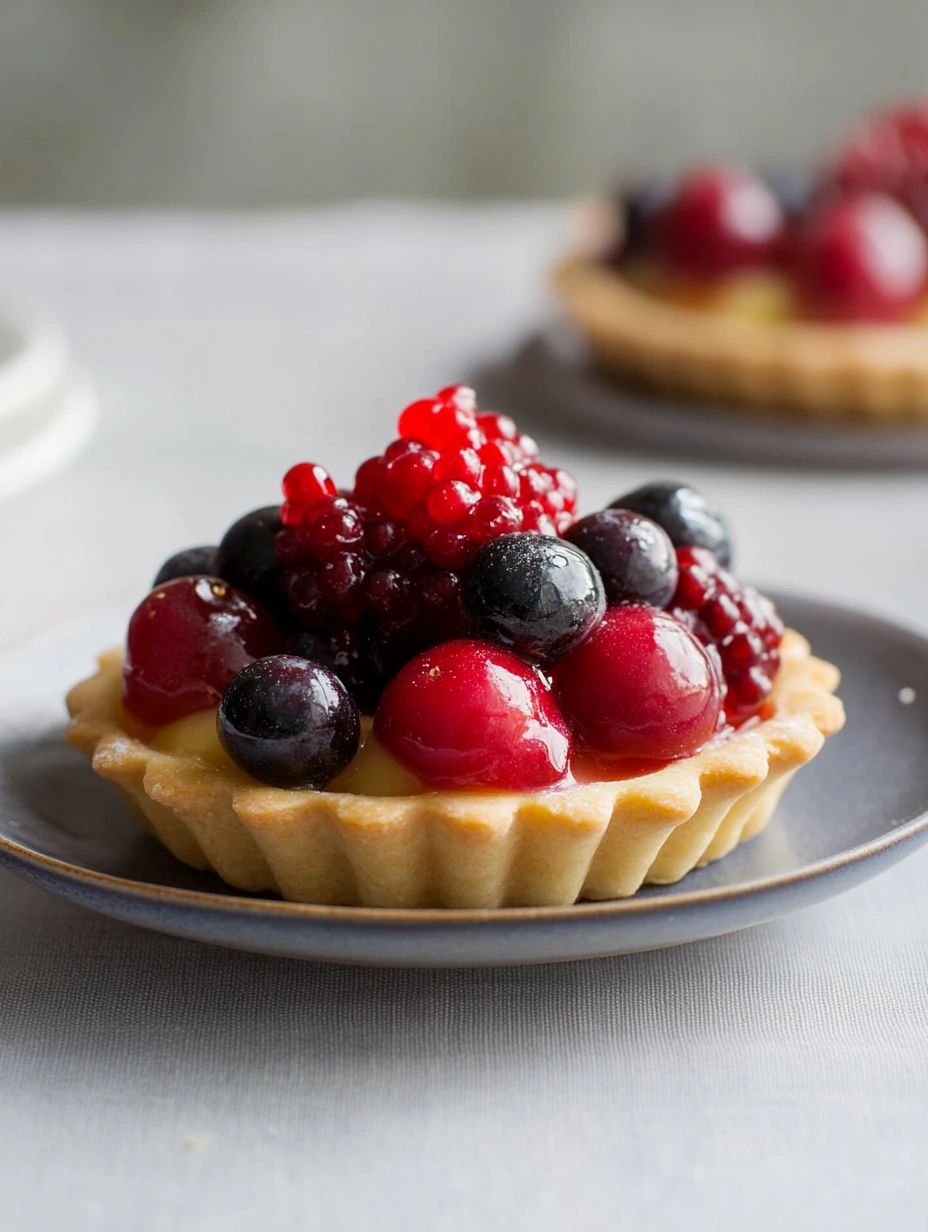
Berry tartlets capture the essence of elegant, refined French pastry. Take a bite through perfectly crisp sweet pastry that reveals layers of flavor: subtle almond cream, intense berry compote, smooth custard cream, all topped with juicy, colorful fresh fruit. This recipe brings together several classic techniques to create a treat that's as impressive to look at as it is to taste. Though it has multiple steps, each one is doable, and the final result is absolutely worth your time.
The first time I made these tartlets was for my mom's birthday since she's crazy about fruit desserts. I was nervous about making the sweet pastry because I'd always struggled with delicate baking. But by carefully following the temperature tips and respecting the resting time, I got perfectly crispy tart shells. Mom enjoyed them so much she now asks me to make them for every family gathering!
 Pin it
Key Ingredients
- Unsalted butter: Go for quality butter with at least 82% fat content for melt-in-your-mouth sweet pastry and rich almond cream. Your butter should be room temperature for almond cream, but cold for sweet pastry to get the right flakiness.
- Fresh berries: Pick firm, shiny, fragrant raspberries, blackberries and blueberries. Let them come to room temperature to maximize their flavor. Skip overripe fruit that might make your dessert too wet.
- Ground almonds: Choose fresh, finely ground almonds, preferably unbleached for more flavor and a light amber color in your cream. Keep it in the fridge to prevent it from going rancid, and sift before using to get rid of any lumps.
- Vanilla pod: A real Madagascar Bourbon vanilla pod will give your pastry cream unmatched flavor. Look for flexible, fleshy pods that feel slightly oily to touch, showing they're fresh and rich in vanillin.
- Wheat flour: Low-gluten T45 or T55 flour works best for crumbly, melt-in-mouth sweet pastry. Always sift it before using to aerate the dough and make mixing easier.
Careful Preparation
- Making the sweet pastry:
- Start by mixing cold cubed butter with sifted powdered sugar until smooth but not too fluffy. This step matters because butter that's too soft will make your dough hard to work with and too elastic. Gently mix in salt, scraped vanilla seeds from half a pod, and ground almonds, making sure to scrape the bowl's bottom for an even mixture. Adding ground almonds doesn't just add flavor but also gives that special crumbly texture.
- Finishing the pastry:
- Add a slightly beaten room-temperature egg and mix just enough to blend it in. Then add sifted flour all at once and mix very briefly with a spatula or your fingers, just until the flour is barely absorbed. The trick here is handling the dough as little as possible so you don't develop gluten, which would make your pastry elastic and cause your tart shells to shrink during baking. Dump this still-powdery mixture onto your work surface and use the fraisage technique: quickly flatten the dough with your palm in 2-3 motions to combine it without kneading.
- Resting and rolling:
- Form a flat disk with your dough, cut it in half for easier handling, wrap each piece in plastic wrap and chill for at least 2 hours, but overnight is even better. This rest is crucial to relax the gluten and firm up the butter. When you're ready to line your tart molds, take out one piece at a time, let it warm up slightly (2-3 minutes) and roll it between two sheets of parchment paper to a consistent thickness of 2.5-3mm to avoid adding too much flour.
- Making pastry cream:
- In a heavy-bottomed pot, pour the milk and add a small portion of sugar (about a third) plus the scraped seeds and split vanilla pod. Adding sugar to milk helps prevent it from sticking to the bottom. Meanwhile, in a bowl, whisk egg yolks with the remaining sugar vigorously until pale and ribbon-like. This step matters because it helps the yolks cook evenly without curdling. Fold in sifted flour and cornstarch gently with a spatula to avoid lumps.
- Perfect cooking:
- When the milk just boils, take it off the heat and pour about a third into the egg-sugar-flour mixture while whisking vigorously to temper the yolks. This prevents thermal shock that would cause lumps. Strain this mixture through a fine sieve to remove any bits before pouring it back into the pot with the remaining milk. Return to medium heat and cook while constantly stirring, focusing on the edges and bottom of the pot where lumps form first. The cream is ready when it thickens noticeably and starts making "plopping" bubbles that burst on the surface. Off the heat, stir in cold butter pieces to stop the cooking and add shine and smoothness.
 Pin it
French pastry secrets have fascinated me since I was a kid, but sweet pastry always scared me. My grandma used the fraisage technique, which seemed so mysterious to me for years. I remember my first awful attempt where I overworked the dough and ended up with tartlets that completely lost their shape. After several tries and strictly following the cold resting times, I finally got the hang of it. Now I get a special joy from seeing my guests' amazed faces when they discover these little berry wonders.
Two-Stage Baking
Baking berry tartlets happens in multiple steps for the best outcome. First, heat your oven to 150°C fan mode, a moderate temperature for even baking. Put your frozen tartlet shells directly into the cold oven to avoid temperature shock that could warp the pastry. The first bake takes about 12-15 minutes until you see a light golden color. This pre-bake is vital as it sets the pastry structure before adding wet fillings that could make the bottom soggy.
After taking them out, let the shells cool for a few minutes before adding about two teaspoons of almond cream to each tartlet. This thin layer works as a protective barrier between the pastry and wetter elements like compote and fruits. Then add some frozen fruit based on what you like: blueberries for some, raspberries for others, pressing them slightly into the almond cream. Frozen fruit works better at this stage because it releases less water during baking than fresh fruit.
Put them back in the oven for another 10-12 minutes to cook the almond cream. If you want to add a glaze to the edges later, the cream should stay light; otherwise, you can bake a bit longer until the cream gets slightly colored. This second bake is crucial as it lets the almond cream puff up slightly and develop its flavors while cooking thoroughly, avoiding the pasty texture of undercooked cream.
Delicious Finishing Touches
The final preparation step needs a gentle touch but makes all the difference. Start by spreading a thin layer of berry compote over the baked almond cream. This compote doesn't just add intense flavor but also creates a waterproof barrier that keeps the pastry cream from soaking into the almond cream, keeping each layer distinct. Let this base cool completely before moving on, ideally for at least an hour in the fridge so flavors can fully develop.
You can adapt this basic recipe to your taste and the seasons. For a fall version, swap berries for fresh figs and caramelized walnuts, keeping the same almond cream and pastry cream structure. The contrast between sweet figs and crunchy nuts creates a totally different but equally delicious taste experience.
For a lighter version, you can replace traditional pastry cream with a lightly sweetened Greek yogurt mousse flavored with orange blossom water. This less rich option highlights the fruit's freshness while making the dessert much lighter. People with gluten intolerance can replace wheat flour with a mix of rice flour and cornstarch in the same amounts, adding a pinch of xanthan gum to maintain the dough's elasticity.
If you want a vegan version, use quality plant margarine instead of butter, replace eggs with applesauce in the dough, and make pastry cream with almond milk thickened with arrowroot or agar-agar. These substitutions will need some adjustments in proportions but will give you an equally tasty version suitable for vegans.
 Pin it
Best Storage Methods
Berry tartlets can be kept in the fridge for up to 48 hours, ideally in an airtight container to maintain freshness and prevent them from absorbing fridge odors. Since sweet pastry is sensitive to moisture, don't cover them with plastic wrap as it would create condensation and soften the crisp crust.
For longer storage, you can prepare all elements separately: baked tart shells keep for up to a week in an airtight metal container at room temperature. Pastry cream and almond cream can be refrigerated for up to three days, and berry compote easily keeps for a week in the fridge. This way, you can assemble your tartlets at the last minute, ensuring freshness and the best texture contrast.
If you want to prepare these tartlets way ahead, know that shells filled with baked almond cream can be frozen for up to a month. Just thaw them in the fridge overnight, then finish assembling with compote, pastry cream, and fresh fruit on serving day. This method works great for big occasions where advance prep makes things easier.
Frequently Asked Questions
- → Can I make these tarts ahead of time?
- Absolutely. Prepare the crust and creams the day before. Finished tarts should be stored in the fridge for up to two days, but wait to add fresh berries until serving to keep them looking their best.
- → What's the trick to perfect pastry?
- Work the dough gently, and let it rest well in the fridge. Use very soft butter (but not melted) and precise rolling for consistent thickness.
- → Can frozen berries work?
- Sure! Use frozen ones for the jam or even for decoration when fresh isn’t available. For decorating, let defrost partially on paper towels to avoid excess moisture.
- → How do I stop the crust from shrinking in the oven?
- Freeze the crust before baking. Avoid stretching the dough while rolling and poke the base with a fork to release trapped air.
- → Can almond powder be swapped for another nut powder?
- Yes, switch it out for hazelnut or pistachio powder to try new flavors, keeping the same amounts to ensure the texture stays just right.