
 Pin it
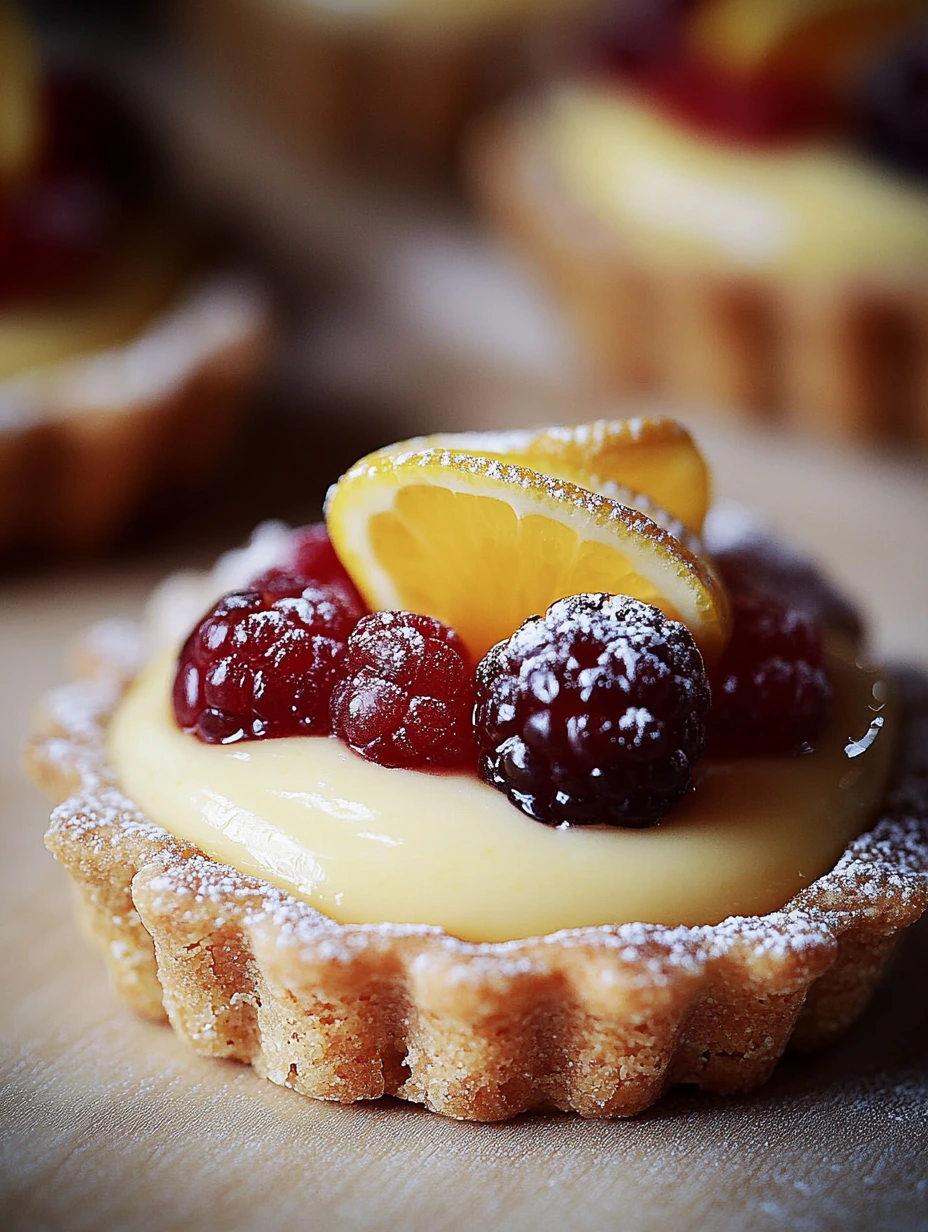
These berry tarts with lemon and vanilla cream bring three delights together in one sweet treat. A buttery, crumbly pastry base holds a smooth, zesty lemon cream with vanilla notes, all topped with a rainbow of fresh berries. This dessert perfectly balances sweetness with tanginess, giving you an unforgettable taste that'll wow your friends or brighten up your day.
I made these tarts for my best friend's birthday party and they vanished in minutes. Even folks who claimed they were too full somehow found room for seconds. They've become my go-to special occasion treat.
 Pin it
Stunning Ingredients
- Top-notch flour: grab sifted pastry flour for the perfect texture
- Ice-cold butter: pick one with 82% fat content for a tastier crust
- Farm-fresh egg yolks: they add richness and color to your pastry and cream
- Whole milk: its fat makes your cream wonderfully smooth
- Real vanilla: spend a bit extra on Bourbon or Tahitian vanilla pods for amazing flavor
- Fresh lemon zest: grate it right before using to catch all those flavorful oils
- Seasonal berries: choose ripe but firm ones for the best look and taste
 Pin it
Flavorful Cooking Journey
- Starting the shortcrust:
- Mix flour, sugar and salt in your food processor. Add cold butter cut into small chunks and pulse until it looks like rough sand. Don't overwork the dough at this point or it'll get tough and hard to handle.
- Finishing the dough:
- Gently mix in the egg yolk, vanilla extract and a spoon of ice water. Give quick pulses until it starts coming together. It should be a bit crumbly but stick when you press it between your fingers. Add tiny bits more water if needed, but go easy.
- Must-have rest time:
- Gather the dough on a lightly floured surface and shape into a ball without working it too much. Flatten into a disk, wrap in plastic and let it chill in the fridge for at least 30 minutes, but an hour is better. This step lets the gluten relax and the butter firm up.
- Shaping your tarts:
- Take the dough out and let it sit for 5 minutes to make rolling easier. On a lightly floured surface, roll it about 3-4 mm thick. Cut circles big enough for your tart pans. Gently press the dough into each pan, making sure it fits into all the ridges.
- Baking to golden:
- Prick the bottoms with a fork to prevent bubbling. Put the filled pans back in the fridge for 15 minutes while your oven heats to 175°C. Line each shell with parchment and fill with beans or baking weights. Bake for 15 minutes, then take out the weights and bake another 5-7 minutes until golden brown.
- Making heavenly cream:
- Pour whole milk and cream into a thick-bottomed pot. Add finely grated lemon zest and seeds from a split, scraped vanilla pod (or extract). Heat until it almost bubbles then take it off the heat and let sit for 10 minutes to soak up all the flavors.
- Egg yolk magic:
- In a bowl, beat egg yolks with sugar until slightly lighter in color. Sprinkle in sifted cornstarch while whisking to avoid lumps. Your mixture should be perfectly smooth before moving on.
- The crucial moment:
- Take out the vanilla pod from the milk mixture. Slowly pour about a third of the warm liquid into the yolk mixture while whisking hard to prevent cooking the eggs. Then pour everything back into the pot with the rest of the infused milk. Cook on medium heat, stirring constantly with a wooden spoon.
- Watch it transform:
- Keep stirring non-stop until the cream thickens and starts to bubble. Keep cooking for one more minute after it bubbles to cook out the starchy taste. Off the heat, mix in cold butter pieces for shine and creaminess.
- Smart cooling:
- Right away, put the cream in a clean bowl and cover with plastic wrap touching the surface to prevent skin forming. Let it cool at room temp then chill in the fridge for at least 2 hours, overnight is best.
- Artistic assembly:
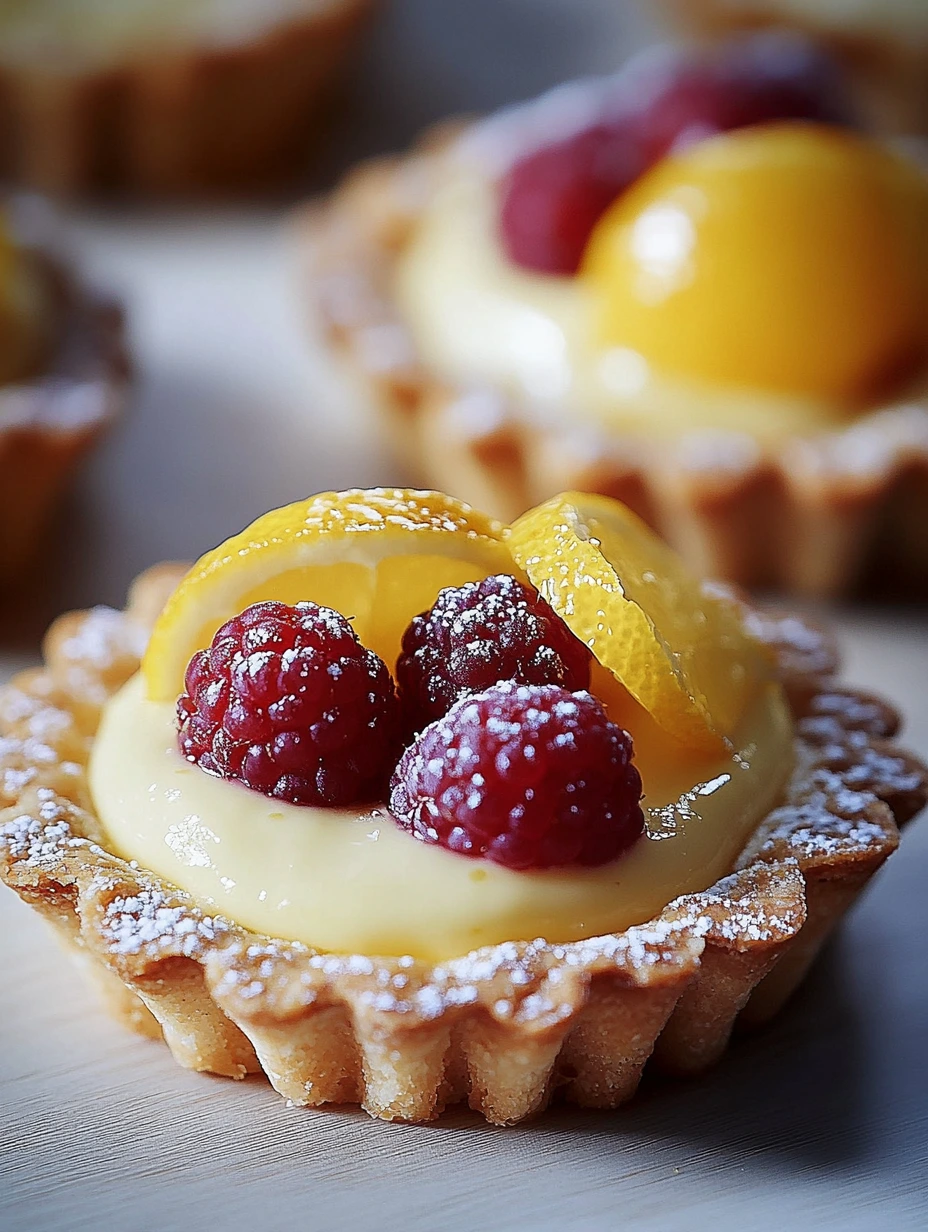
- Fill each cooled tart shell generously with lemon-vanilla cream using a piping bag with a plain tip. Loosen the cream with a spatula first to make it smoother. Arrange fresh berries on top in an eye-catching pattern.
 Pin it
Frequently Asked Questions
- → Can you make these tartlets ahead of time?
- Yes, you can prepare the crust and cream a day earlier and assemble them right before serving for the freshest taste.
- → How should these tartlets be stored?
- Store them in an airtight container in the fridge for up to 2 days, but the fruit may lose some vibrancy.
- → Can the berries be swapped for different fruits?
- Of course! Fruits like peaches, kiwis, or mangoes work beautifully depending on the season.
- → What if the cream is too runny?
- Make sure the cream thickens fully when cooking, and chill it completely in the fridge before using.
- → Can store-bought pastry be used?
- Absolutely! Pre-made shortcrust or sweet pastry works great if you want to save time.